Action Rail

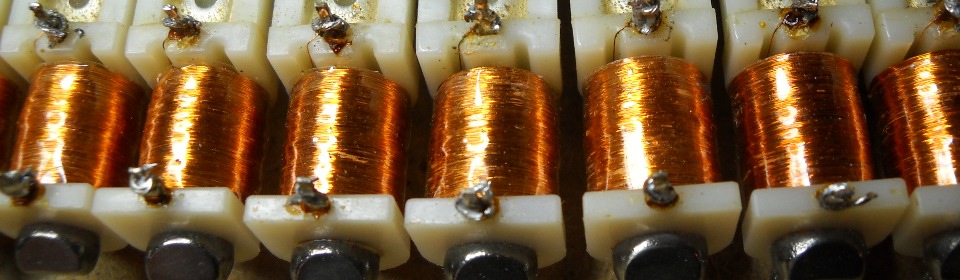
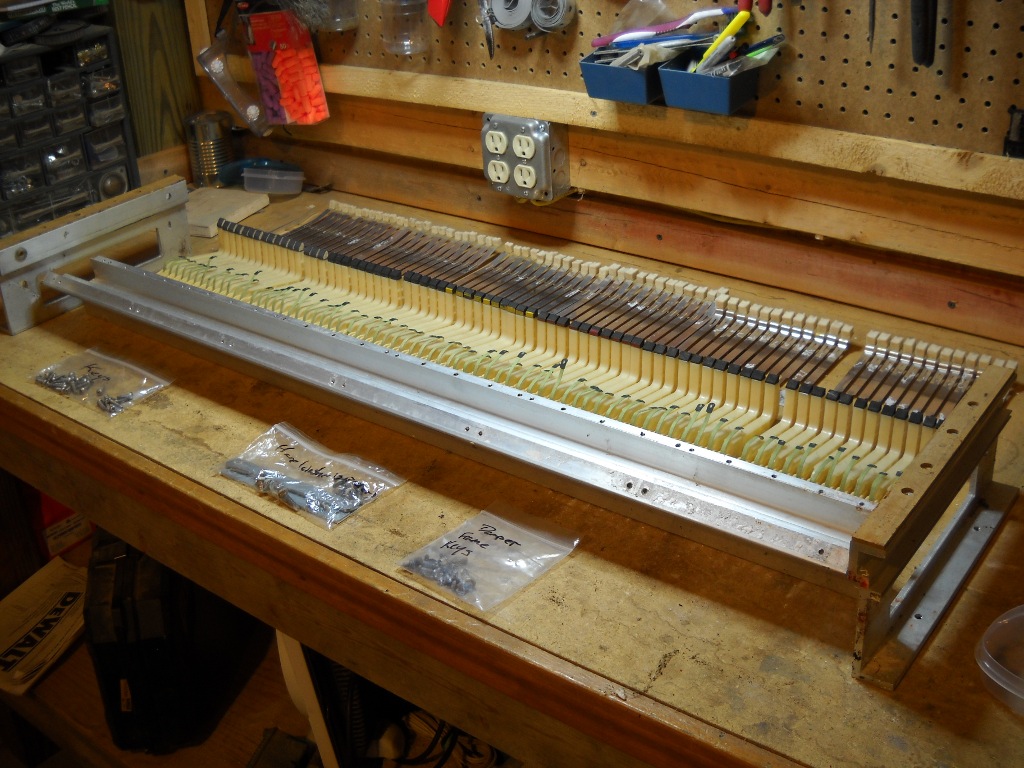
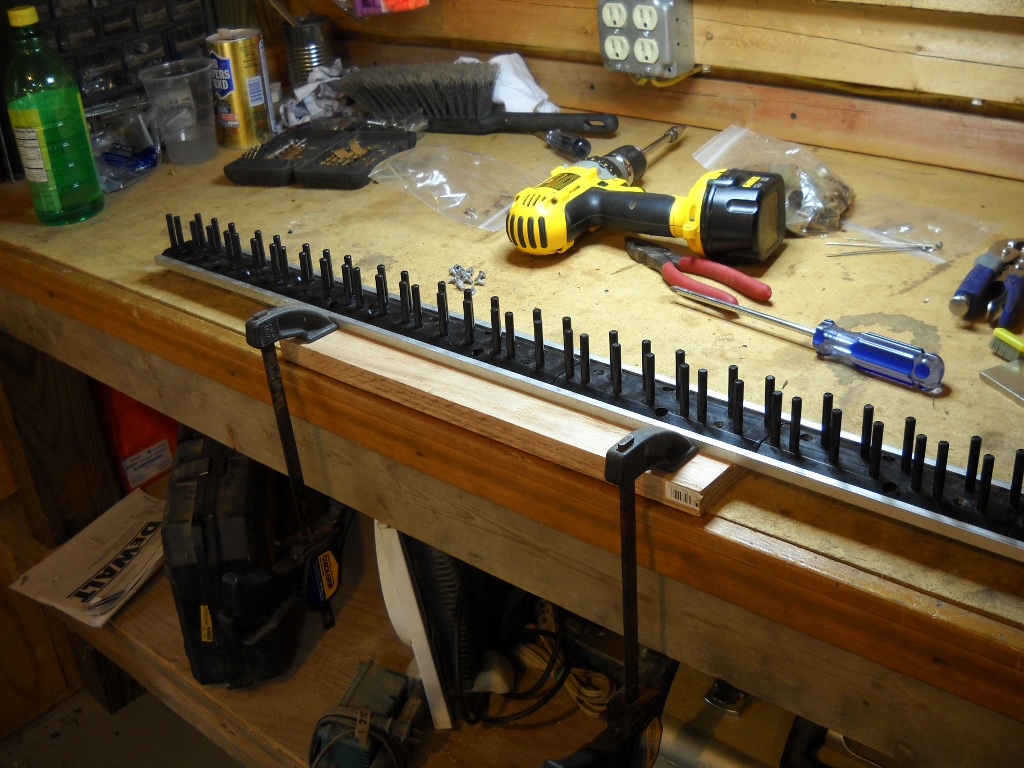
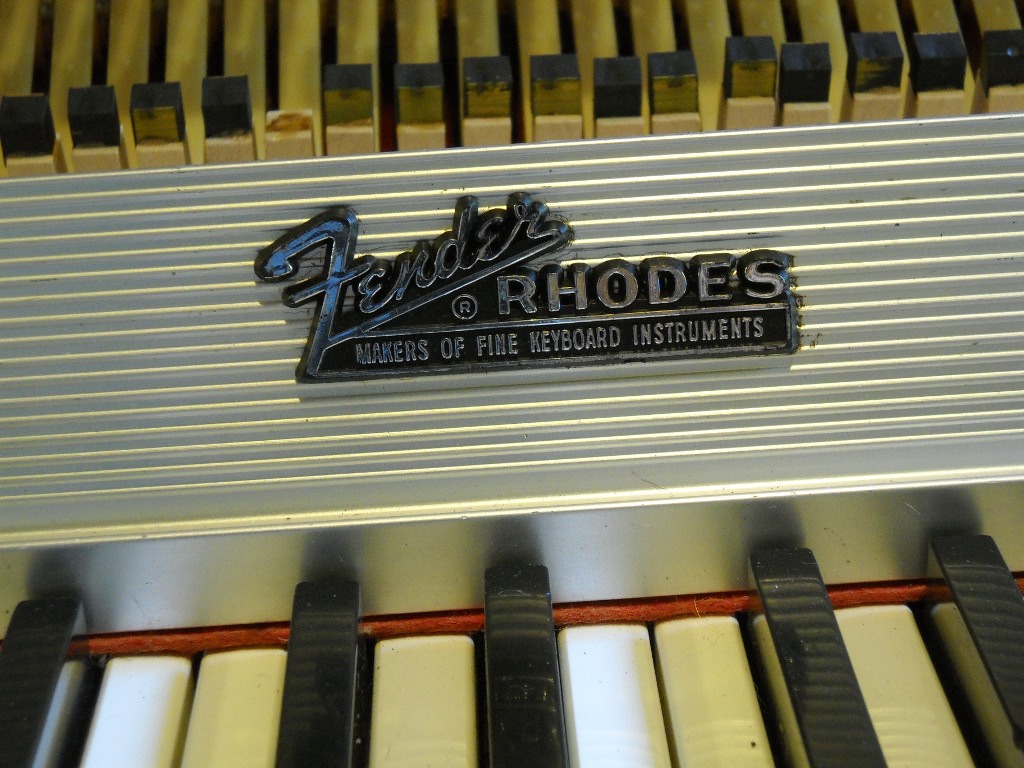
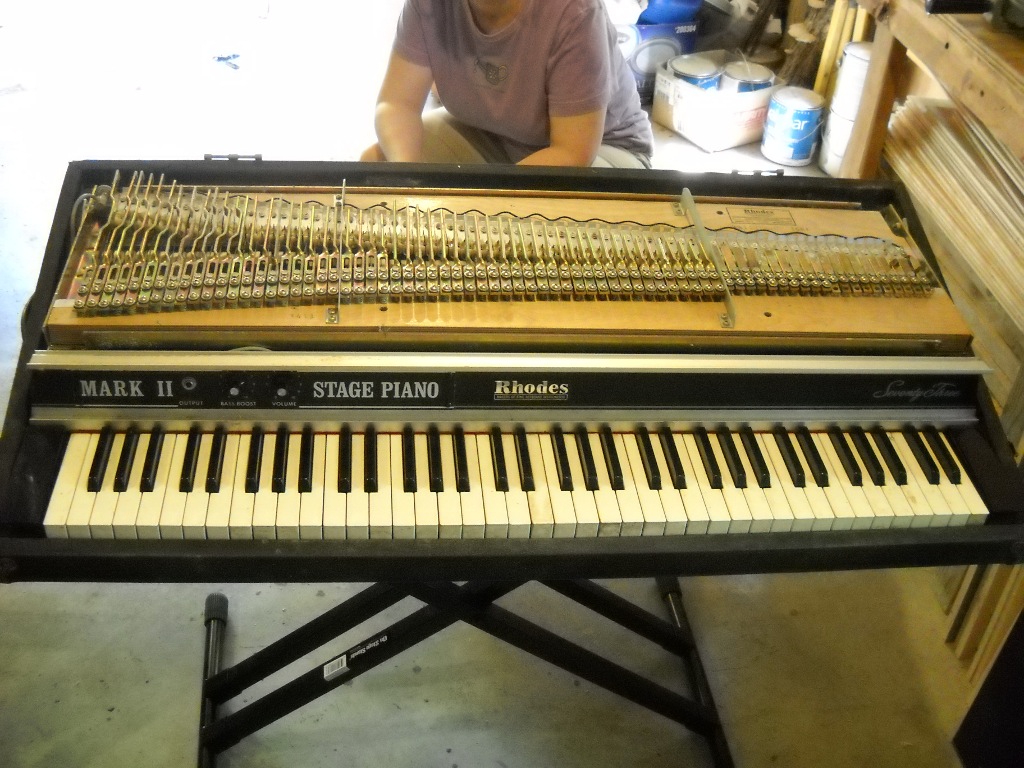
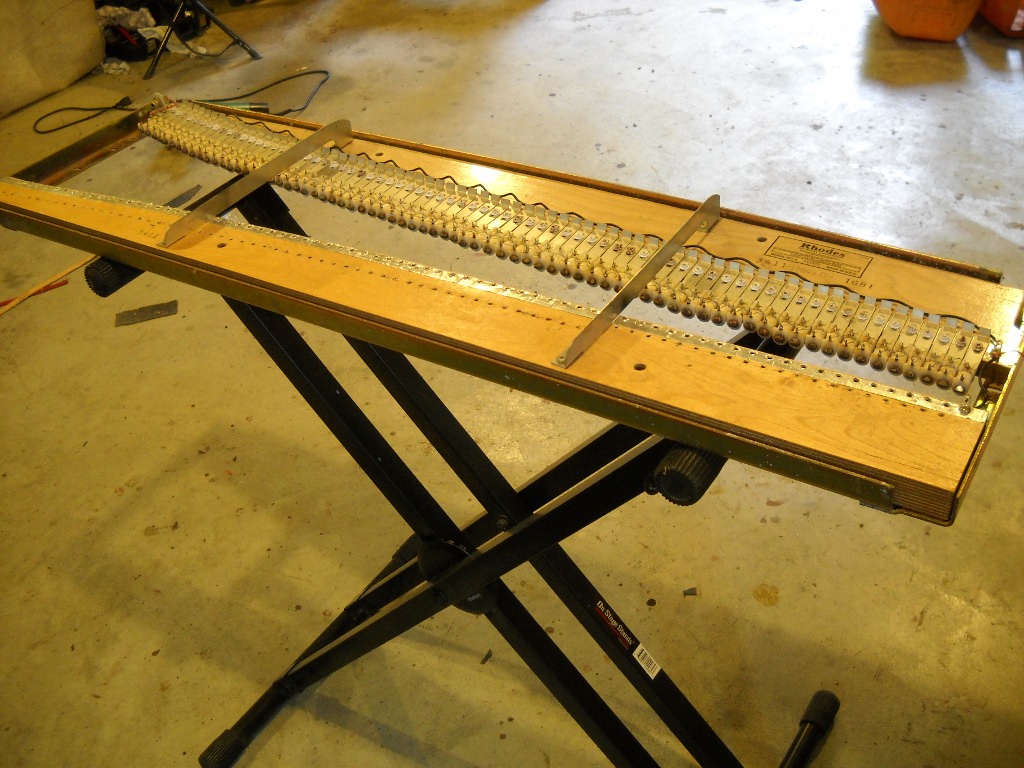
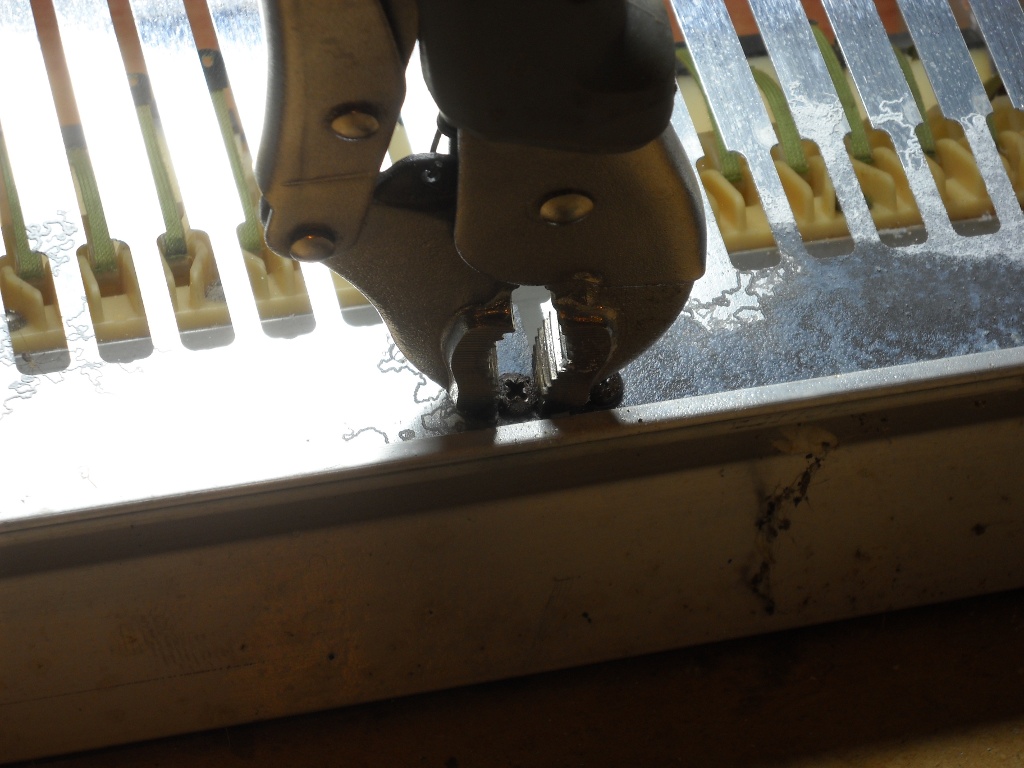
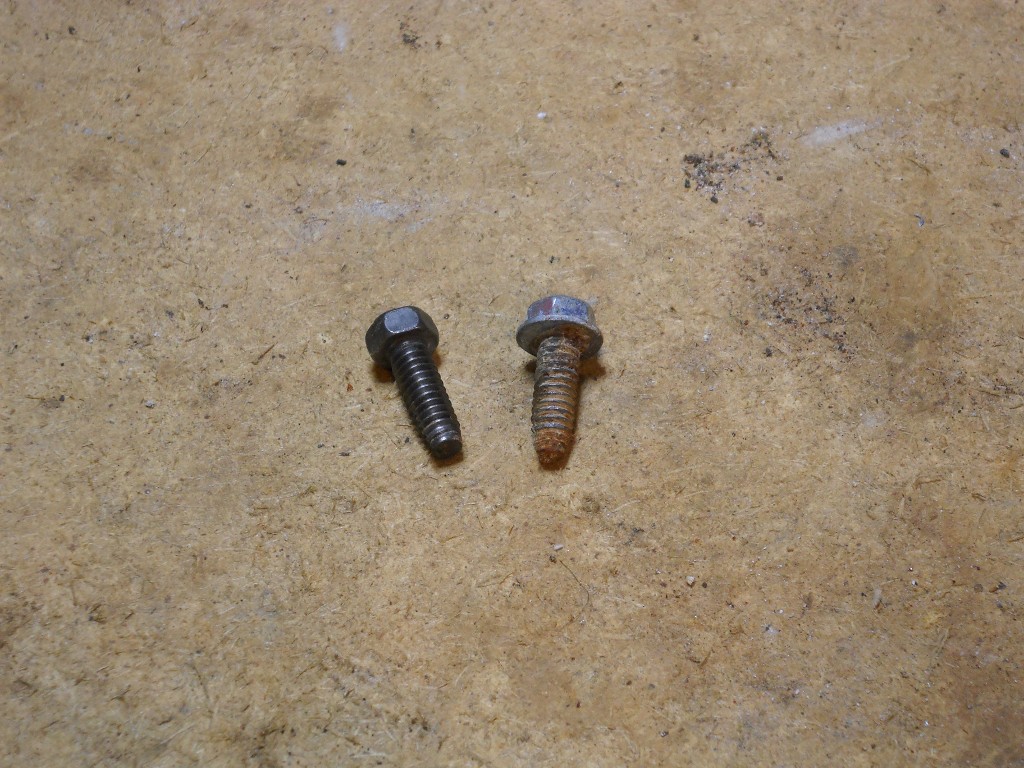
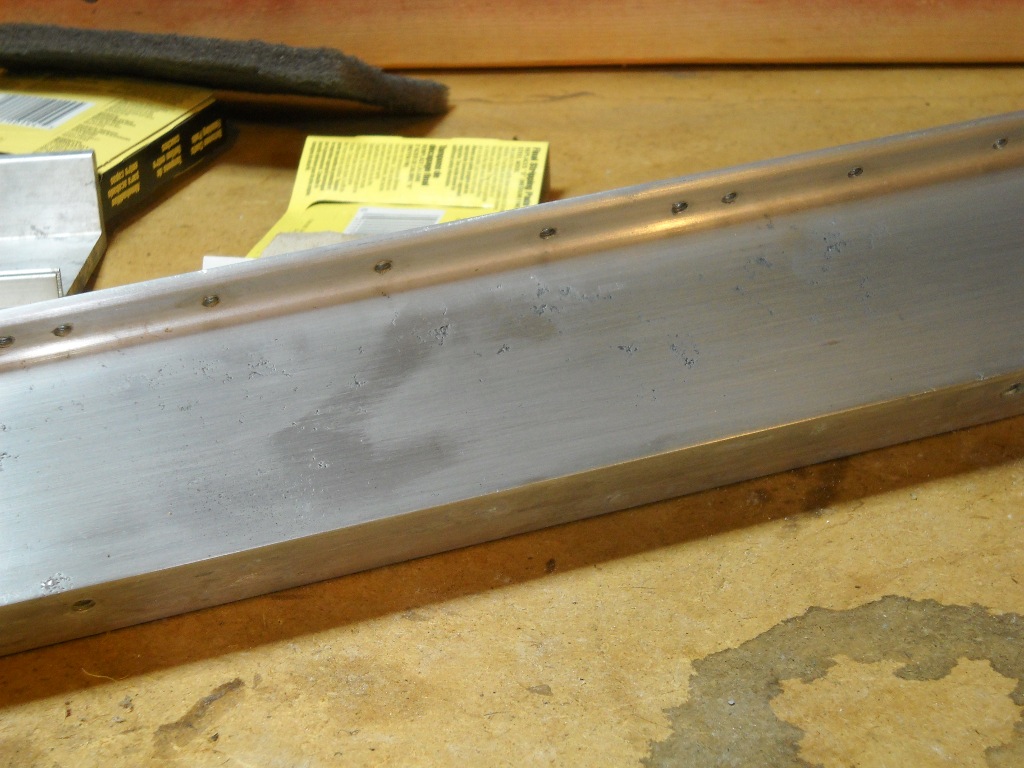
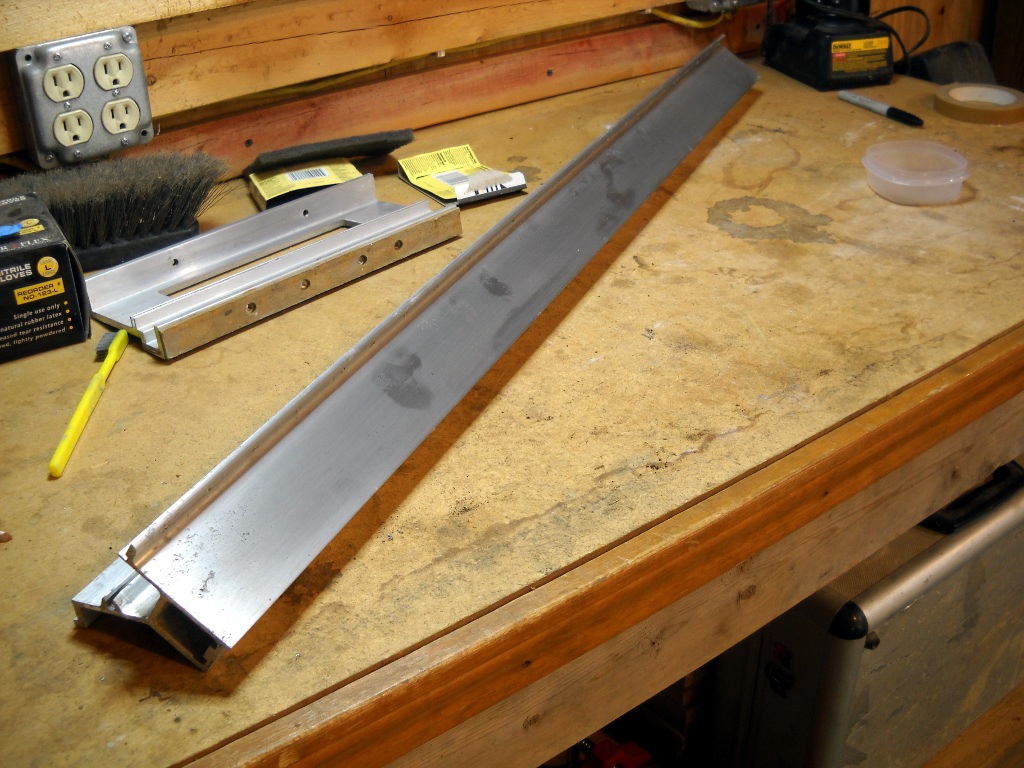
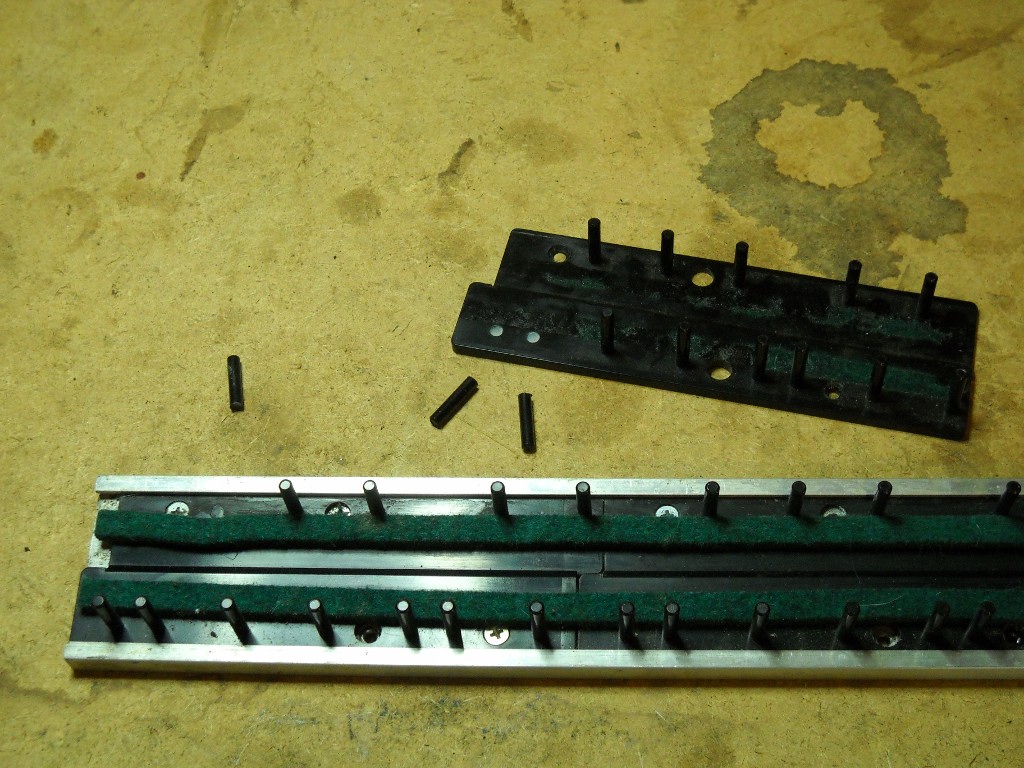
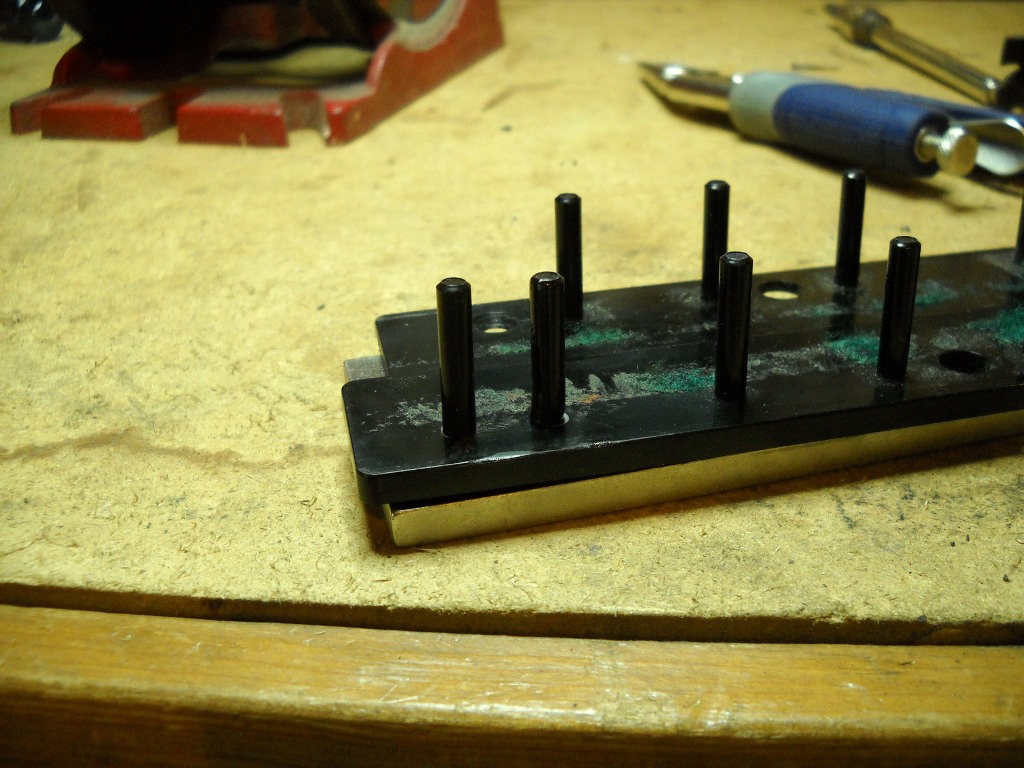
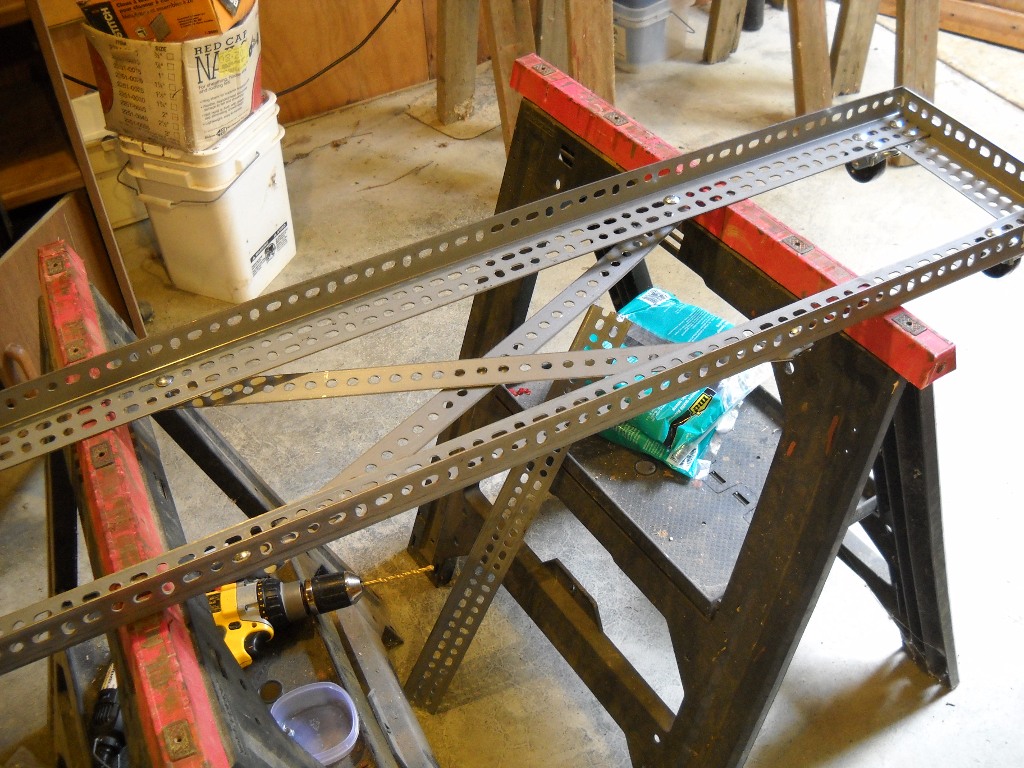
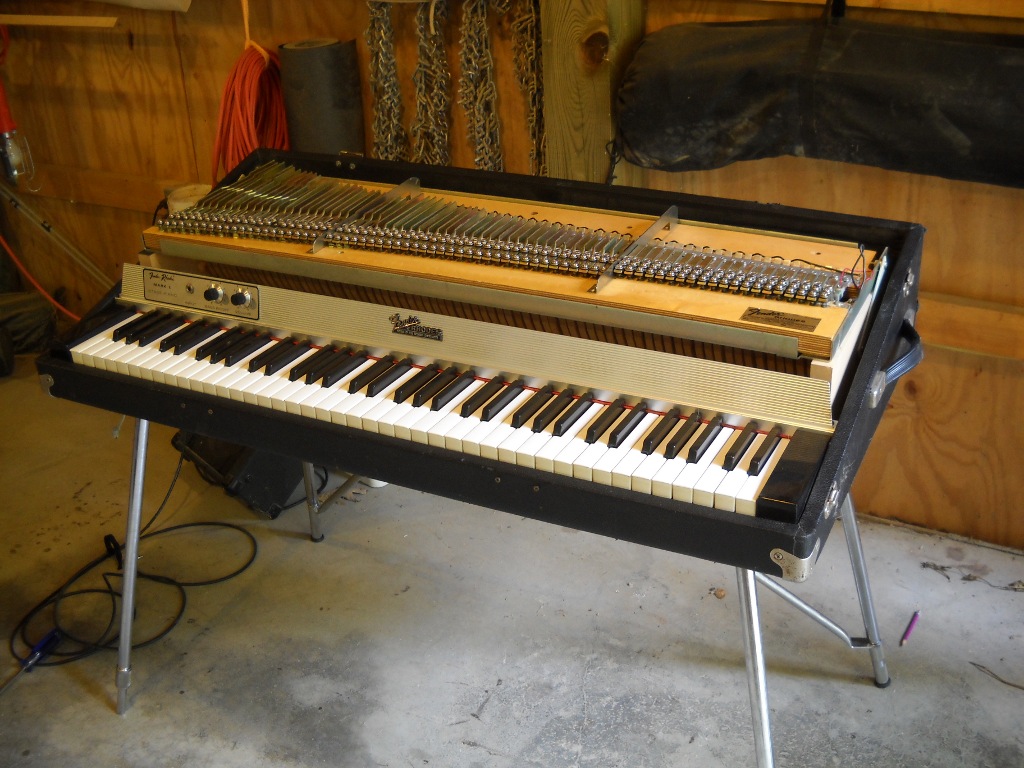
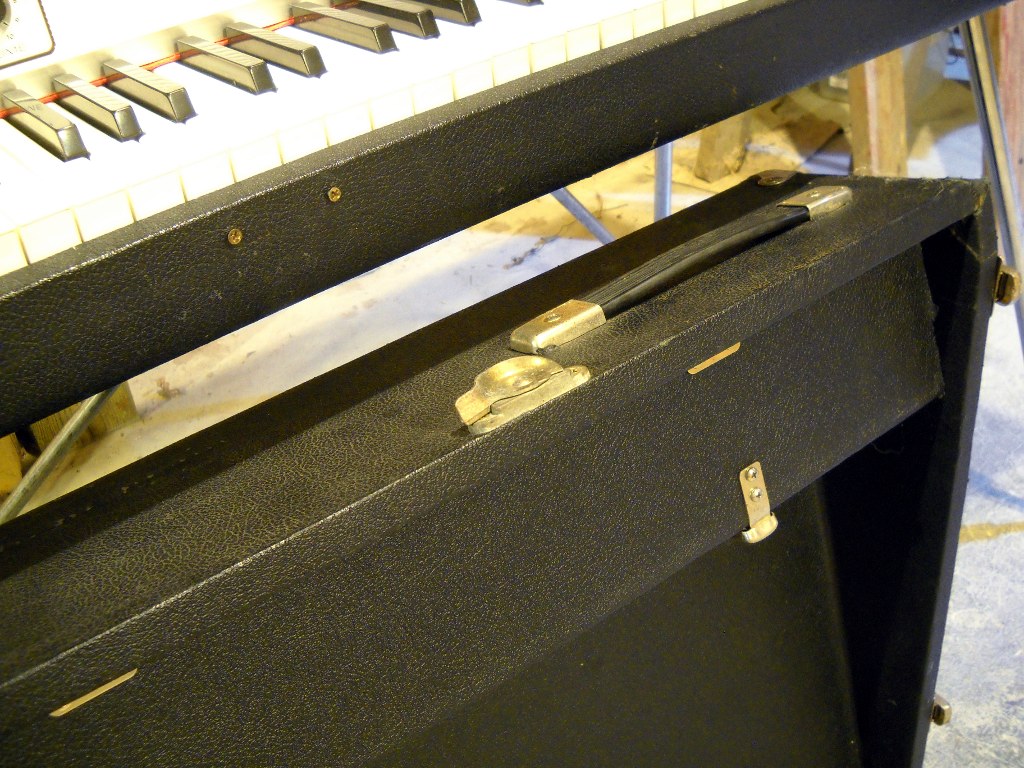
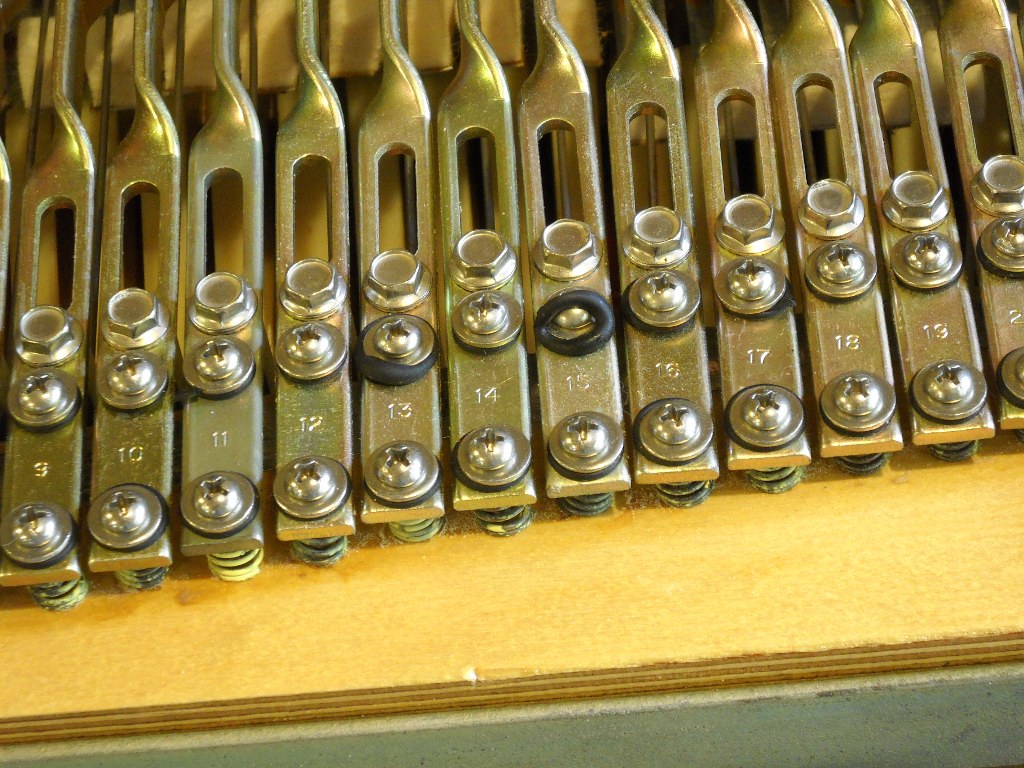
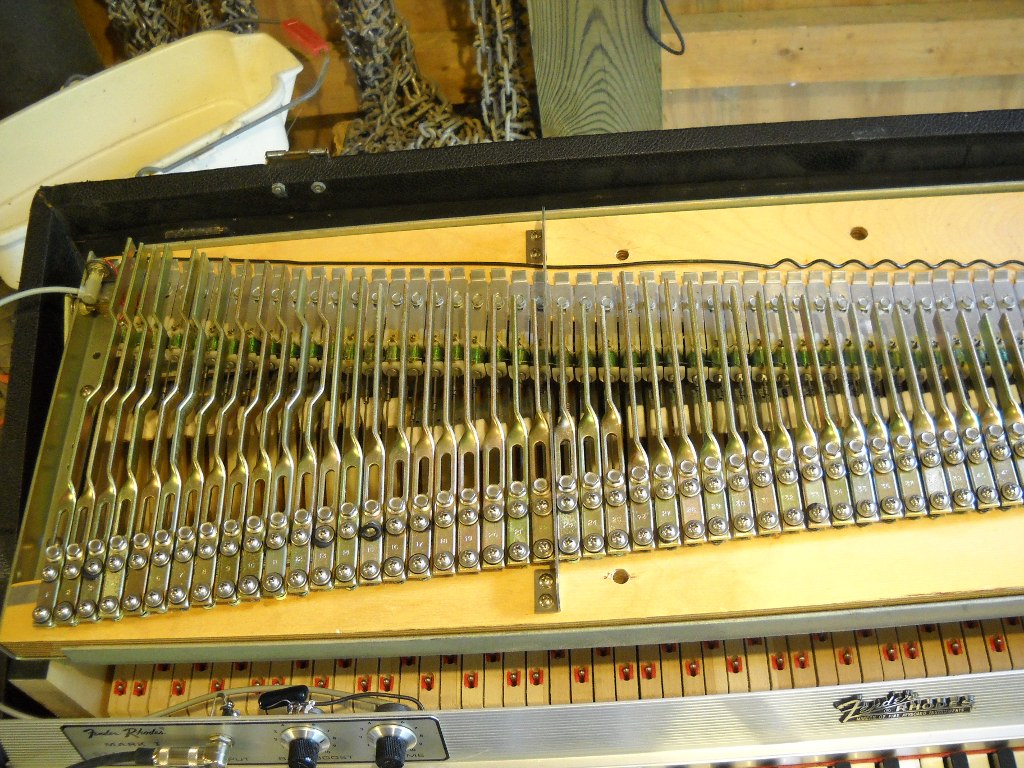
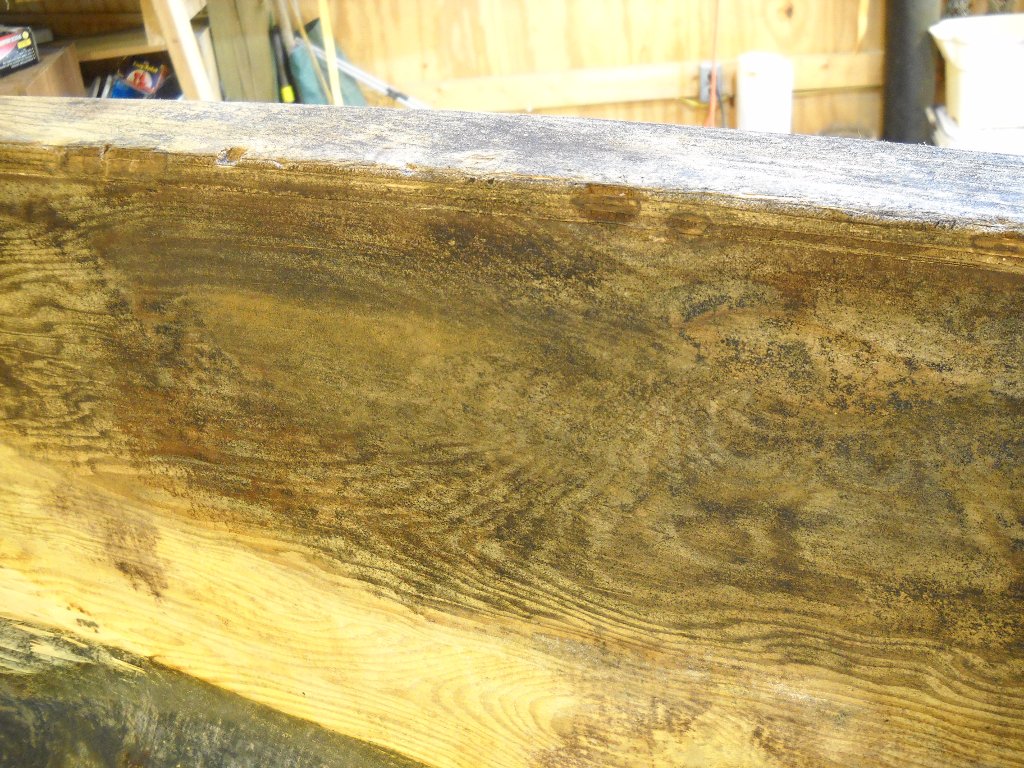
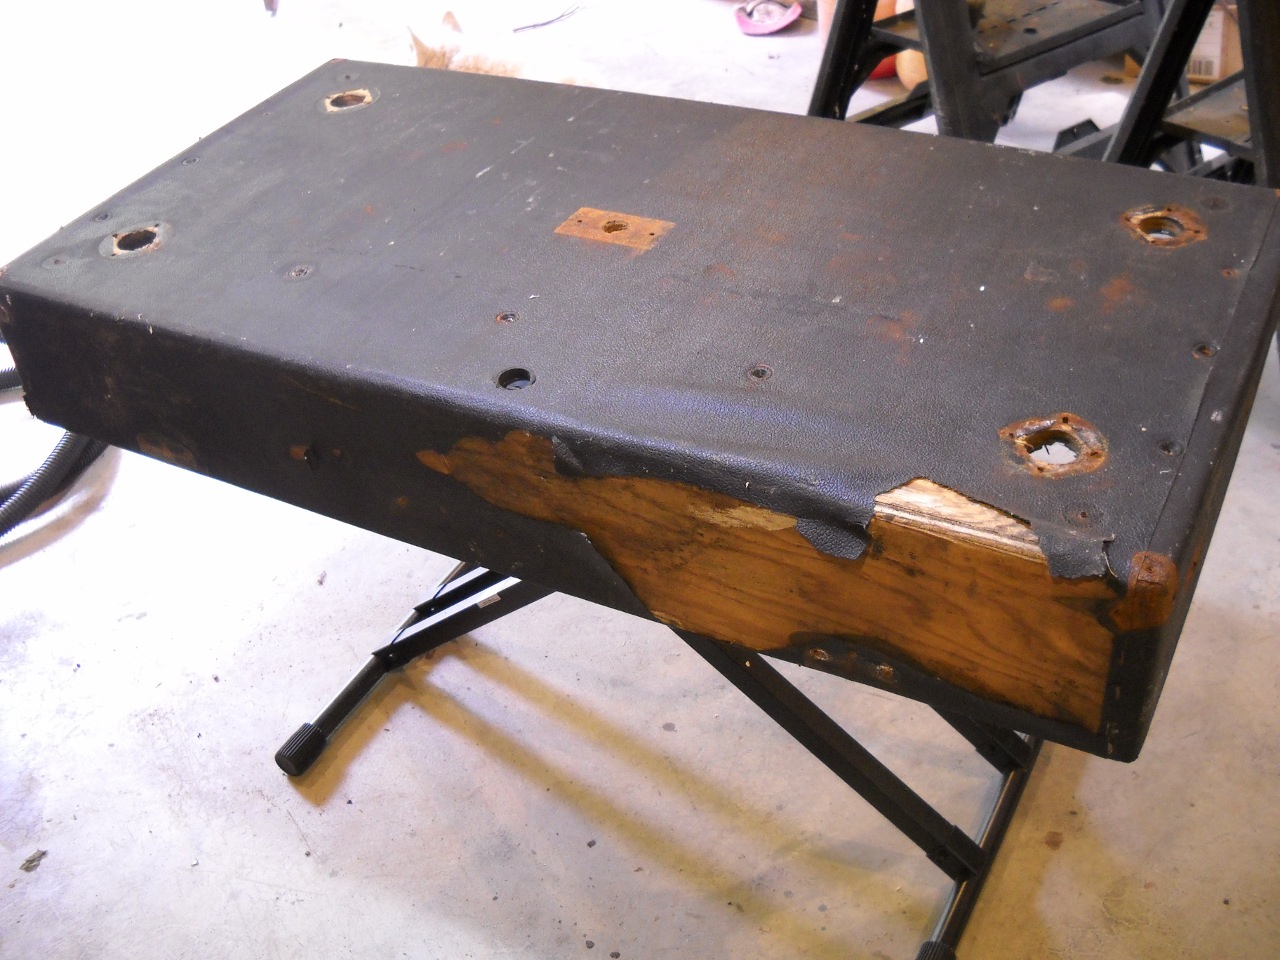
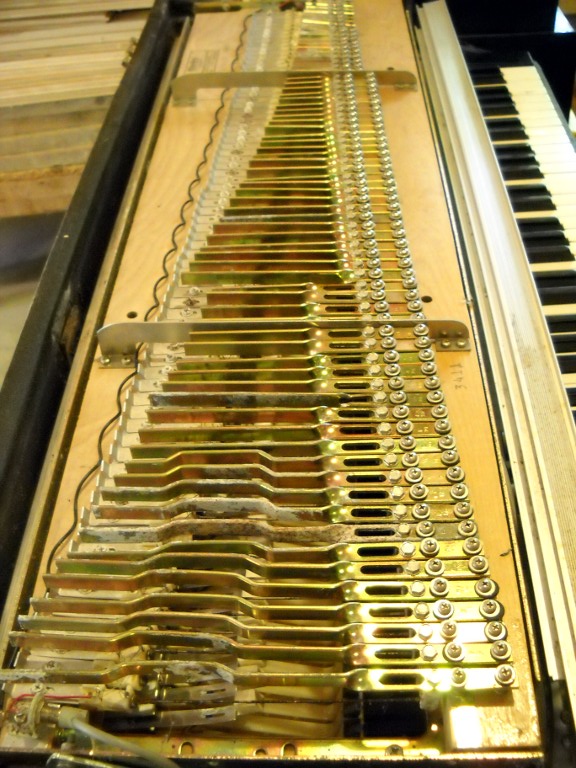
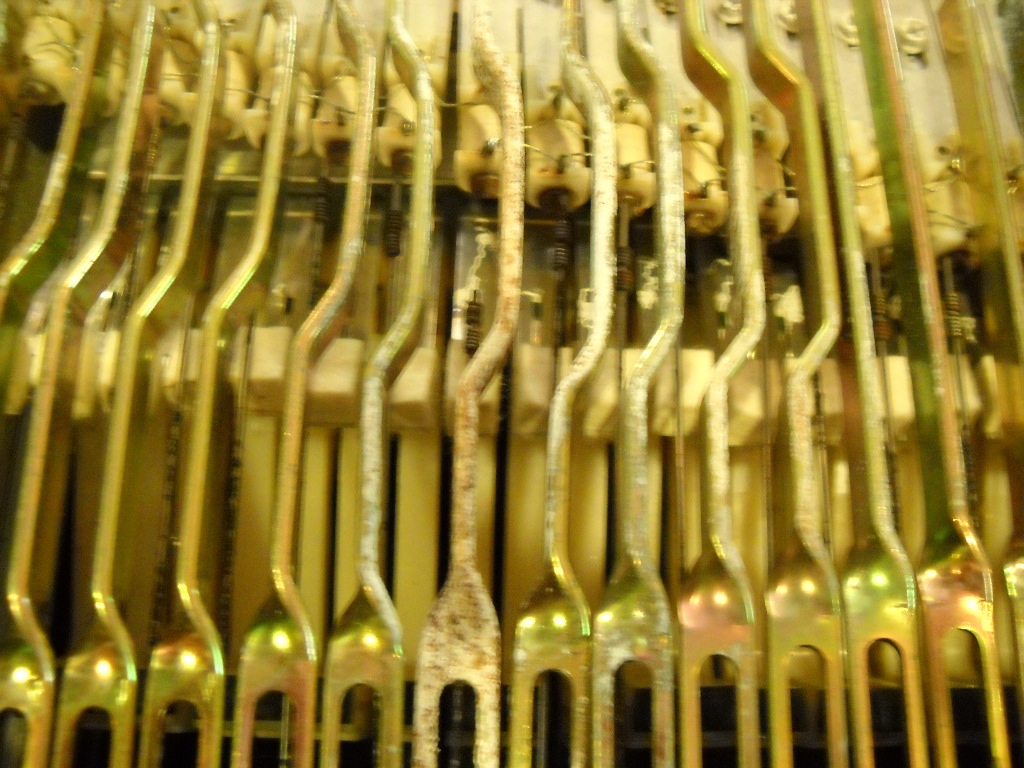
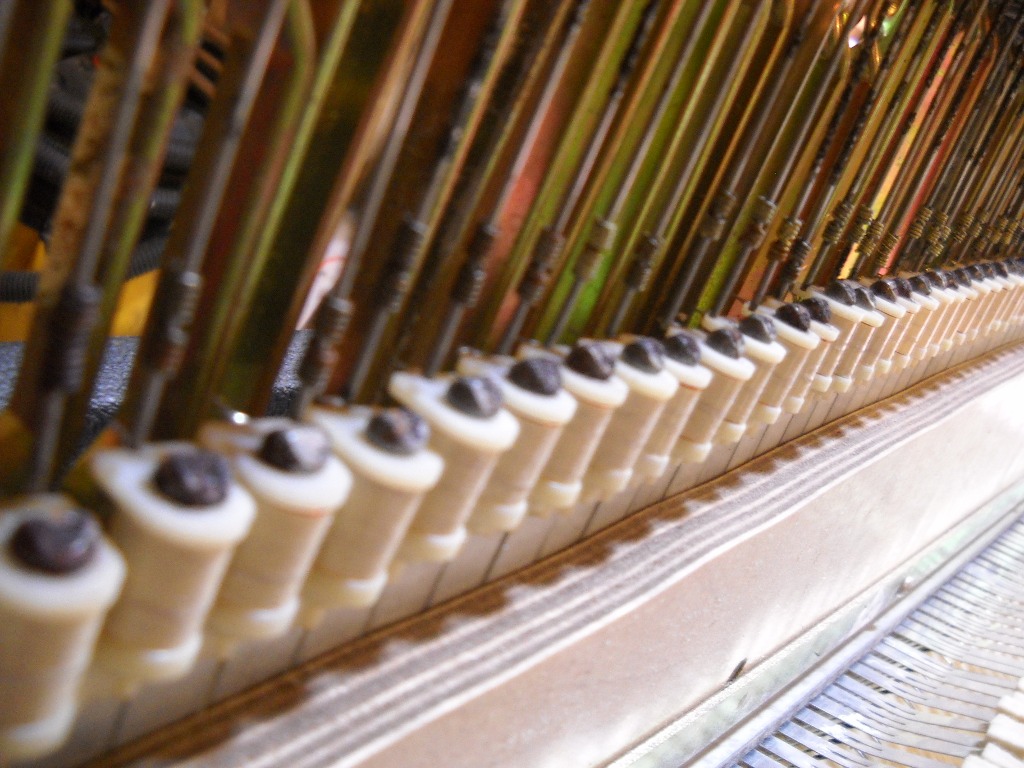
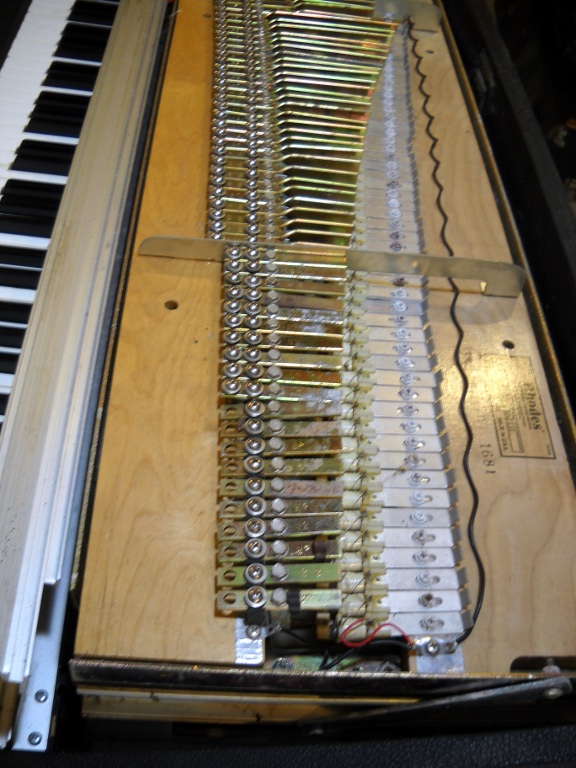
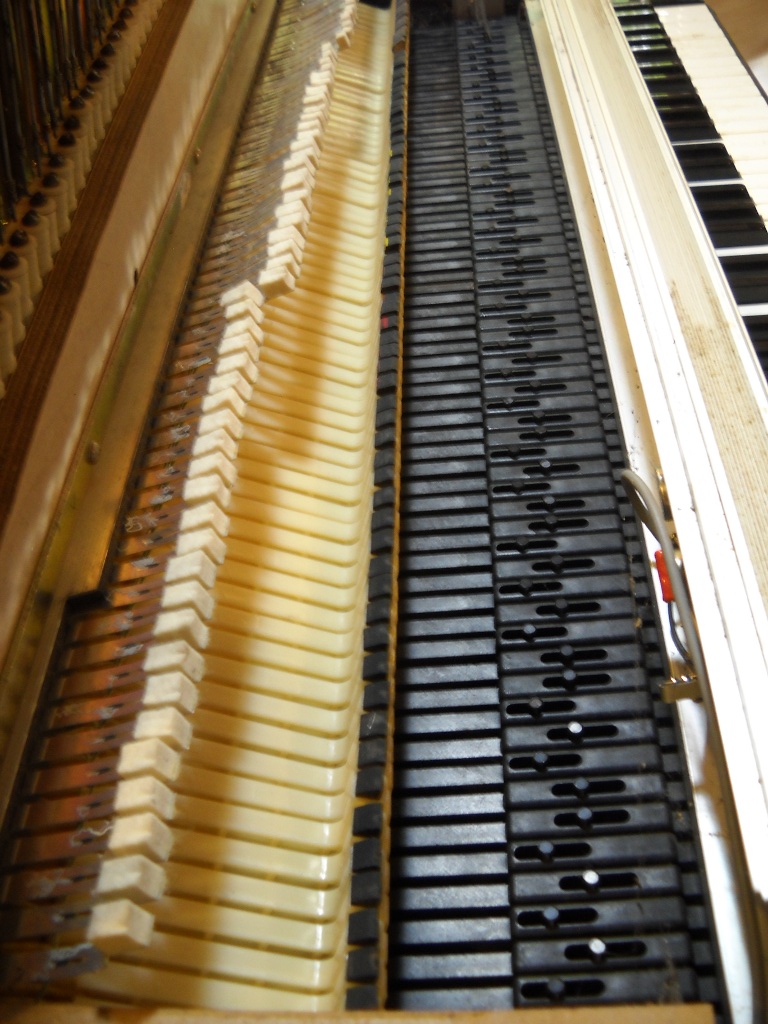
The action rail is an aluminum bar that supports both the hammers and the dampers. It in turn is supported on each end by the harp supports and the whole assembly is bolted to the bottom half of the plywood case. After removing the harp frame, the action rail was completely disassembled. One end of the rail was much more corroded than the other and a few screws needed some convincing before they’d come out.

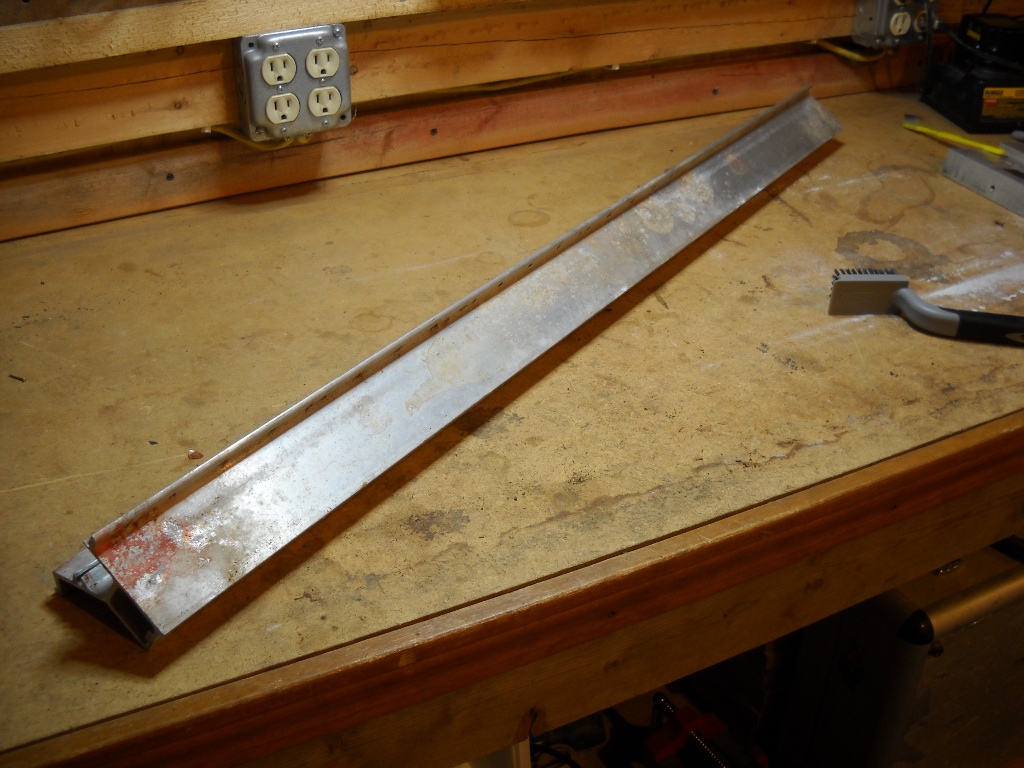
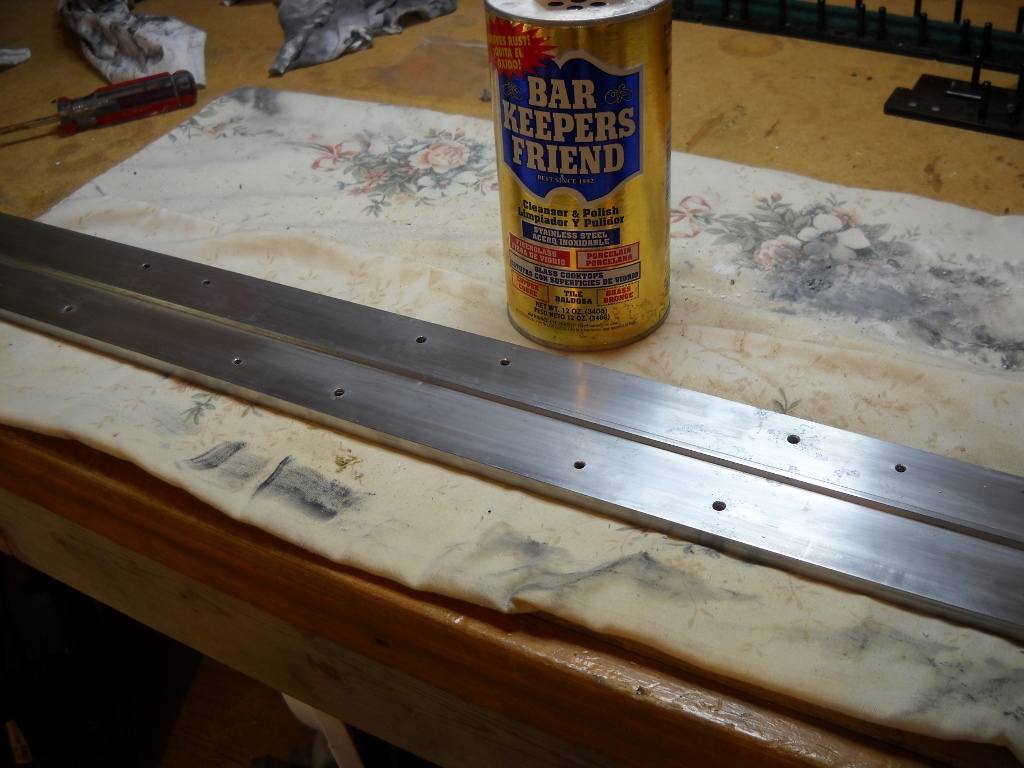
Most of the action rail was covered in corrosion and some white dust. When I cleaned the guide pin rails, I used Barkeeper’s Friend with decent success. I started cleaning the action rail with Barkeeper’s Friend and a Scotch-Brite pad but it was messy and I soon learned that a dry Scotch-Brite pad by itself was the way to go.

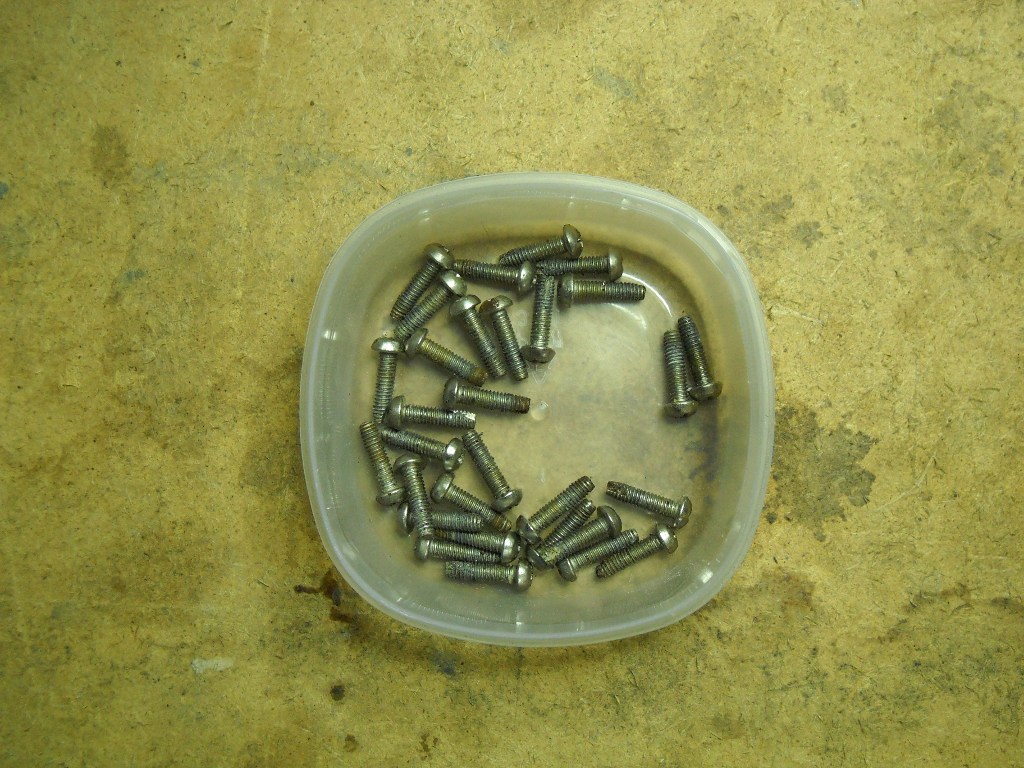
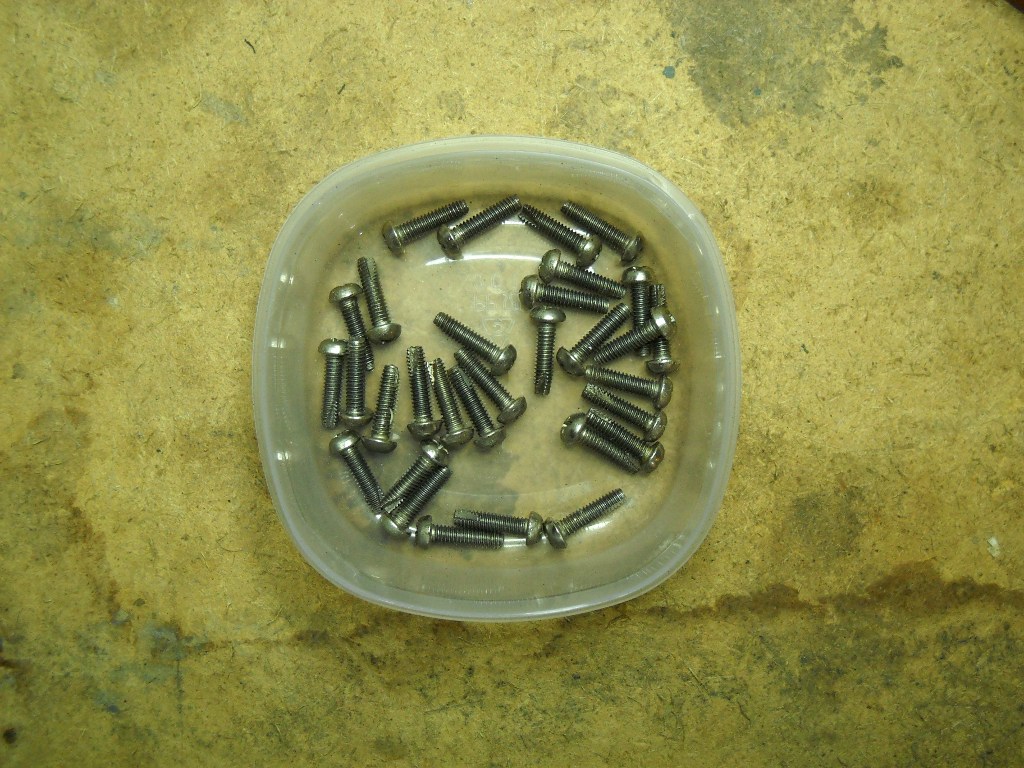
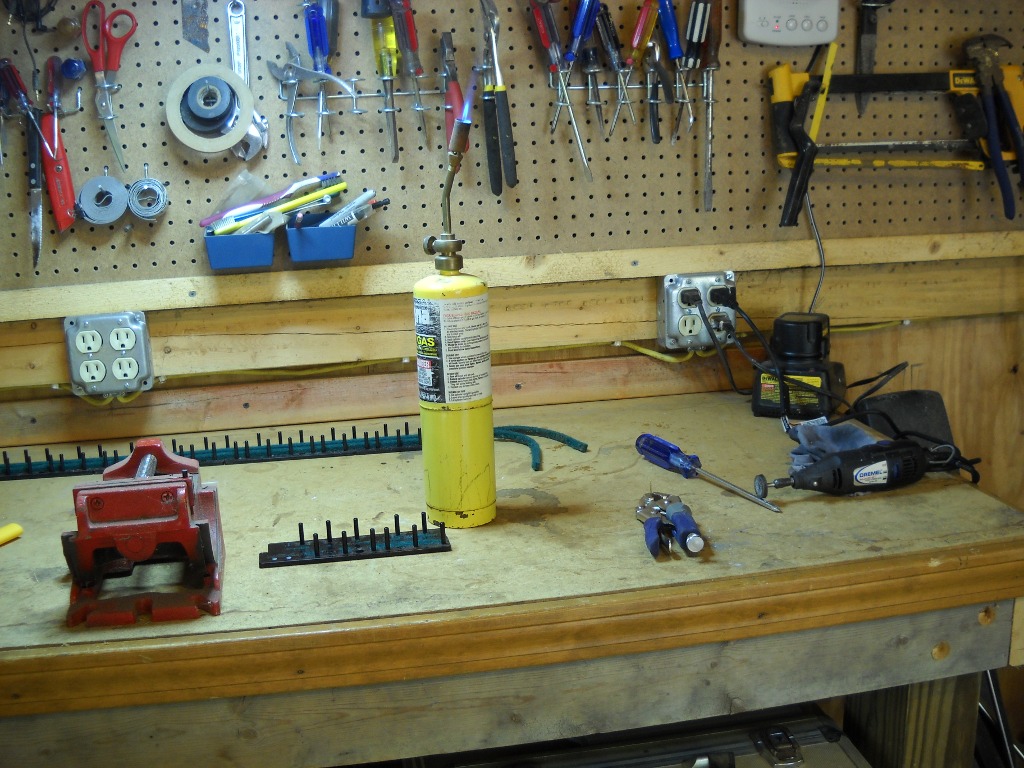
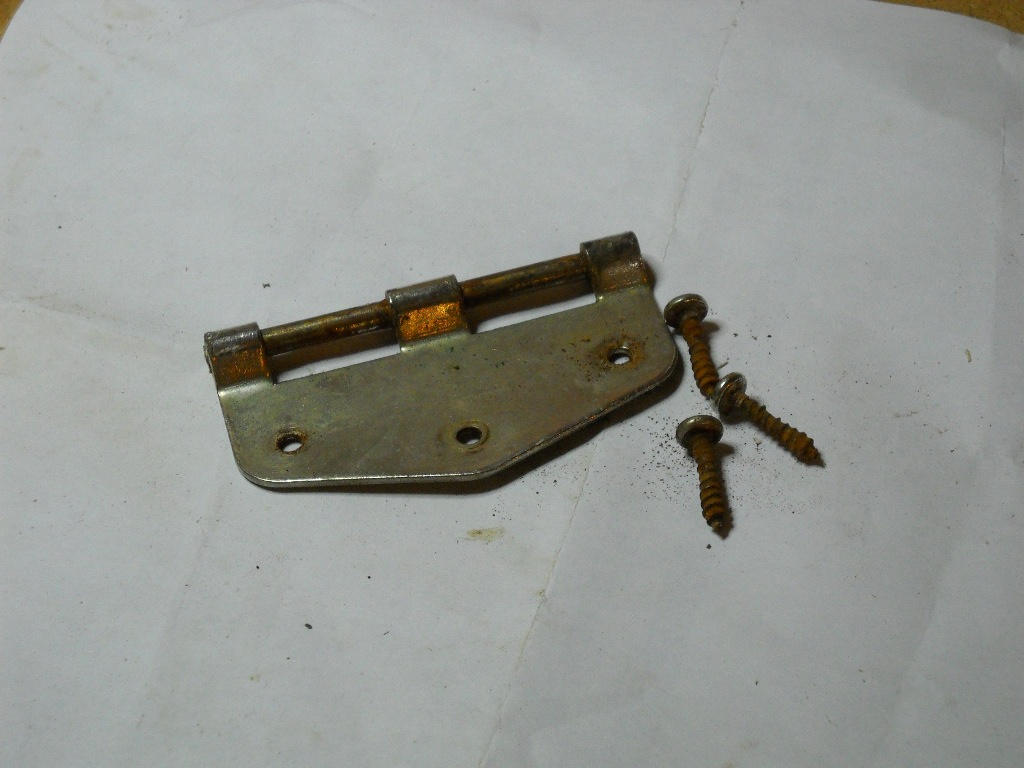
As I disassemble the piano, every screw that appears salvageable has been cleaned up on the bench grinder’s wire wheel. Although it probably also strips plating, the wire wheel is very effective at removing all rust and corrosion from the screws.

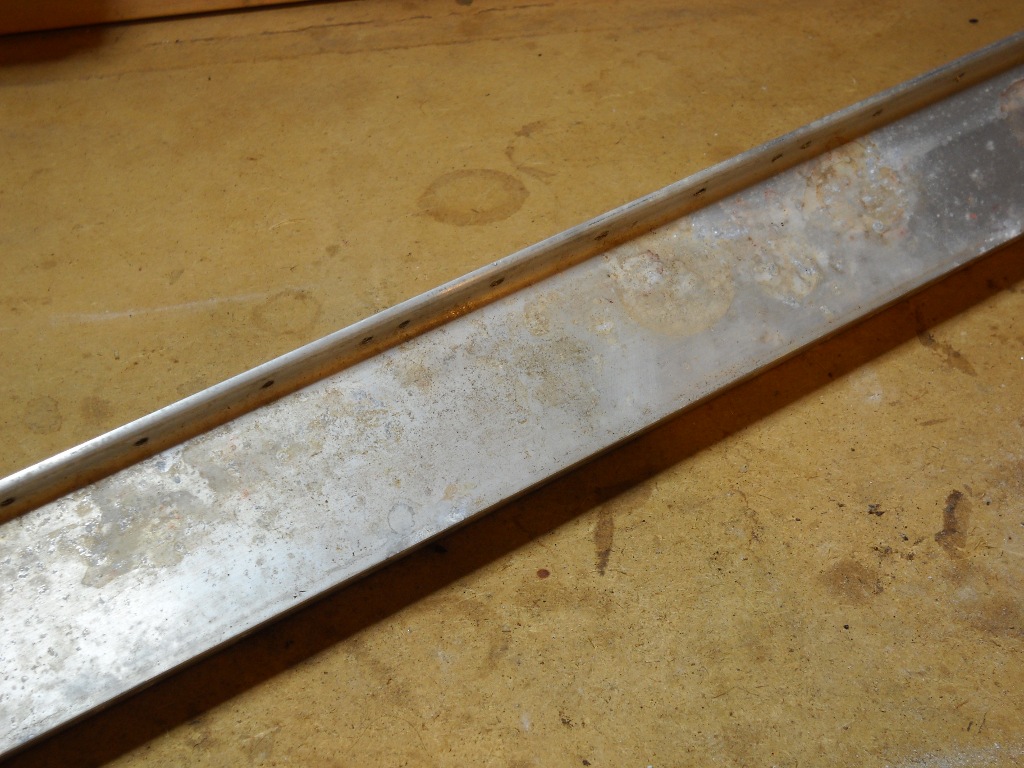
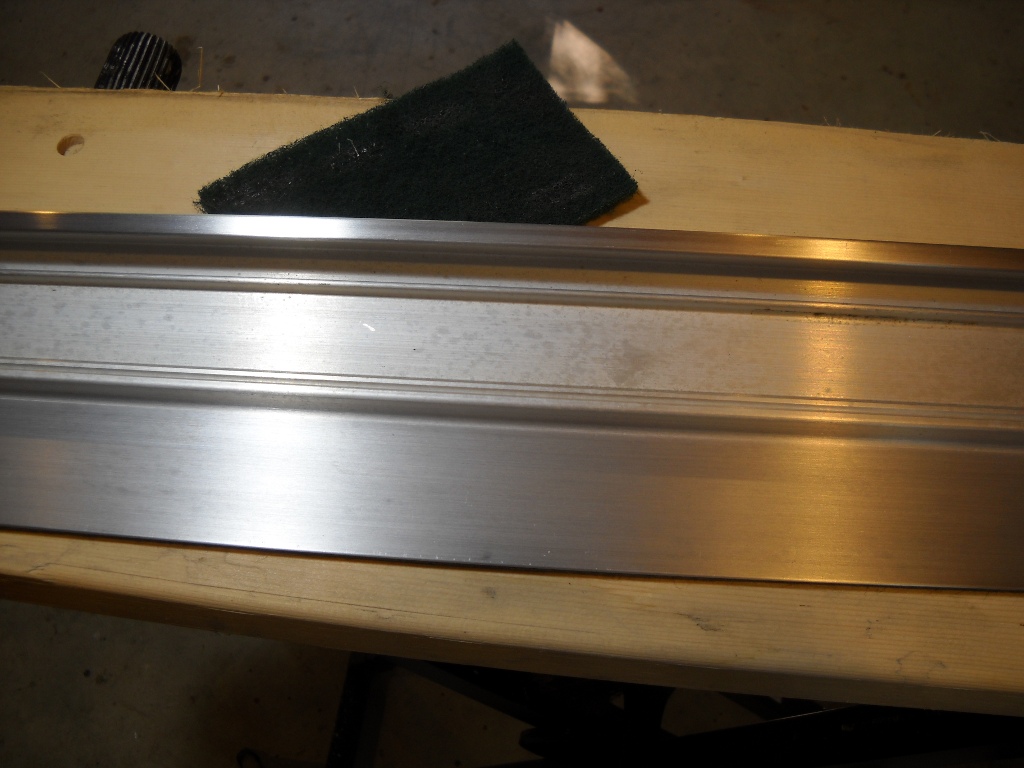
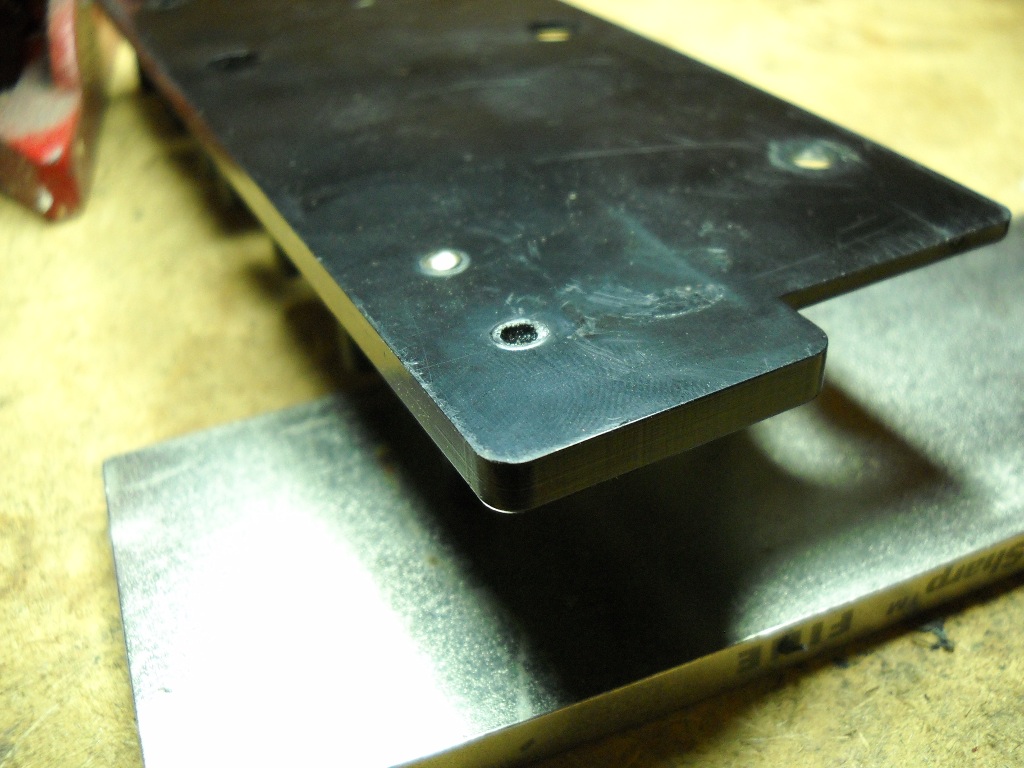
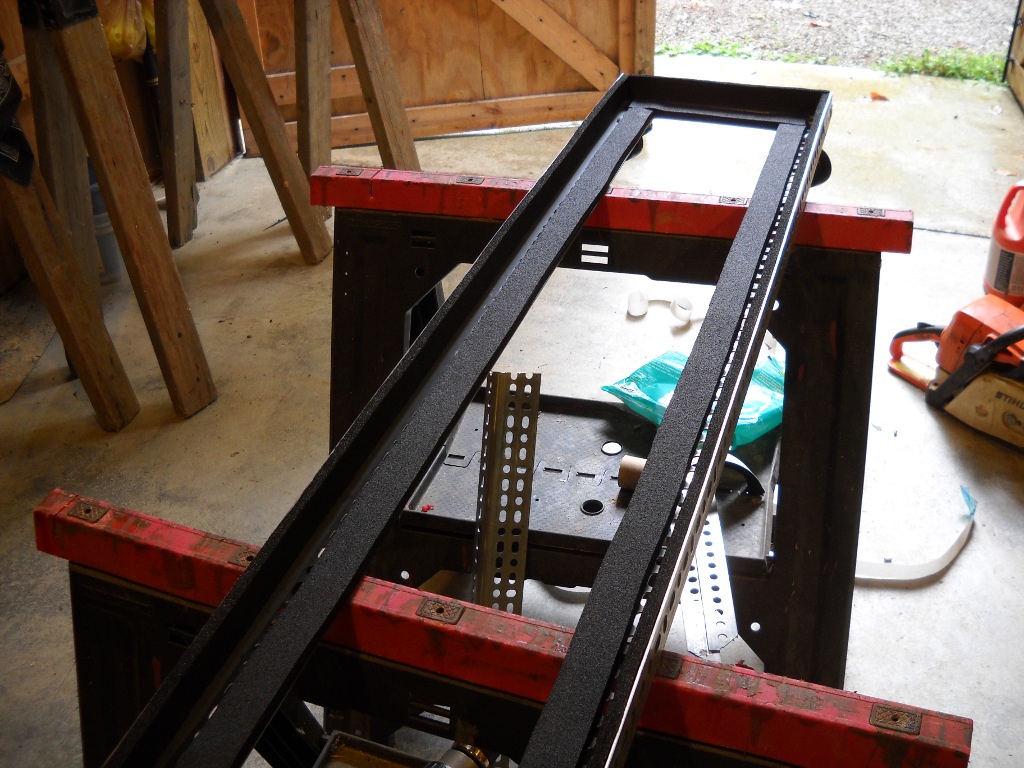
The cleaned action rail still shows some pitting where the worst of the corrosion was but, all in all, its condition has greatly improved.

Key Guide Pins

I knew when I first saw them that the key guide pins were fragile. Obviously, they would require careful handling and storage while they were outside the case. It was with this in mind that I began cleaning their aluminum rail and promptly broke two pins. And then I broke one more.

I don’t know where I can get replacements for these. There’s a seller on ebay that has the balance rail pins but not the front guide pins that I’d broken. My only option was to attempt a repair. When an unorthodox repair procedure is called for, one of the first tools I usually reach for is a torch and this job was no exception.

I heated up a picture hanger nail and used it to poke a hole in the plastic base. I also used the hot nail to kind of center-punch the underside of the pin. A drill bit was used to finish the hole in the pin.

My plan was to drive the picture hanger nail up through the base to support the plastic pin. The nail head protruding from the underside would prevent the pin base from sliding into the aluminum channel so I melted a little divot to allow the nail to sit flush.

The hole I’d drilled in the pin was slightly smaller than the diameter of the picture hanger nail. After pushing the nail through the base, I carefully heated its tip and pushed the pin down over it. The plastic melted just enough to provide a surprisingly snug fit. The repaired pins were sturdy and ready for action.

Rhodes Caddy

When I started lugging my 54 around to shows, I soon decided that it needed casters. When I restore the case on that piano, I won’t want to ruin the original look by reinstalling those casters. Also, with a small shop, I need to be able to move other pianos around easily. Building a dolly out of angle iron was a very easy, straightforward project.
Materials included two five-foot pieces of angle iron, four 2″ casters, 16 1/4″x1 carriage bolts and 16 1/4″ nylon lock nuts. After cutting the angle iron, the unit just bolted together. At first, I planned on installing cross bracing, but after tightening the corners, it was clear this was unnecessary. The 1″ carriage bolts were the smallest I found but they were still too long and obstructed the motion of the caster so I cut them off after tightening everything down.
Some strips of 1-1/4″ foam rubber weather stripping added the finishing touch and made for a (nearly) perfect fit.

1973 Seventy Three Mk I

When referring to these pianos, most people say “Fender Rhodes” even though the Fender name only appeared on units for 9 of the 22 years they were in production. According to the Fender Rhodes Supersite, there were no changes to the piano’s construction that coincided with the dropping of the Fender name. So for all practical purposes, there is no difference between a Rhodes and a Fender Rhodes. Regardless, I wanted one with badges that included “Fender”.

Once again, eBay came through for me and I paid what was probably too much for a 1973 Seventy Three Mk I. The seller had acquired it at an auction at a university where it had been in storage for many years. Like the last eBay purchase, this one included all components. This time, it even included the legs and sustain pedal. The only things missing are a few pieces of case hardware, the knob for the leg braces and the vinyl leg bag.

In 1973, Rhodes were built with wooden harp supports instead of aluminum. The hammers were “hybrid”, made up of both plastic and wood. What I don’t know is whether the damper felts are extremely misshapen or were designed to partly wrap around the tine like on an acoustic piano. The pickups on this one were wrapped with a cool green wire. I’ve had to re-wrap six pickups on my 54 so I was surprised to find that this one, like the last 73, seemed to have all of its pickups intact.

The case and Tolex have a few road scars and had been outfitted with some aftermarket latches. I don’t even know how double-hung window locks could have held the case closed. A few tone bar grommets have blown out and some hammer tips are missing but other than that, the interior is in pristine condition.

Tolex

Using one of the old pieces of Tolex as a template, I began by cutting the sides from the new material. I decided against trying to use any of the old face pieces as templates as they were too torn and brittle to work with.

I worked on the bottom half first. With no leg compartment and only one face surface to take care of, it would be a simpler job to start out on. I thought it might be easier to spread the glue with the case hanging from a roof truss. This turned out not to be the case and when I got to the top half, I didn’t bother with that apparatus.

I applied the Tolex glue liberally to both the case and the fabric using a small 4″ paint roller and a foam brush. After waiting about 15 minutes for the glue to become tacky, I applied the first end piece. Although it went on well enough, I was a little concerned that the glue wasn’t holding as well as it should. The glue is touted as having an extraordinarily long working time (like days or even a week) but as the job progressed to the face piece, its poor short-term performance was making things a little frustrating.

I found the screen repair tool I had to be very useful in creating tight inside edges.

I spent a while trying to smooth the flat surfaces and keep the edges tight but eventually decided it was an act of futility and left it for the night. By the next morning things were looking up. The glue had finally agreed to display its adhesive characteristics and I was able to touch up a few trouble spots from the night before. As further time passes, the glue seems to be improving its bonding strength and I’m more confident now that it will mature to an appropriately semi-permanent finished product.

All in all, I’m pretty happy with the way things turned out. There were a few victories and a couple of lessons learned. I started with four yards of Tolex and had only barely enough to cover all surfaces.

Case Preparation


After removing all of the external case hardware and everything from the inside, it was time to peel the Tolex. In some places, the glue was still holding strong and the vinyl took some wood with it. Other areas had clearly seen more moisture and gave up their covering without a fight.

The Tolex repair video produced by Vintage Vibe says to use the old pieces as templates for cutting the new ones. Some pieces were better suited than others for this. Luckily the more intricate end pieces survived largely intact.

Eventually, both halves of the case were freed from all remnants of Tolex. About three hours and a couple of 80 grit sanding discs later, they were taken down to bare wood. Removing the old glue from inside the leg box was exceptionally tedious and eventually I had to quit and call it good enough.

Despite having gotten wet, the plywood seems entirely structurally sound. The only places that were a little soft was where screws had transmitted moisture into the wood. Several of the old screw holes needed to be drilled out and plugged with new wood. I ended up deciding to just refill all of the spots where wood screws would need to grab hold.

Before putting on the new Tolex, all of the nicks and dents needed to be filled with Bondo. Finally, after another pass with the orbital sander, the case was ready to be covered.

Waterlogged


eBay is chock-full of Rhodes pianos and I immediately found a good prospect. It was definitely in poor condition but still had all of its components (although no legs or sustain pedal).

The seller posited that the piano had gotten wet at some point in its life and, after examining it in person, I’d have to agree. Much of the Tolex was damaged and peeling and some of the metal inside was a bit corroded. The threads of many of the screws that secured the case hardware showed that they had spent some time steeped in damp wood.

When I hooked it up to an amplifier, I was pleasantly surprised to hear sound coming out of most of the pickups. Only one tine was actually broken, although more will likely need to be replaced. Almost every tonebar/tine was completely out-of-whack, some pointing nowhere near their respective pickups while others pushed directly up against them. Apparently one tonebar had gone missing at some point and was replaced by a mismatched unit. The repairman re-bent the incorrect tonebar to make it resonate at a frequency closer to what was intended. Also, someone removed half of the upper-register tonebar screws. I’ve seen this modification before and believe it to be an attempt to allow the tines to travel more to better produce the trademark growl on hard key strikes.

The piano was not supplied with either its legs or sustain pedal hardware. Unfortunately, those items are expensive to purchase – either originals or aftermarket reproductions. I’m not concerned with maintaining only original components so I’ll be keeping my eyes open for options.

Being a relative novice to the world of Rhodes pianos, I was a little surprised to see that the keys were completely plastic. Even my late-model 54 has wooden keys. This doesn’t concern me too much but I’m sure these plastic keys are considered less desirable than the wooden ones. This also means that the guide pins are plastic and the keys do not employ felt bushings where they contact the pins. This is bound to change the feel of the instrument and I’ll be interested to compare it to the wooden keys when it’s playable. Given the piano’s history, the plastic keys are probably a blessing. The soft wood of the older keys would certainly have soaked up any moisture that had gotten near them.

My first Rhodes

I don’t remember the exact year I bought my Rhodes Fifty Four. It spent its first year or two set up in the makeshift recording studio we’d assembled in Chris Burkey‘s basement so it must have been ’88 or ’89. At the time, I didn’t know what it was. All I knew was that it had weighted keys and, at $300, was just barely within the budget of a guy working his first summer job.

I played that Fifty Four regularly through the rest of high school and the first half of college. Shortly after school, I began a ten-year sojourn in acoustic bluegrass guitar. Eventually, I came back to piano when I got a chance to play with the folks out at Club Dave. The Fifty Four remained in storage though.

About four months ago, I cleaned out the “basement” of our house and brought the Rhodes back into the light of day. Although it still played well enough, it needed some work to restore its full potential. After placing a few orders from the good folks at Vintage Vibe and spending some hours tweaking and tuning, it’s now in pretty good shape. I’ve had so much fun working on and especially playing the Fifty Four that I decided I’d really like to try a more thorough restoration job.