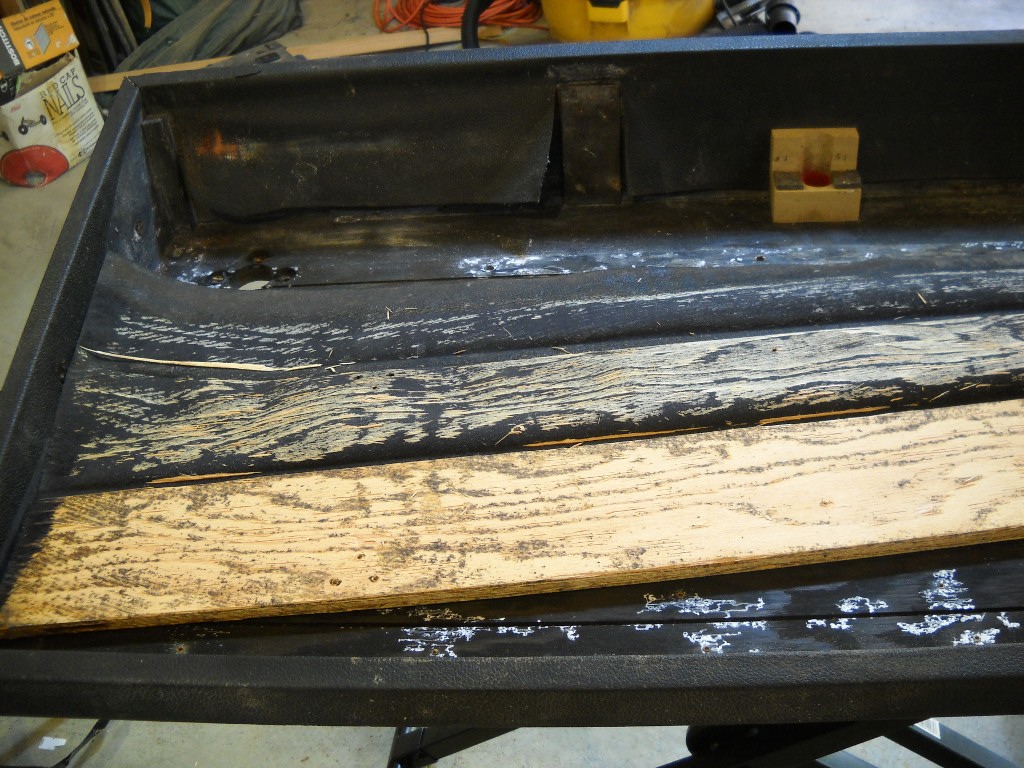
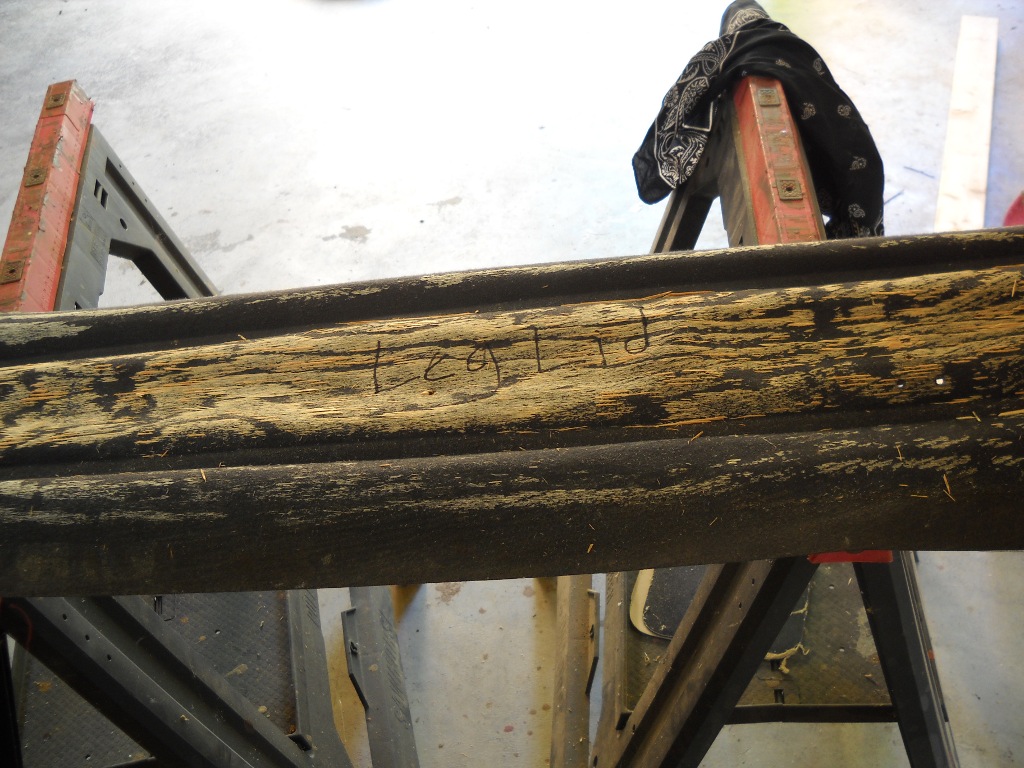
After removing all of the external case hardware and everything from the inside, it was time to peel the Tolex. In some places, the glue was still holding strong and the vinyl took some wood with it. Other areas had clearly seen more moisture and gave up their covering without a fight.
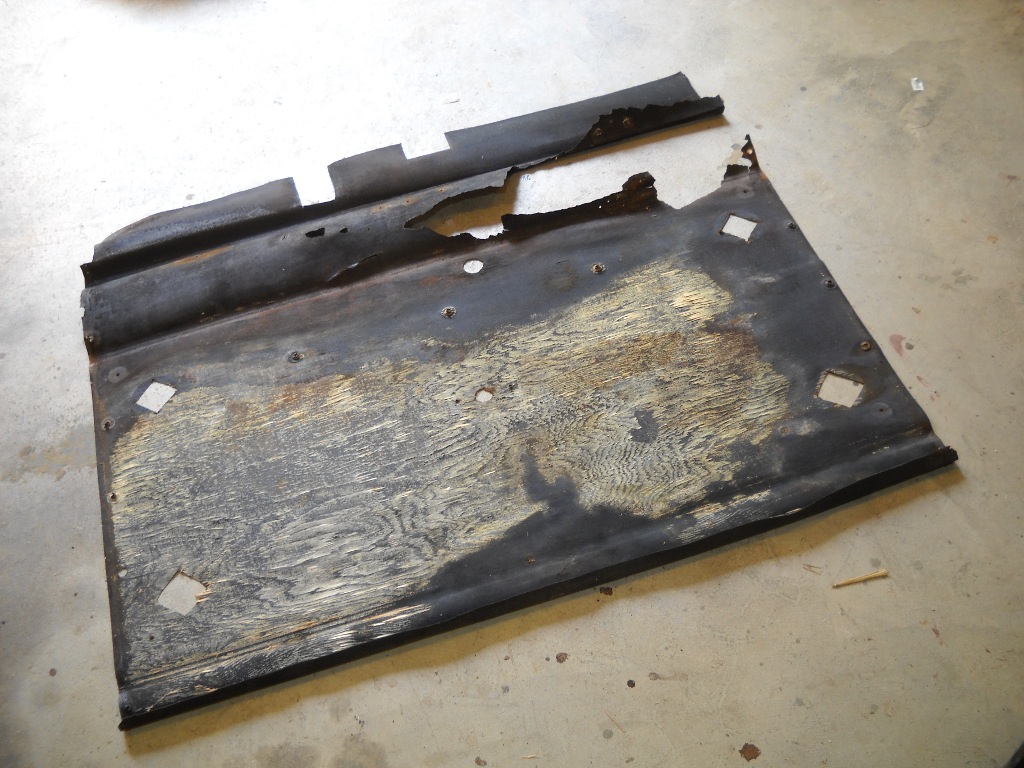
The Tolex repair video produced by Vintage Vibe says to use the old pieces as templates for cutting the new ones. Some pieces were better suited than others for this. Luckily the more intricate end pieces survived largely intact.
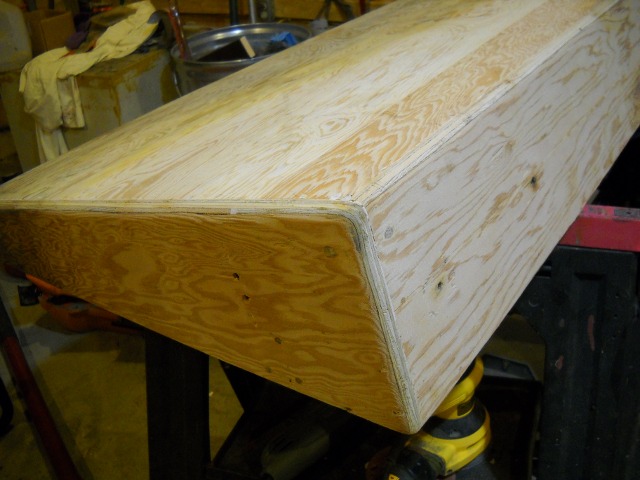
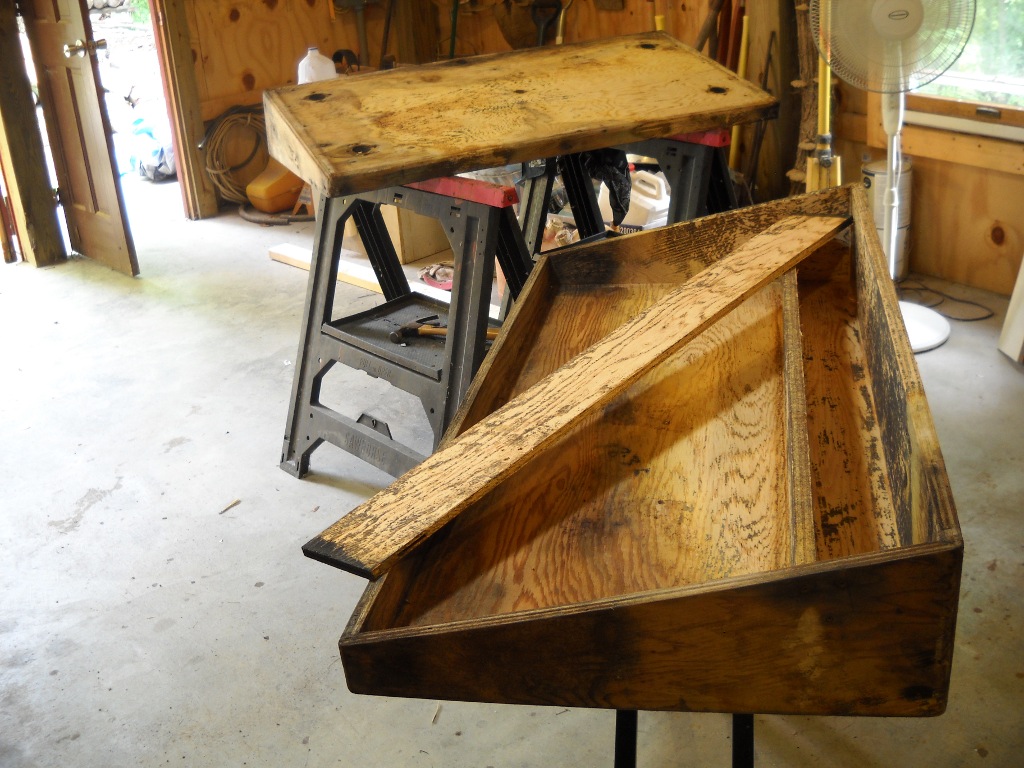
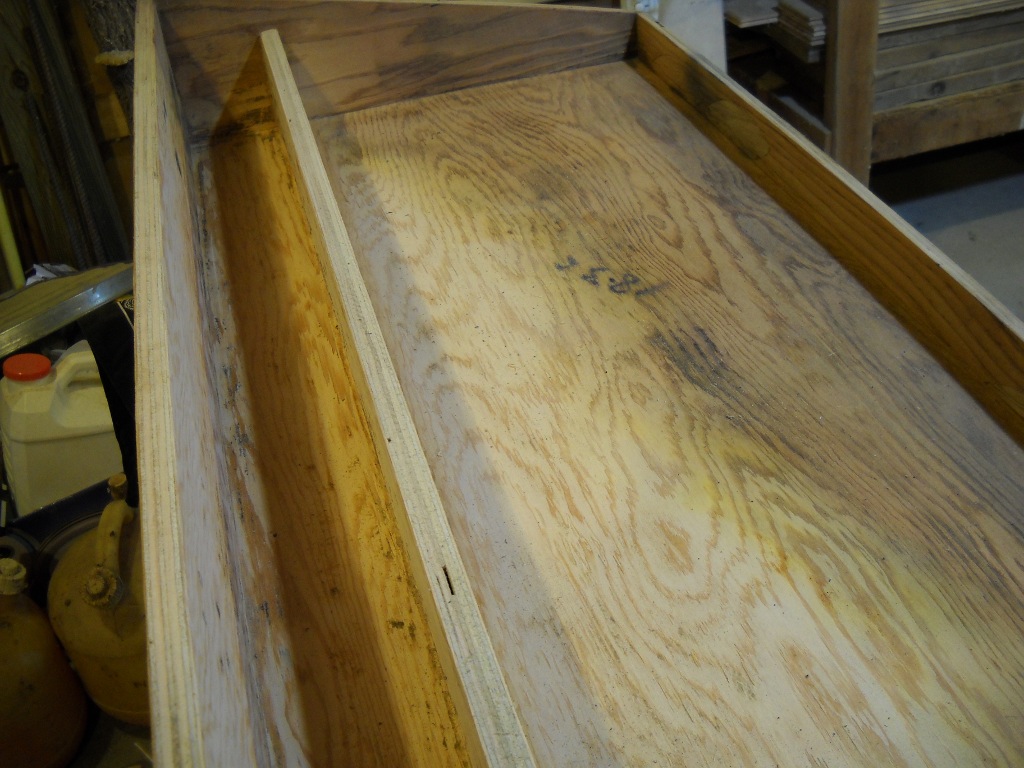
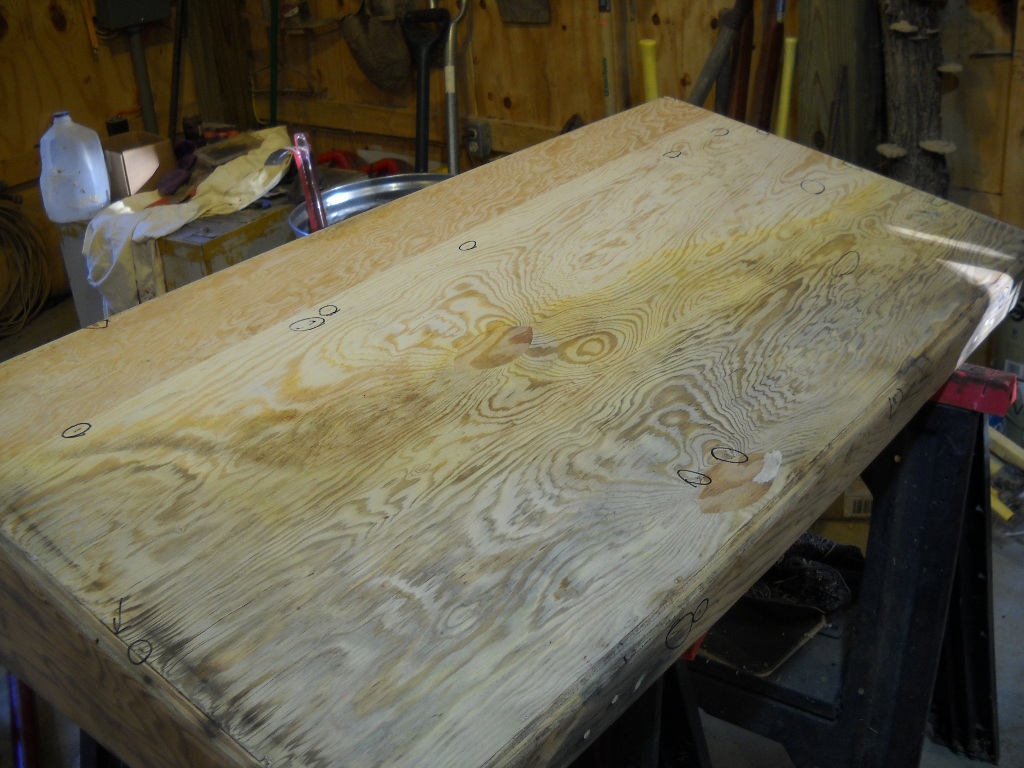
Eventually, both halves of the case were freed from all remnants of Tolex. About three hours and a couple of 80 grit sanding discs later, they were taken down to bare wood. Removing the old glue from inside the leg box was exceptionally tedious and eventually I had to quit and call it good enough.
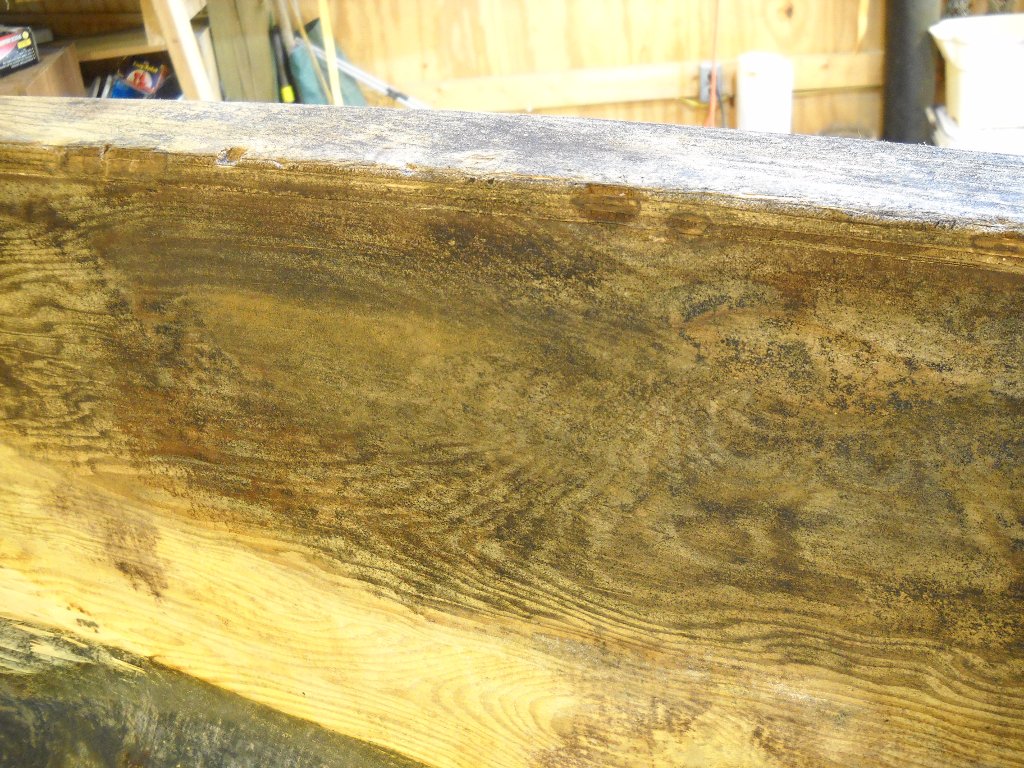
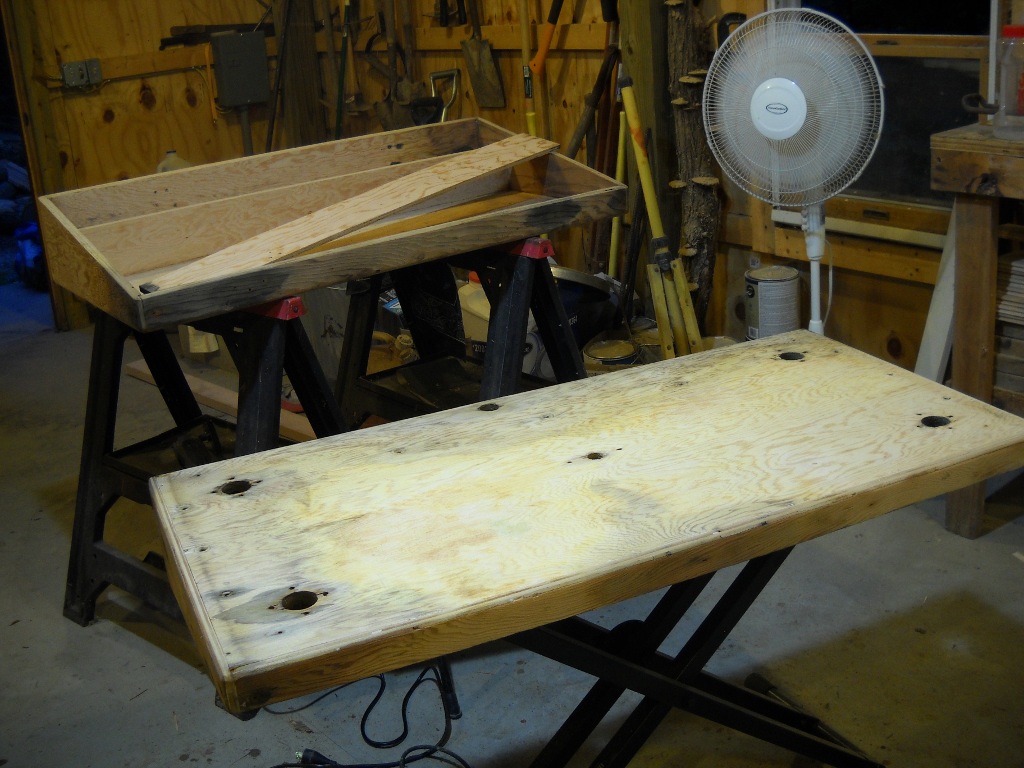
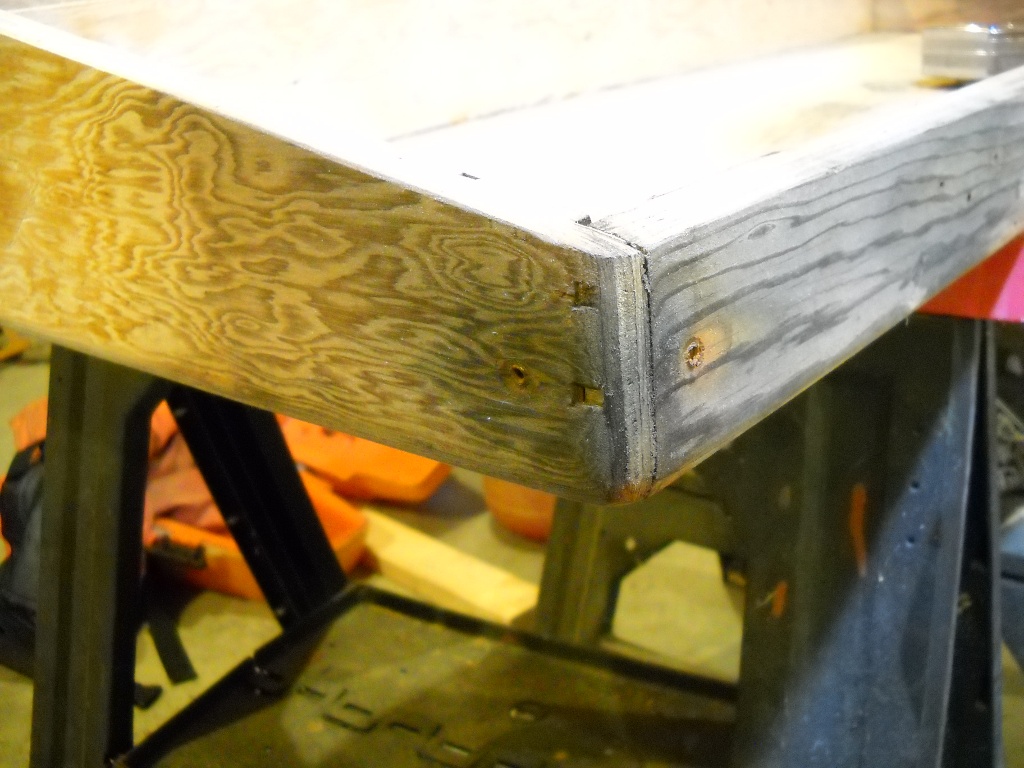
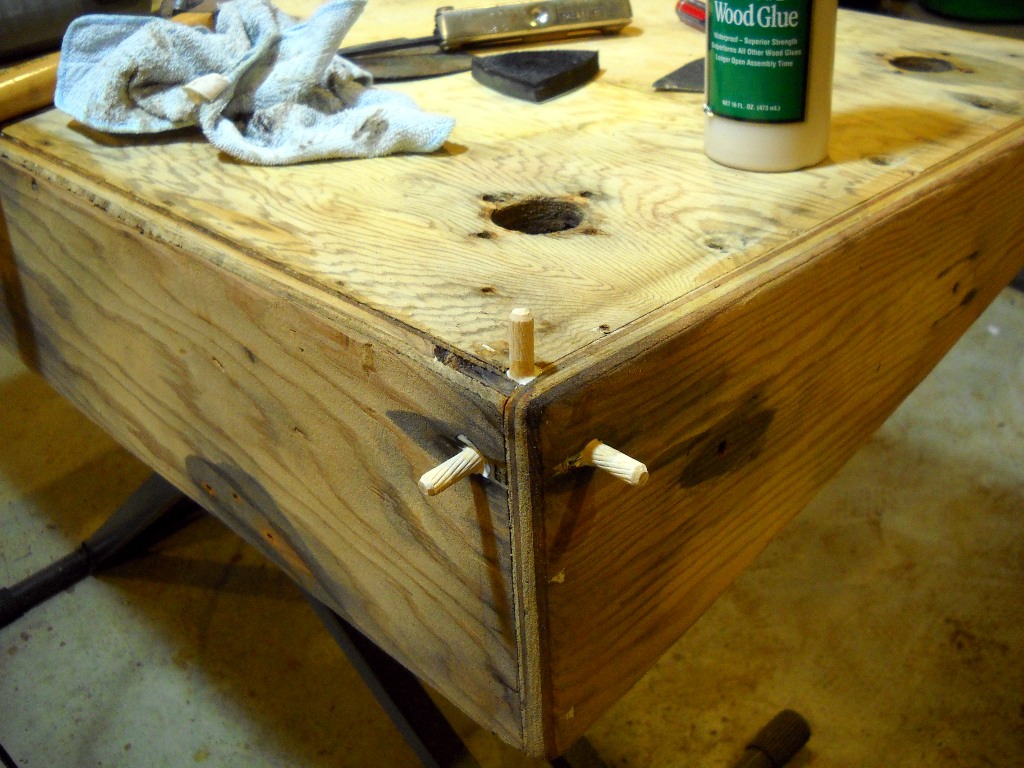
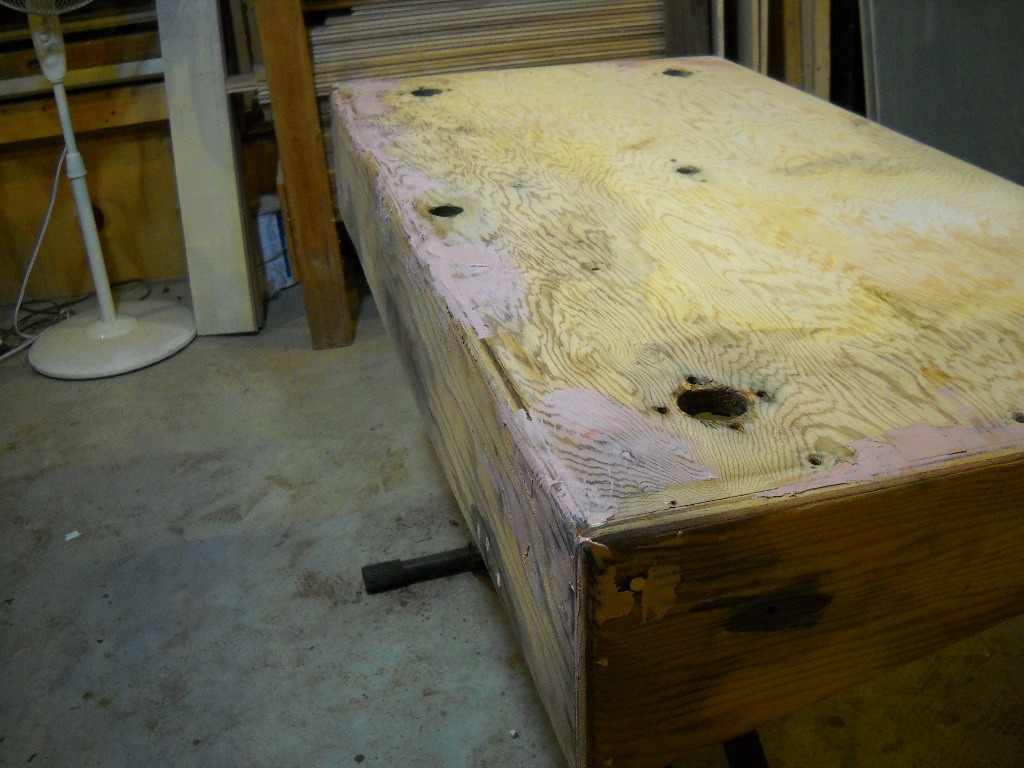
Despite having gotten wet, the plywood seems entirely structurally sound. The only places that were a little soft was where screws had transmitted moisture into the wood. Several of the old screw holes needed to be drilled out and plugged with new wood. I ended up deciding to just refill all of the spots where wood screws would need to grab hold.
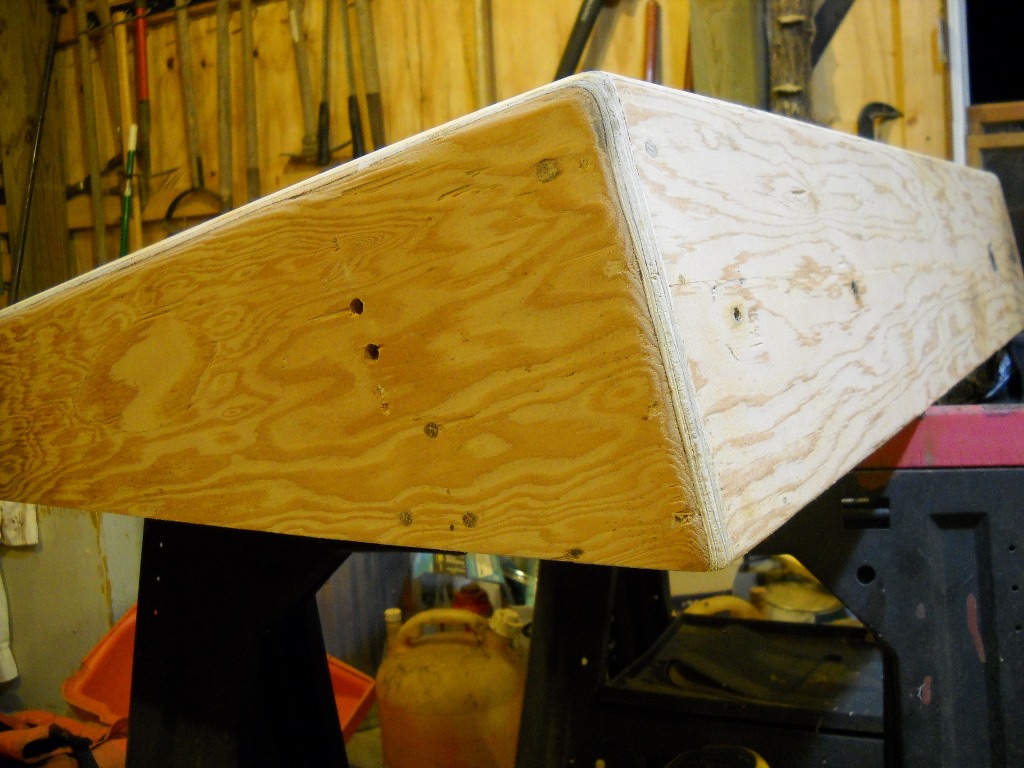
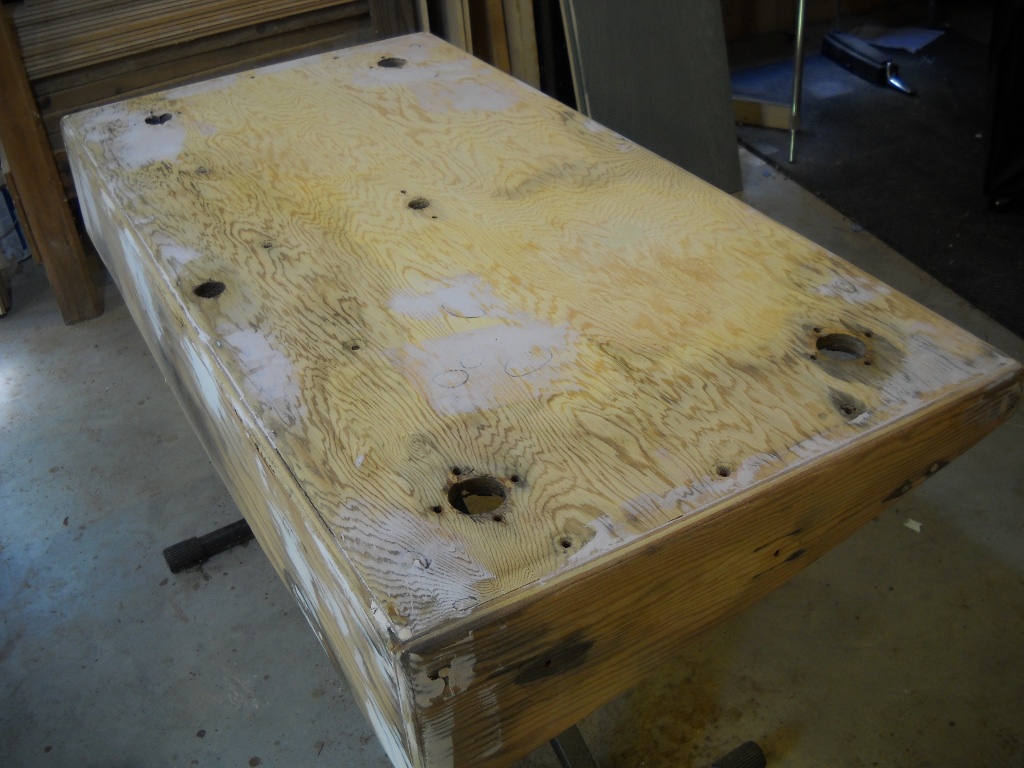
Before putting on the new Tolex, all of the nicks and dents needed to be filled with Bondo. Finally, after another pass with the orbital sander, the case was ready to be covered.