Parallel Wiring

As mentioned in my last post, my latest Seventy Three is the first Seventy Three I’ve ever played, the others being unplayable since I’ve received them. It’s also the first time I’ve gotten to hear a Mark I in person and boy does it sound good. My trusty Fifty Four sounds downright sterile next to it. The Seventy Three is thick, chimey and a little temperamental in that you’ve got to apply more finesse to properly manage the available range of timbres.

I’m determined to figure out what gives the older piano its superior tone. The construction of the 1976 model is very similar to that of the Fifty Four. The keys are wooden, the hammers are all plastic, the harp frame is aluminum, the tone bars are of the same design and I’m fairly certain the tines are the same Torrington-made items. The most obvious difference is in the way the pickups are wired.

Probably because people were unhappy with the low signal strength of the traditional Rhodes pickup wiring scheme, the Fifty Fours were wired so that all of their 54 pickups are in series with each other. With 54 roughly 185 ohm pickups wired in series, the output at the jack measures somewhere in the neighborhood of 10K ohms – closer to the level of most other electric instruments that may be sharing the stage. One of the tradeoffs of increasing the signal in this way is a loss of some of the fidelity of each pickup. The high frequencies are lost and the sound becomes kind of muddy and homogenous.

I don’t mind turning the volume knob up on my amplifier to compensate for a weaker output. I’d rather be able to hear the full character of the pickups and to that end, I decided to rewire the Fifty Four to match the layout of the Seventy Threes. There may have been other wiring schemes used, but all three Seventy Threes I’ve got were wired the same way: groups of three pickups (one group of four because 73 isn’t evenly divisible by three) in parallel joined in series to each other. This results in an output of about 1.3K ohms.

Access to the pickup lugs is mostly obstructed by the tone bars suspended above them. To make the rewiring process easier, I first removed the tone bar rail from the harp frame. To convert the series wiring to parallel groups, jumpers were added between trios of neighboring pickups. This involved stripping a bunch of 22 gauge hookup wire, cutting it into short pieces and soldering each length to the lugs.

After adding the jumpers, the total output came to 1.25K ohms. Doing the math (185 / 3 * 18), it should have only been around 1K. A while ago I rewound six dead pickups with the incorrect gauge wire and they’re significantly hotter than the originals providing a boost to the total circuit’s reading.

Comparing a recording made before the modification to one made after, I’m pretty sure I hear a difference. It’s still nowhere near the sound of that Seventy Three though so this will bear further investigation.

One advantage of the rewiring is that the signal no longer overloads the input of the Tine Bomb preamp I installed. When it was cranking out 10K ohms, it was impossible to get a clean sound from the preamp. Now, it seems to be operating more within its comfort zone.

Stretch Tuning

I’m waiting for parts before I can proceed with the Seventy Three so I thought I’d use the time to try retuning my Fifty Four. According to the Service Manual, Rhodes pianos are tuned to equal temperament at the factory – each note is tuned to its theoretically correct frequency. I’m not certain why that is as I don’t think there’s much question that stretch tuning is more appropriate. I’ve never fully understood the theory behind stretch tuning so I’ll leave it to Wikipedia to provide the back story.

I’ve heard more than once that Rhodes pianos are notorious for going out of tune. Even though mine spent more than a few years being moved around on a regular basis, I guess it’s led a relatively sheltered life. In all the years I’ve owned it, I don’t think I’ve ever adjusted the tuning and according to my tuner, the tines haven’t moved very far off their targets.

Generally, the pitch of a particular note is determined by the size of the tone bar and length of the tine. By themselves though, the tone bar and tine are engineered to produce a pitch somewhere only in the neighborhood of the desired value, give or take a half step. To get the rest of the way, little springs are wrapped around the tines. The pitch can be fine-tuned by sliding the springs along the length of the tine. Making this adjustment can be tricky business though and I went through a few different ideas trying to find the easiest approach.

Perhaps the most interesting attempt involved a Dremel engraver. I chucked a modified screwdriver into the tool thinking maybe the reciprocating vibrations it produced might help move the springs in a controlled manner. It actually worked to a degree but was a pain to use and not really worth the effort.

Vintage Vibe sells a standard tack puller as a tuning tool. The angle on the end allows you to reach around the tone bar and the notch cut in the end helps to catch the spring. I found it hard to control the adjustments I was making, particularly on the higher notes where smaller and smaller movements are required to make the same pitch adjustments. For a while, I tried using a small hammer to tap the tool’s handle as it pushed against the spring but it was still too difficult to give it just the right nudge.

There is an alternative to using the keys to sound the notes while adjusting the tuning. The harp assembly is mounted on two arms that, after a few screws are removed, allow it to swing up clear of the hammers and dampers. Even though the hammers can’t reach, the tines remain positioned in front of their pickups and the harp can remain plugged into the amplifier. From here, the tines can be plucked and the springs can be moved by hand. I quickly found that very small adjustments could be made by twisting the springs around the tines while applying just a little pressure in the proper direction. This suddenly made it much easier to get even the treble end locked onto the exact pitches.

Traditionalists tune pianos by ear. They strike a tuning fork and match a note, then finish the keyboard by listening for the ‘beats’ made when two nearly identical wavelengths collide. This involves skills I don’t currently possess and for this job, I availed myself of the Peterson StroboFlip tuner. A strobe tuner is a significant upgrade from regular quartz tuners. Compared to the erratic wanderings of the quartz devices, the stability of the strobe’s display makes it a pleasure to work with. The Peterson also allows a much finer control and wider range of pitch offsets making it easier to use for stretch tuning. I recorded a video of the Peterson at work showing how accurate it allows you to be.

To find the proper offset values to use, I referred to the chart provided by the Rhodes Service Manual. A4 (the A above Middle C) is used as a starting reference and is tuned to the standard 440 Hz. As progress is made away from A4, notes are tuned increasingly further away from their mathematically-correct frequencies. Higher notes are adjusted sharp and lower notes are flattened.

The result of this tuning process should be an instrument that sounds more in tune than one set to an equal temperament tuning. I don’t hear it. I played another take of Recorda-Me after retuning. Comparing this to the same tune recorded before, I can’t tell the difference. On a Seventy Three’s wider scale, the “stretching” would be even more pronounced so maybe I’ll have a greater appreciation when I get one of those tuned up.

Tine Bomb Preamp

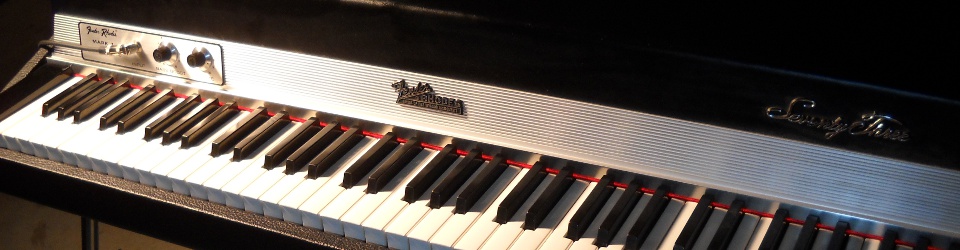
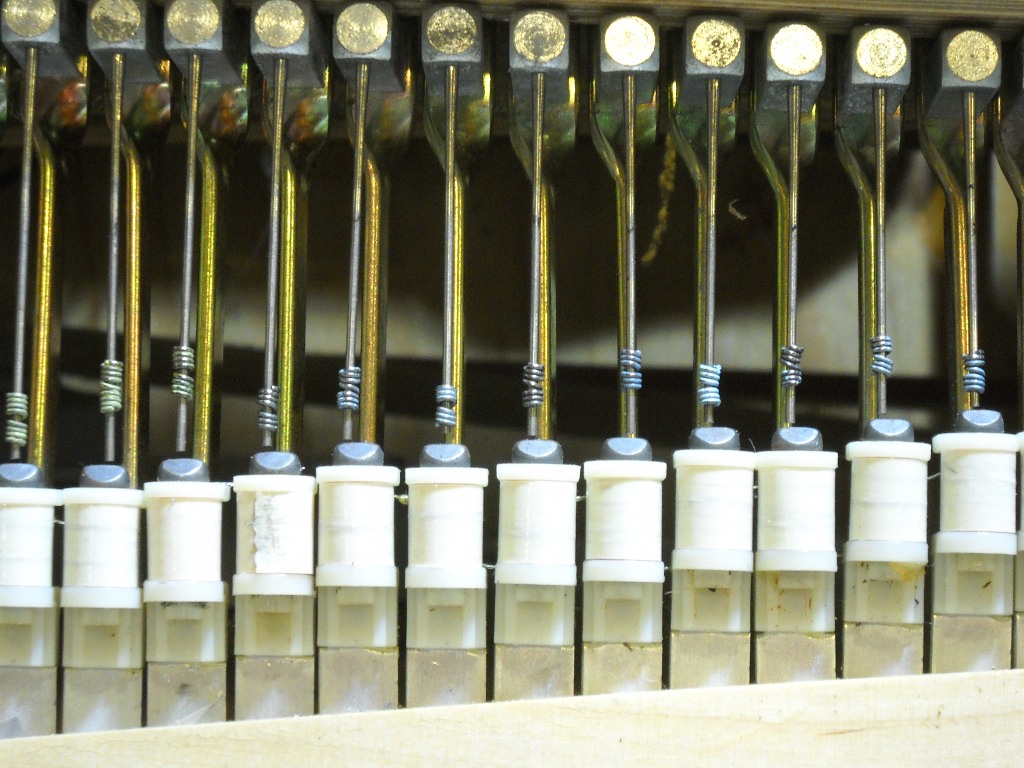
I’ve always been pretty happy with the tone of my Fifty Four. With the right voicing and through the right amp, it produced a sound that could hold its own amid other electrified instruments. That said, I’ve considered it to be lacking the range of harmonic content that could be heard from a full Suitcase model. Only on the very hardest of strikes are you ever rewarded with a hint of the crunch that gives other models so much character. Vintage Vibe’s new Tine Bomb Preamp is designed to help make up for the shortcomings of the Stage’s passive electronics by fattening up the sound both in breadth and strength.

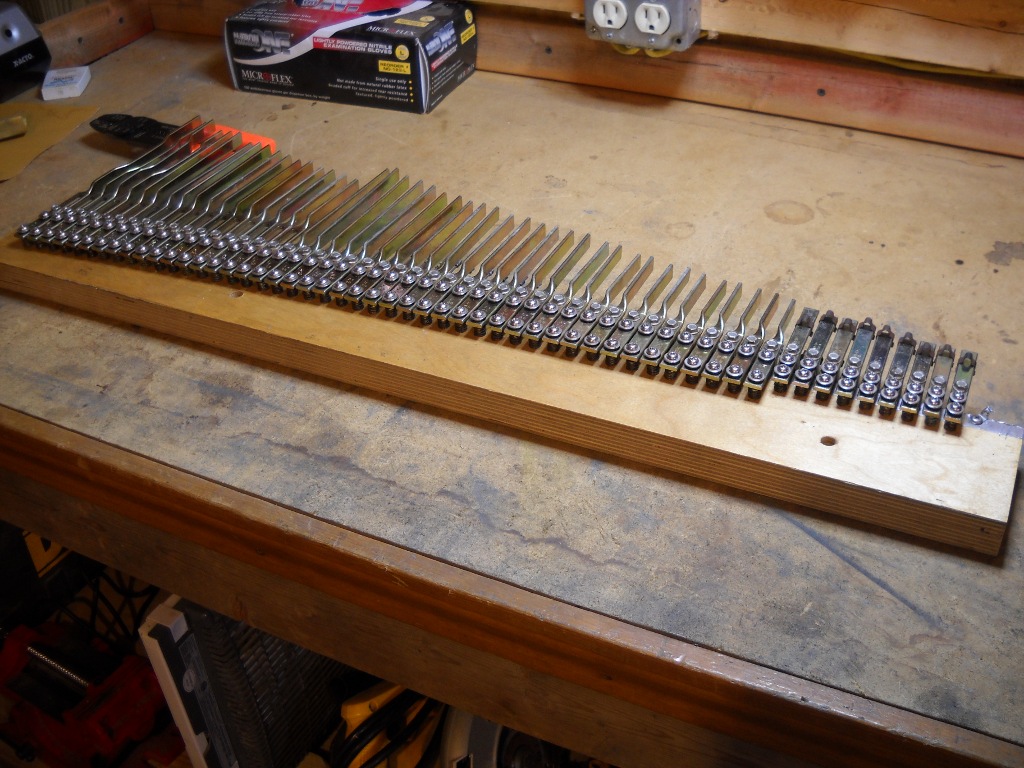
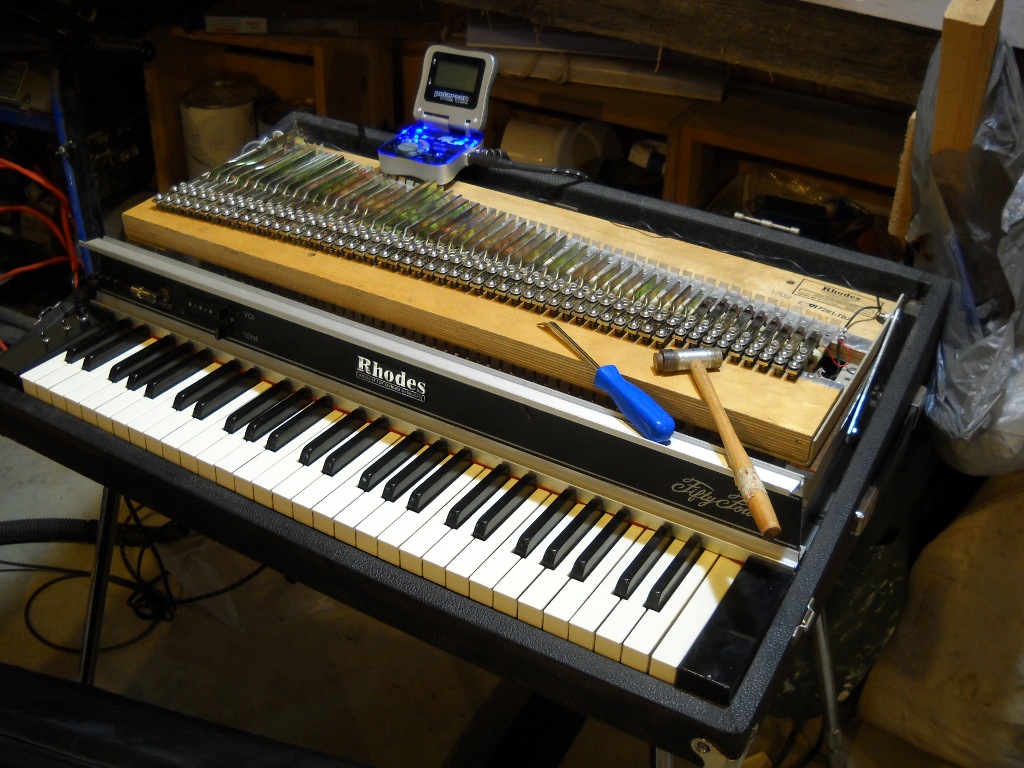
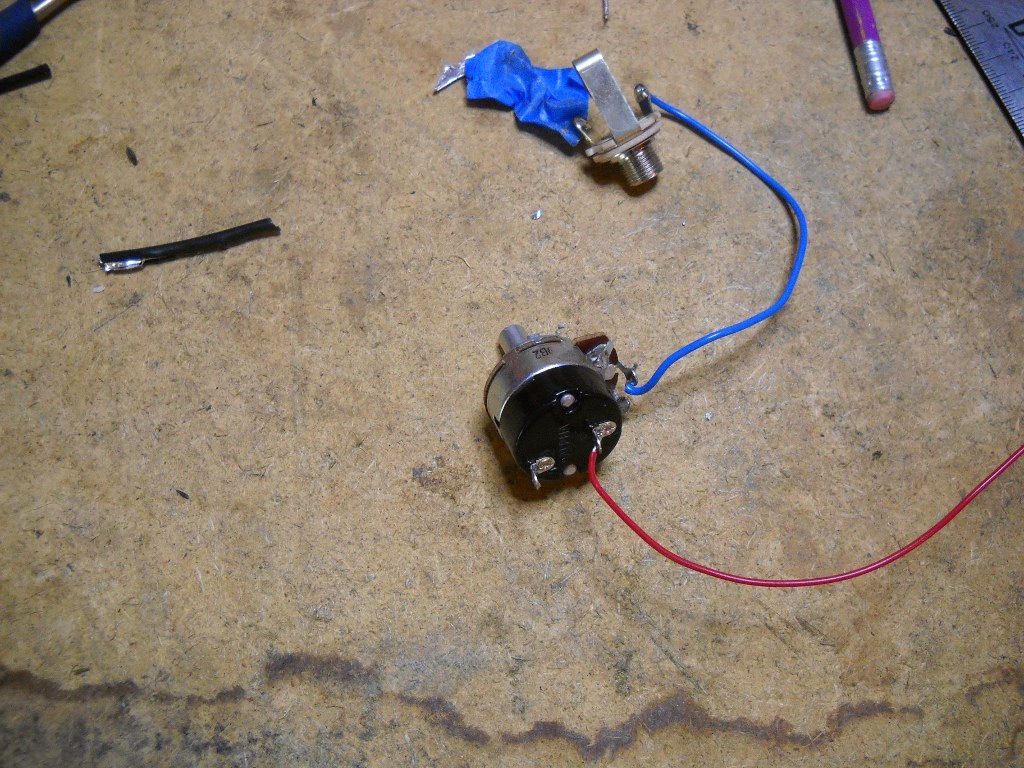
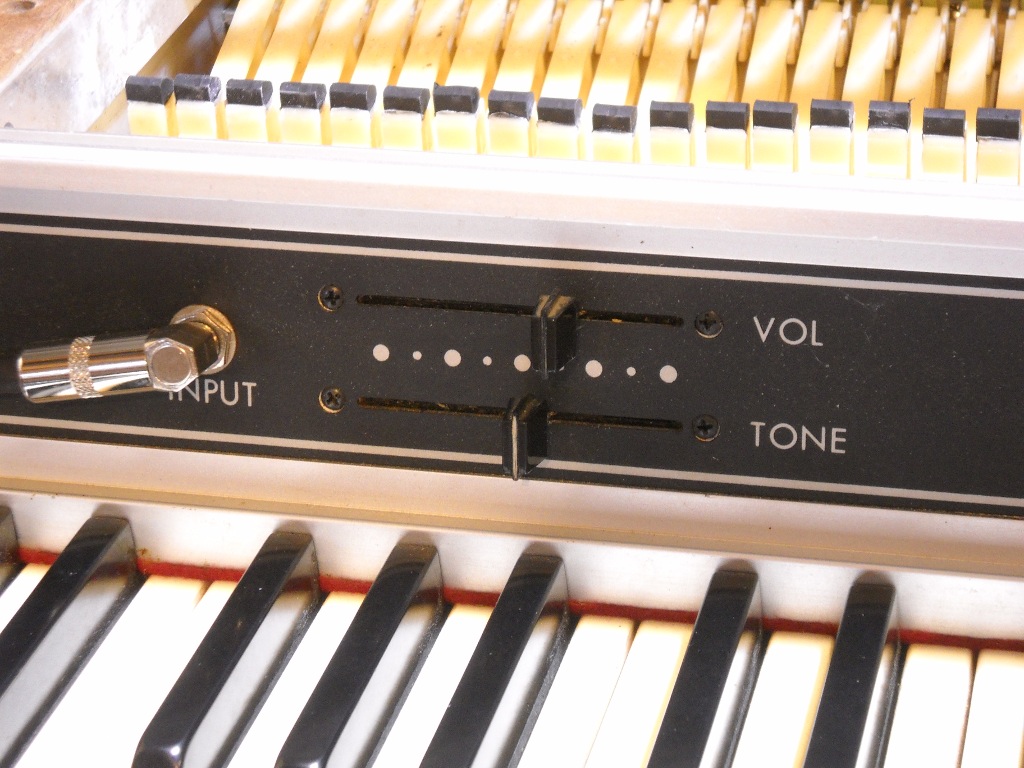
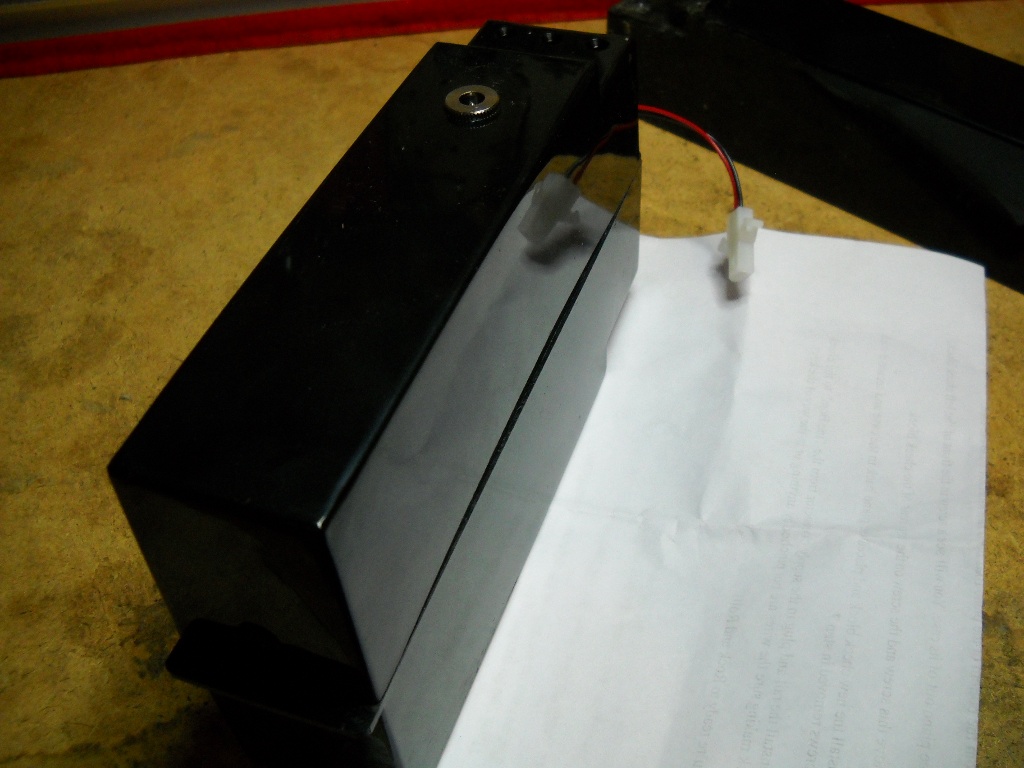
The Tine Bomb arrives with everything needed to retrofit a standard Stage Seventy Three with no soldering and nothing more than a screwdriver and a drill with a 1/8″ bit for tools. The supplied RCA patch cable, tone and volume pots and 1/4″ jack are drop-in replacements for the existing electronics. The new volume pot is also the power switch for the preamp. Unfortunately the new components are not matches for a Fifty Four which features fader-style tone and volume controls.

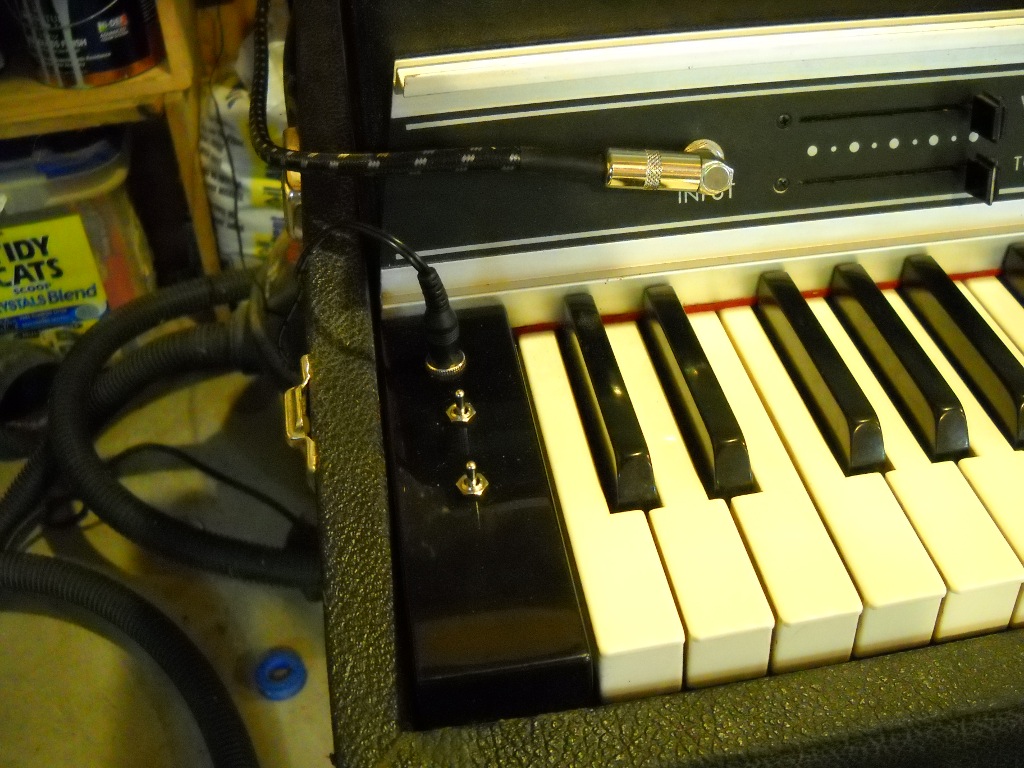
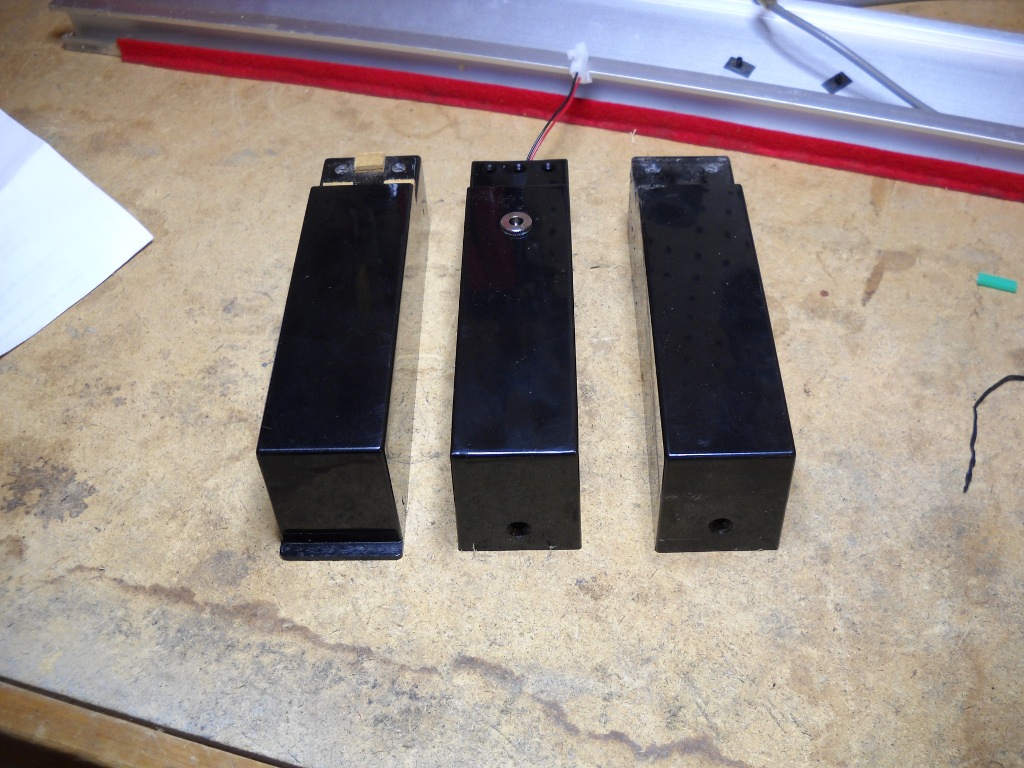
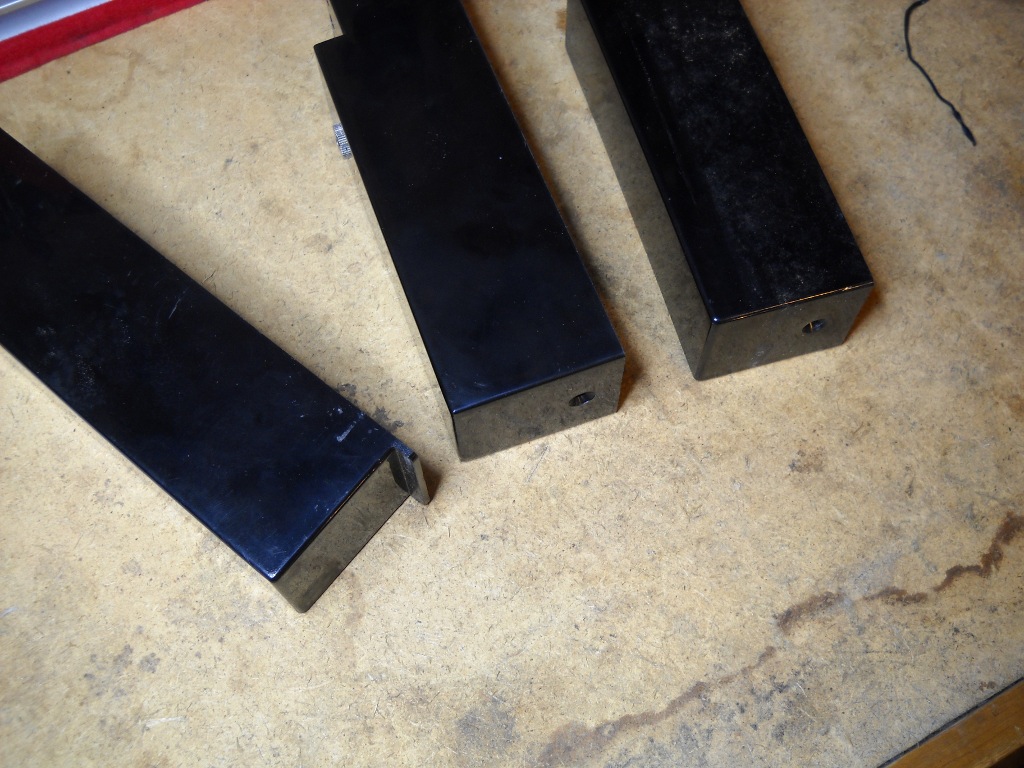
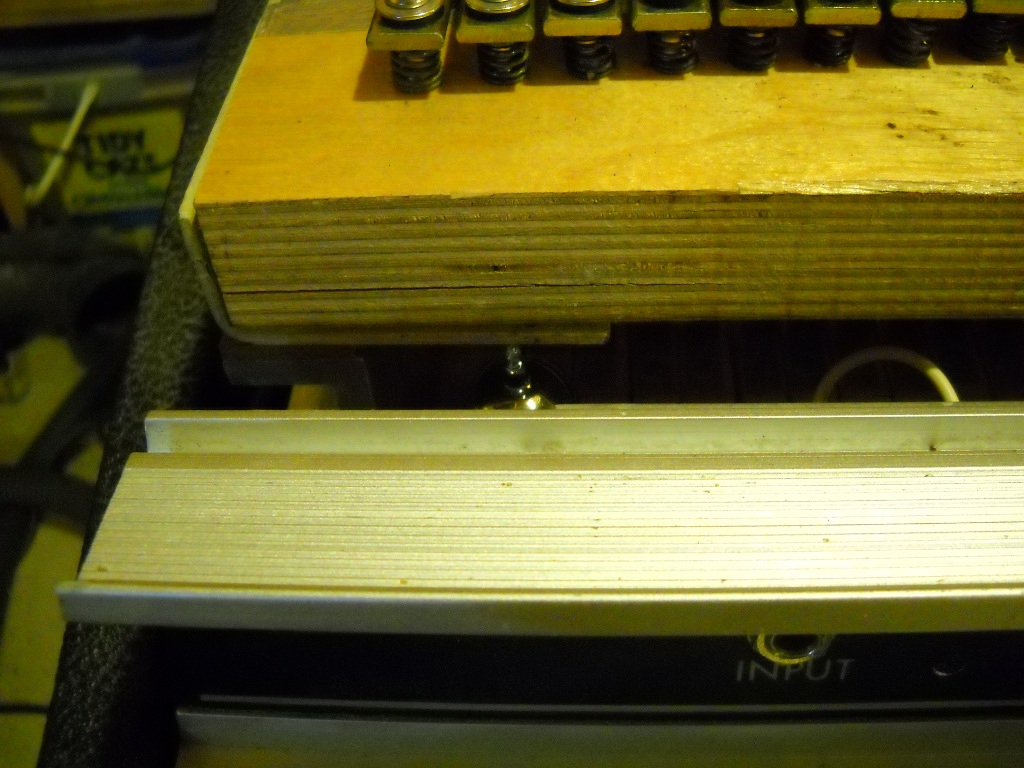
The preamp is powered by a 24 volt DC wall-wart transformer. A barrel-style power jack comes mounted in a replacement cheek block. I debated for a while whether to use the supplied cheek block or remount the jack in the original block. At my day job, I’m frequently reminded of the value of original components once an instrument moves from being old to being collectible and I believe Rhodes pianos are already beginning to make that transition. The new cheek block was exactly the same dimensions as those from both the Fifty Four and my 80’s Seventy Three although the plastic-keyed Seventy Three fastens its cheek blocks with a tab rather than a screw in front. The replacement block was not as dimensionally consistent though and the sides cupped inward a little bit. Once installed, this probably wouldn’t be noticeable. Although not for that reason, in the end I decided to re-use my original block.

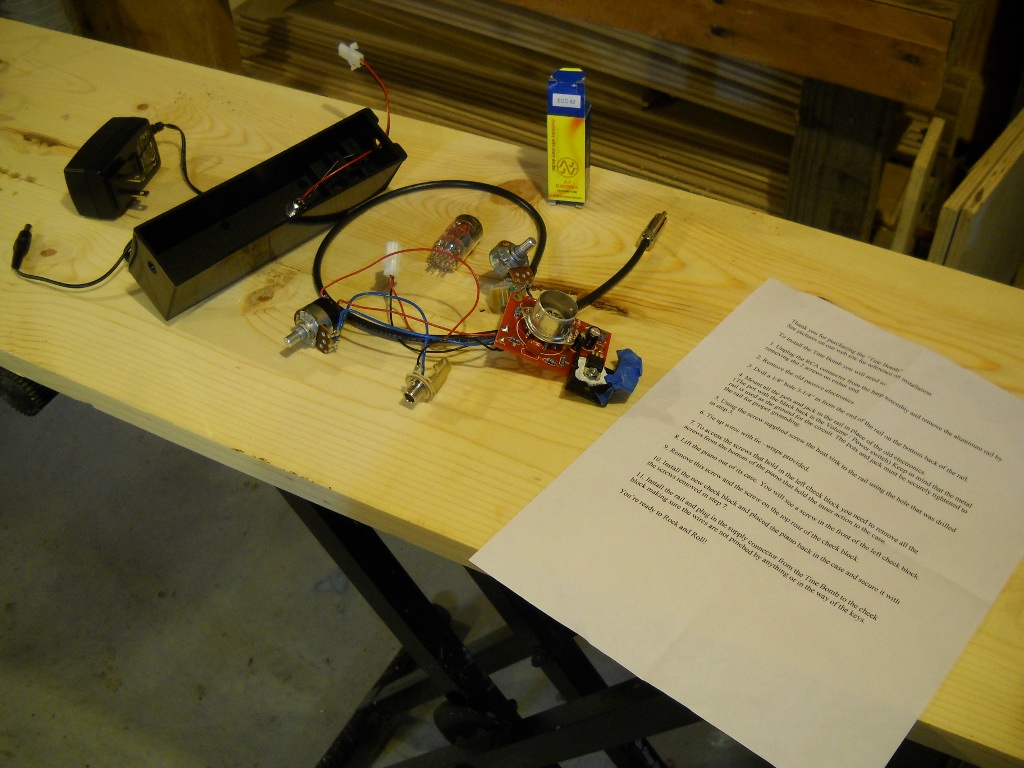
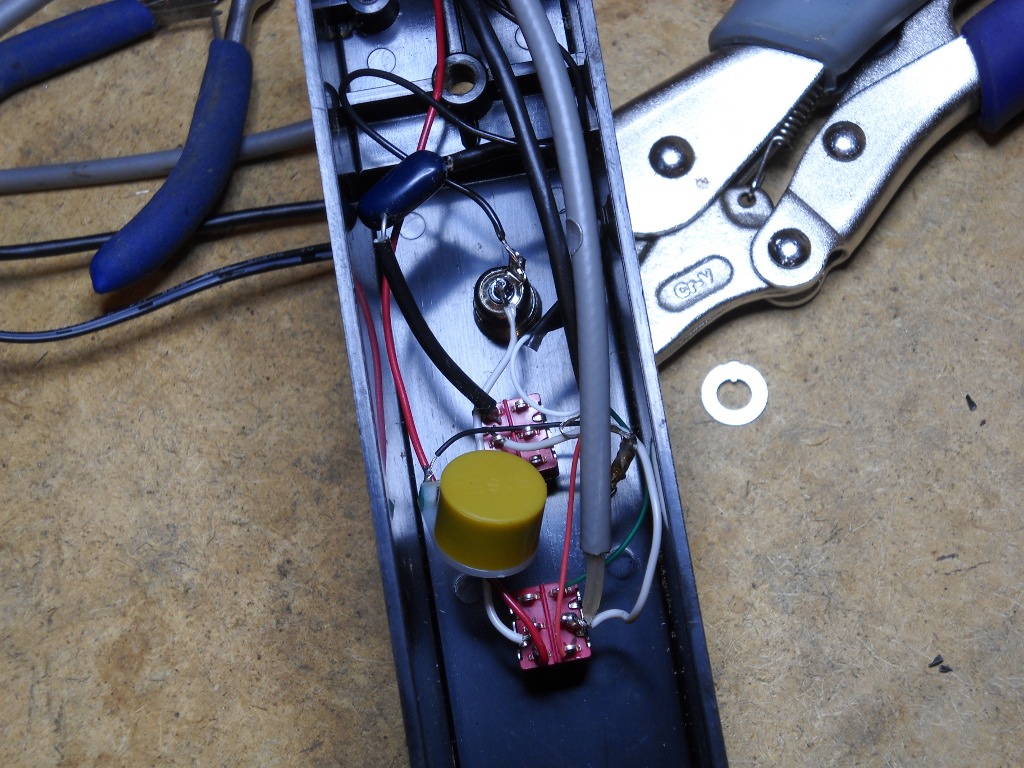
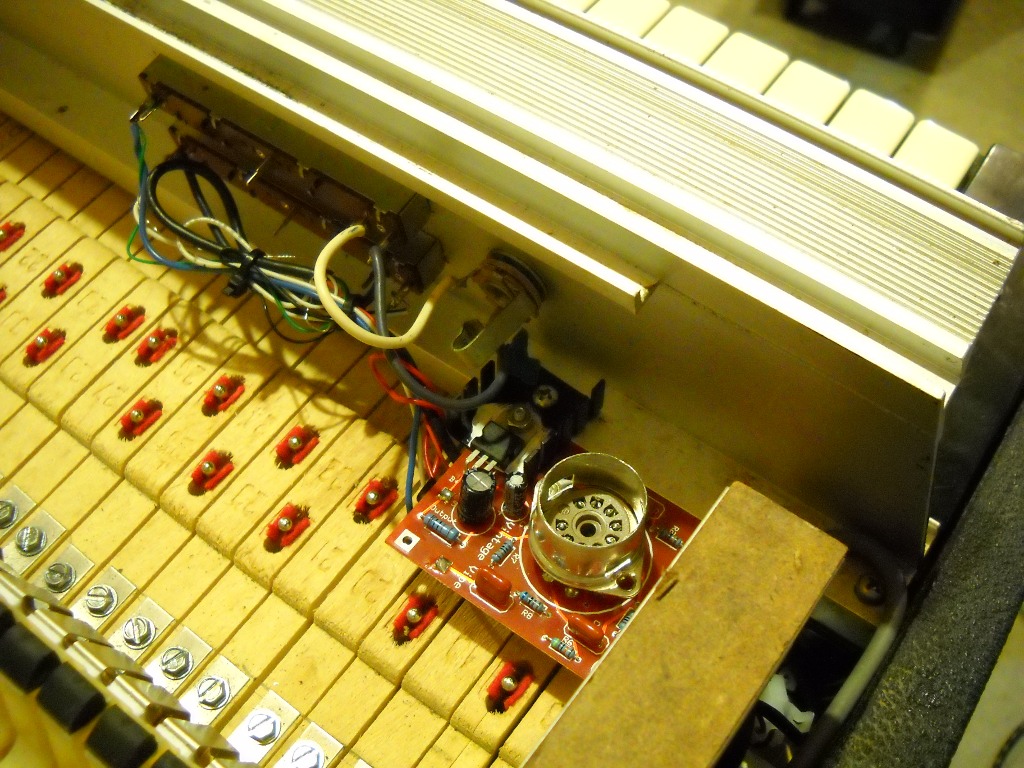
Since I was going to have to do some rewiring anyway, I decided to add a few more options to the setup at the same time. The main feature I was interested in was the ability to bypass the preamp but I also wanted to be able to select through which tone control the sound would pass. The Tine Bomb is pre-wired using a choke rather than a capacitor for the tone circuit. I’m not familiar with the effect produced by a choke and I was concerned it may not work as intended when bypassing the preamp. To put all of this together required the assistance of two double-pole, double-throw mini toggle switches (actually, the tone selector only needed to be single-pole) and a little shielded four-conductor wire. The project also gave me my first chance to try out my new soldering rig.

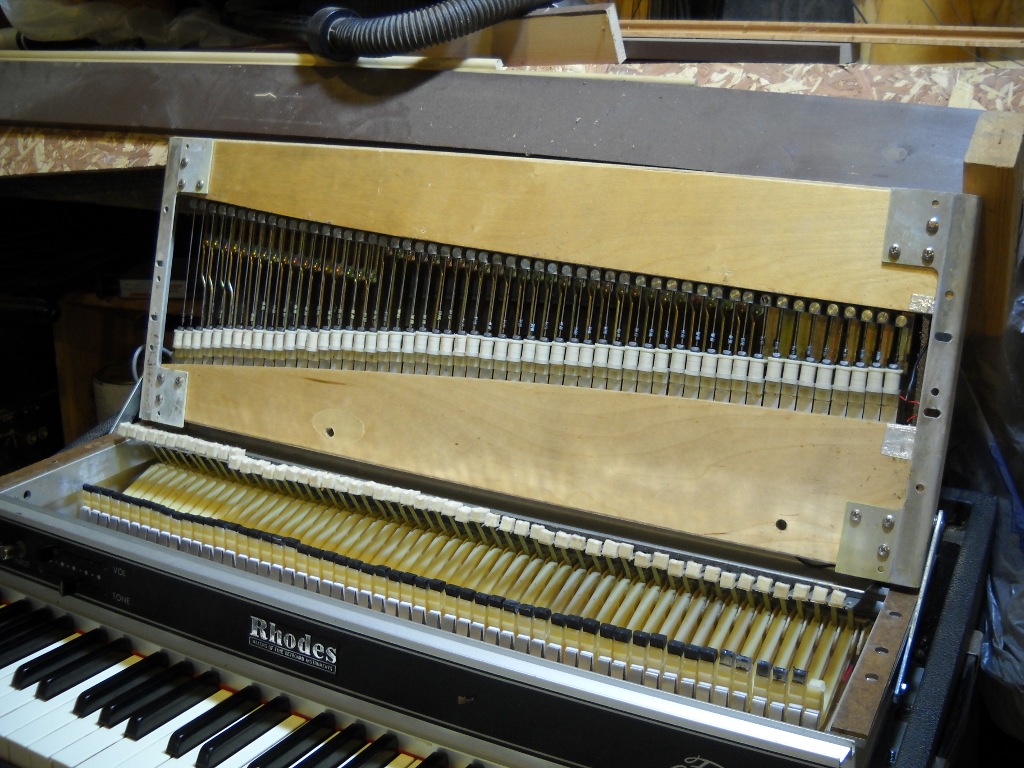
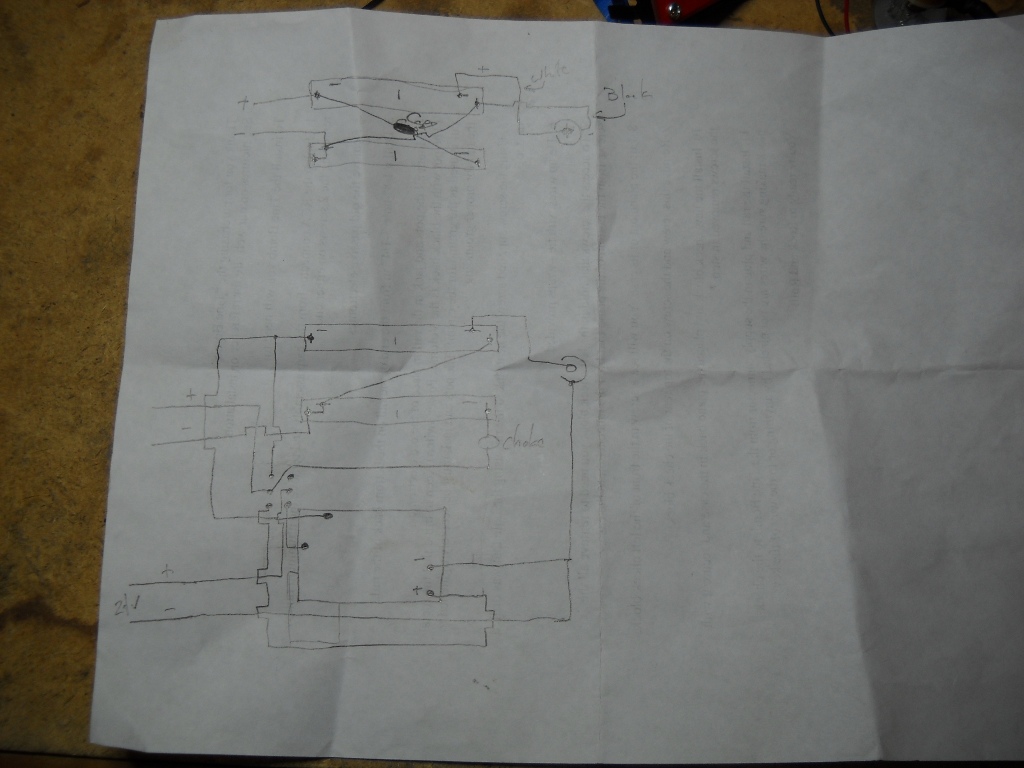
I first drew up some fairly crude wiring diagrams to both figure out the workings of the old controls and also plan the integration of the preamp. The switches and power jack were wired and installed first. The power leads connecting the cheek block jack with the preamp include a connector plug allowing the two to be easily separated. This allows the nameboard to be removed from the block without having to cut any wires. Unfortunately, I didn’t consider this convenience when drawing up my plans and will have to come back later and upgrade the installation.

Update: I feel I should note that the wiring diagram in the picture linked in the post is not complete or correct. I didn’t expect it to actually be legible in the photo. It doesn’t include the tone control switch and it’s missing a ground connection on the volume control.

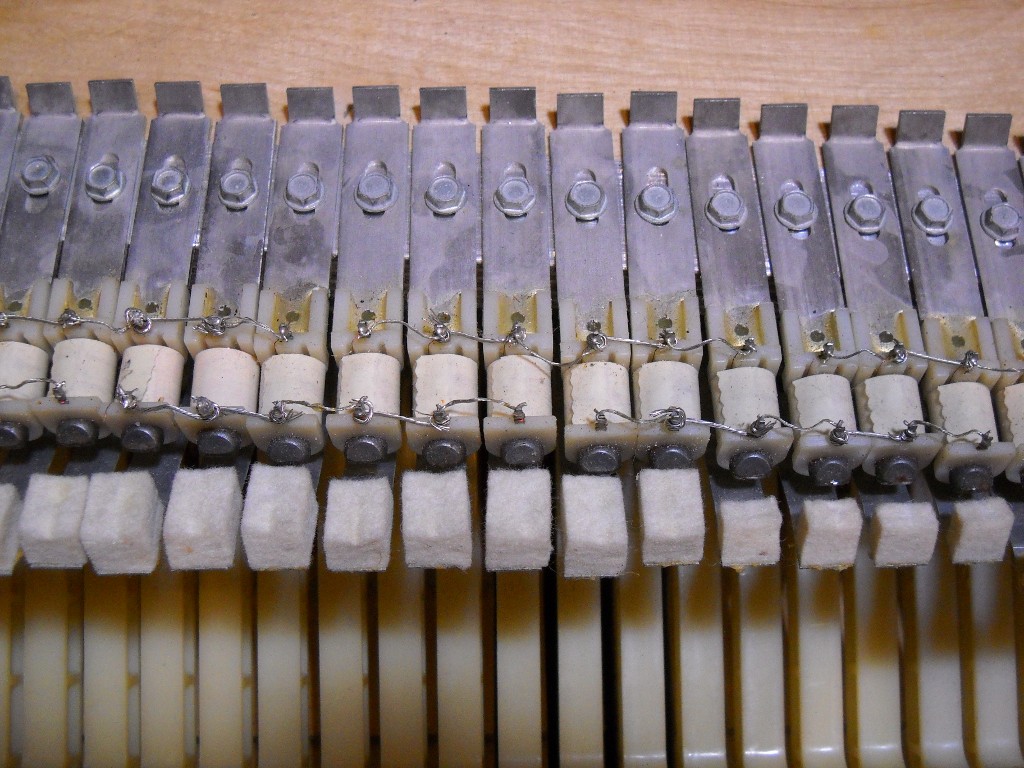
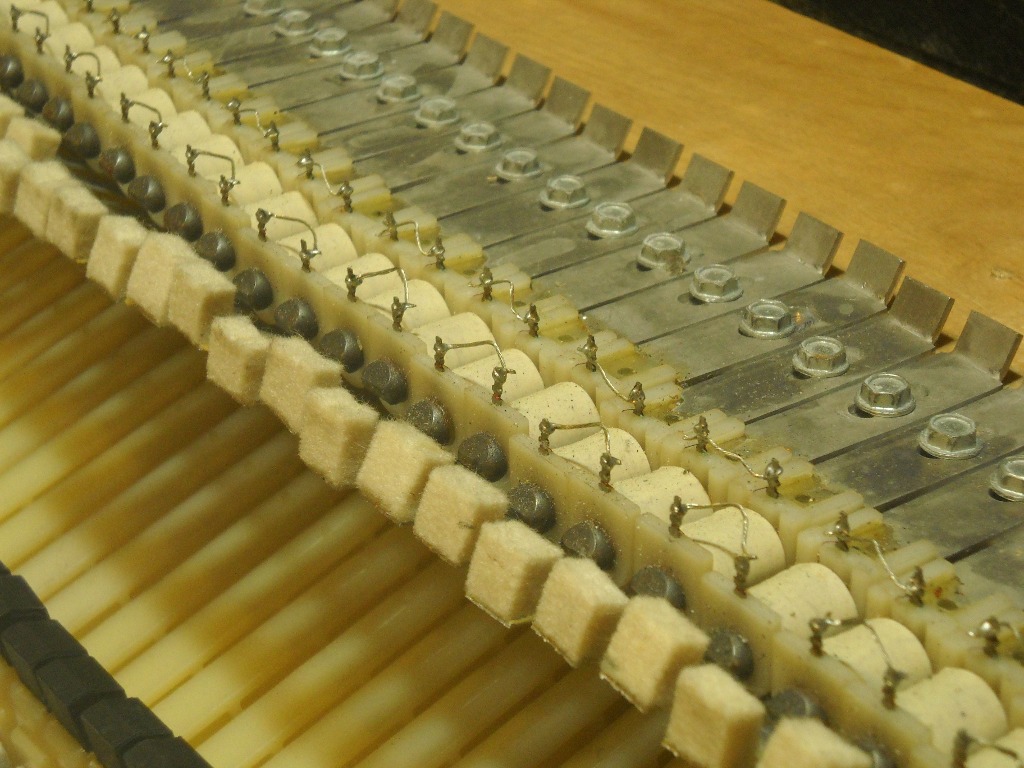
I also didn’t plan for the block of wood used to mount the cheek block to the key frame. The wood obstructs most of the space inside the hollow cheek block and makes wire routing tricky. Luckily just enough room remained to accommodate the electronics and with a little finagling, I was able to keep the wires from being crushed on their way out the back.

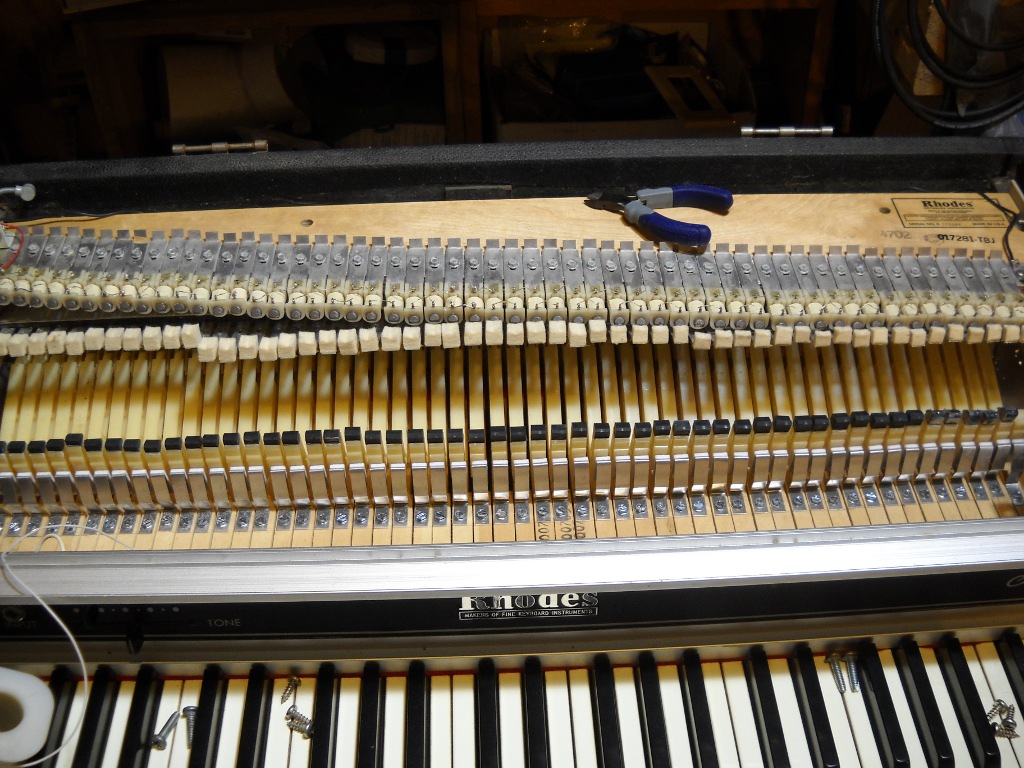
The preamp itself mounts to the nameboard by a single screw through its heat sink into an 1/8″ hole in the base of the rail. If the hole in the rail is drilled at the proper location, the edge of the preamp’s circuit board butts against the rail keeping things from pivoting on the single screw. I didn’t really pay attention to the instructions when I chose a location for the hole in the rail. Although I positioned it as close to the output jack as I could, it still only barely avoids being hit by the harp frame. Had I read the instructions, I may have realized I was supposed to orient the preamp vertically rather than horizontally. It seems fine as it is but I may change it when I add disconnects to the new wiring.

Though my karma account probably took a huge hit for it, I was happy to find everything working properly when I finally plugged it in. The new sound was definitely fuller but it was mostly LOUD. My little Kustom KLA-10 practice amp was not able to handle the signal cleanly unless it was reigned in significantly at the piano’s controls. My Fender Stage 160 seemed much more tolerant of the hot signal and produced a clean but ear-bleedingly loud sound even at the lowest volume settings.

The difference between using the capacitor and the choke for tone control is significant. The choke is supplied as a “bass cut” to help bring the sound out of the mud if necessary. I found it useful as a way to tame the signal without having to drop the volume so much.

I’m not a tone connoisseur and don’t have much to say about the new harmonic content provided by the preamp. Even if I had a more discerning ear, a fair assessment would not be possible running through a Kustom KLA-10.  Although it still does not sound like an all-wood early seventies Suitcase model, I am able to get a noticeable amount of expression from the keys that was either difficult or impossible with the passive electronics.

I recorded a short video to demonstrate the preamp’s effect. The sound was recorded using the camera’s built-in microphone so the video does less to demonstrate the tonal qualities as it does the differences in output levels. The video focuses on the controls of the piano. On the cheek block, the first switch controls both the DC power and also whether to send the signal through the preamp (Up) or around it (Down). The middle switch selects between the original capacitor (Down) and the choke (Up) for tone control.

  • Update 9/5/11

I added a couple of .wav files to try to demonstrate the tonal effects of the preamp. I attempted to play the same piece of Recorda-Me, once with no preamp and again with the Tine Bomb turned on.

  • Update 10/1/11

In a discussion on the Electric Piano Forum, Chris Carroll of Vintage Vibe advises that when ordering a Tine Bomb, you can specify that it will be installed in a Fifty Four and they will make the necessary adjustments so that it can handle the increased signal strength.

My first Rhodes

I don’t remember the exact year I bought my Rhodes Fifty Four. It spent its first year or two set up in the makeshift recording studio we’d assembled in Chris Burkey‘s basement so it must have been ’88 or ’89. At the time, I didn’t know what it was. All I knew was that it had weighted keys and, at $300, was just barely within the budget of a guy working his first summer job.

I played that Fifty Four regularly through the rest of high school and the first half of college. Shortly after school, I began a ten-year sojourn in acoustic bluegrass guitar. Eventually, I came back to piano when I got a chance to play with the folks out at Club Dave. The Fifty Four remained in storage though.

About four months ago, I cleaned out the “basement” of our house and brought the Rhodes back into the light of day. Although it still played well enough, it needed some work to restore its full potential. After placing a few orders from the good folks at Vintage Vibe and spending some hours tweaking and tuning, it’s now in pretty good shape. I’ve had so much fun working on and especially playing the Fifty Four that I decided I’d really like to try a more thorough restoration job.