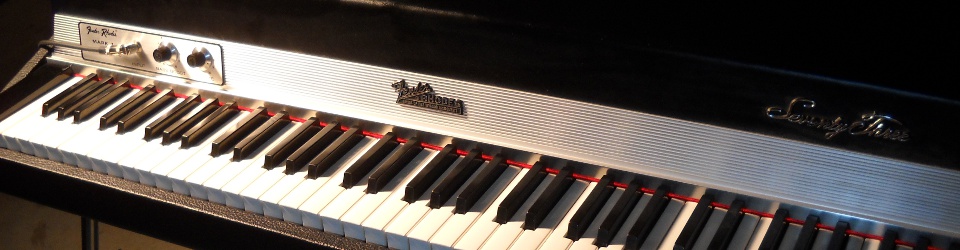
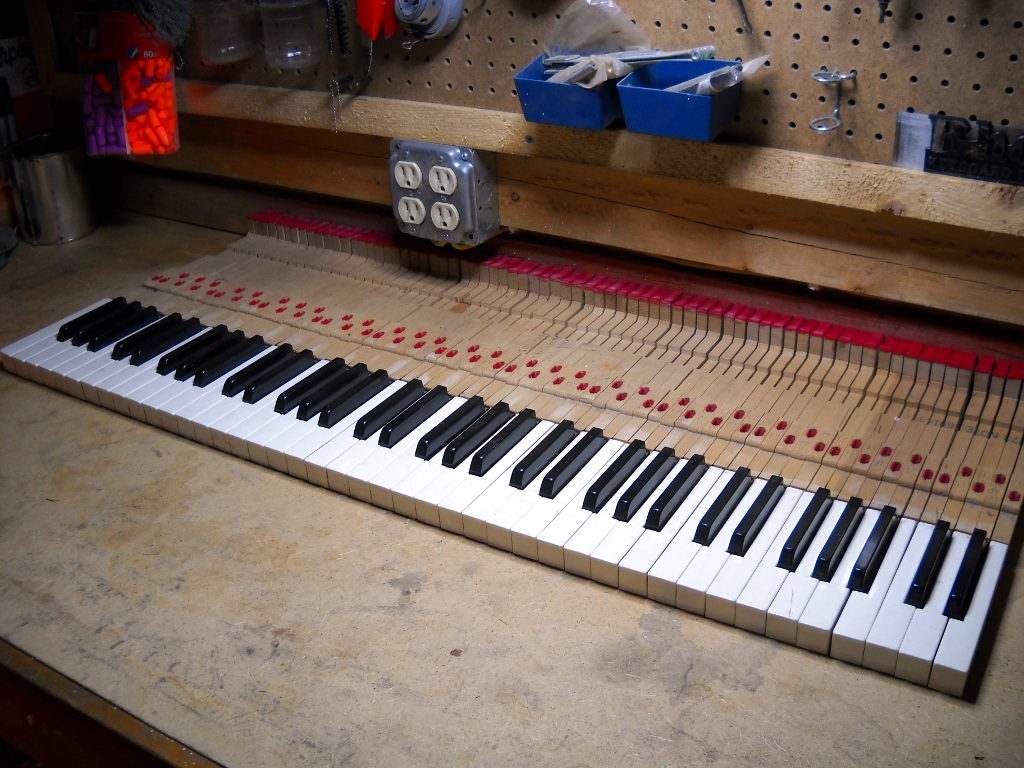
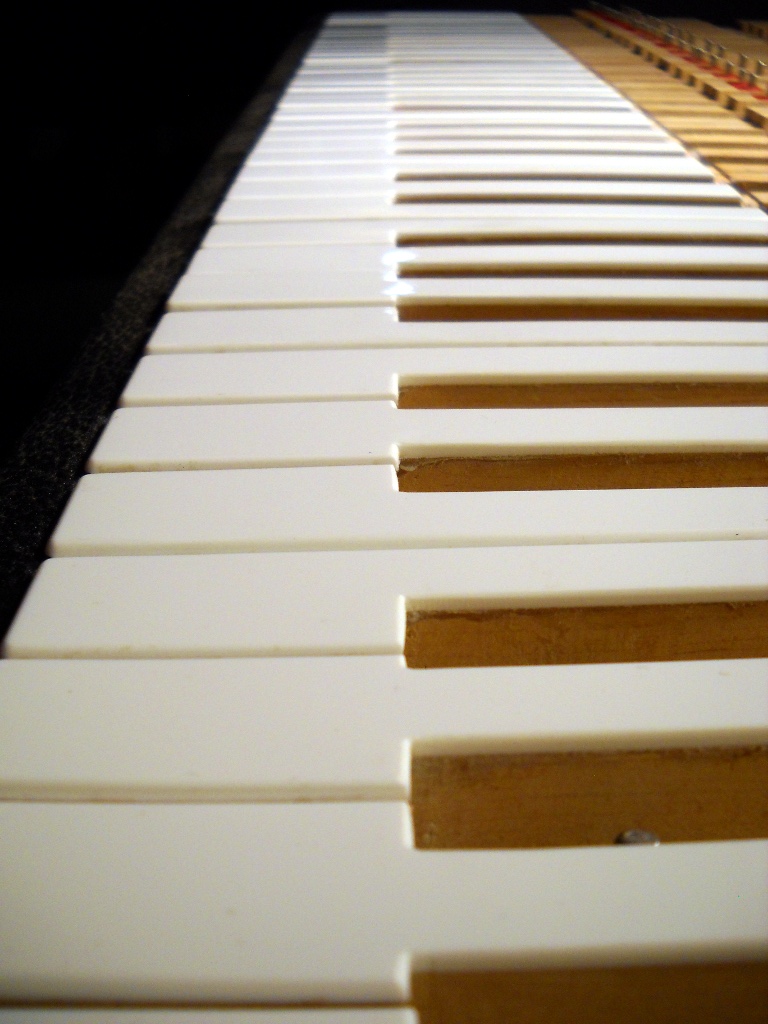
I guess I got lucky with my first three pianos. None of the keys had sustained damage that couldn’t be corrected with abrasives and some elbow grease. According to a regular on the Electric Piano Forum, evidence suggests pianos from the year 1976 suffer from keytops that degrade more quickly than those from other years. I’ve currently got three pianos from that year and two feature craze lines on nearly every key while the third has held together in decent condition.
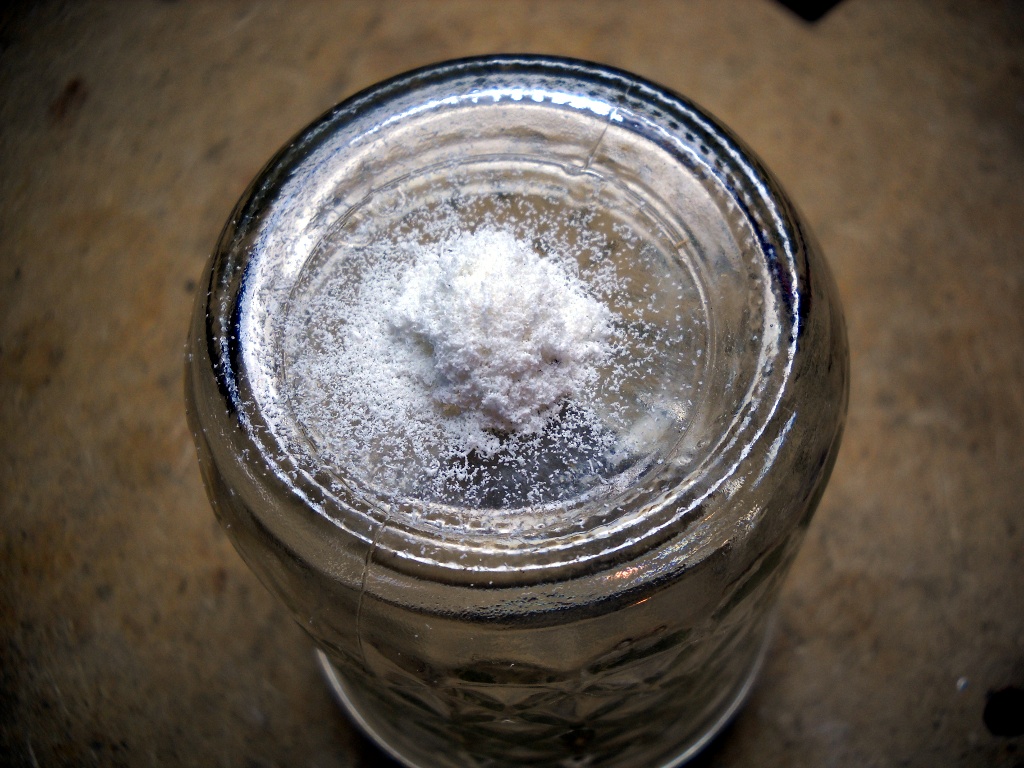
Before committing to replacing an entire set of tops, I first investigated options for repairing the originals. The superficial damage I’d repaired up until then had all been shallow enough that it disappeared after a little sanding. The crazing that infected these keys ran far too deep to make that a viable option. The Rhodes Service Manual provides a recipe for making white glue to use when replacing keytops. This suggested to me that I might be able to devise a similar substance to use as gap filler. My plan was to excavate a crack into a wide furrow that could then be back-filled with my concoction. The pigment for this filler paste was to be provided by ground material from an actual keytop so I first procured a set of sacrificial keys from ebay. After developing several questionable combinations of solvent, powdered keytop and adhesive, I finally concluded that this was not going to be a practical solution. Even when I was able to mix a batch that set up properly, my closest color match still left a shadow that was just as obvious as the original crack.
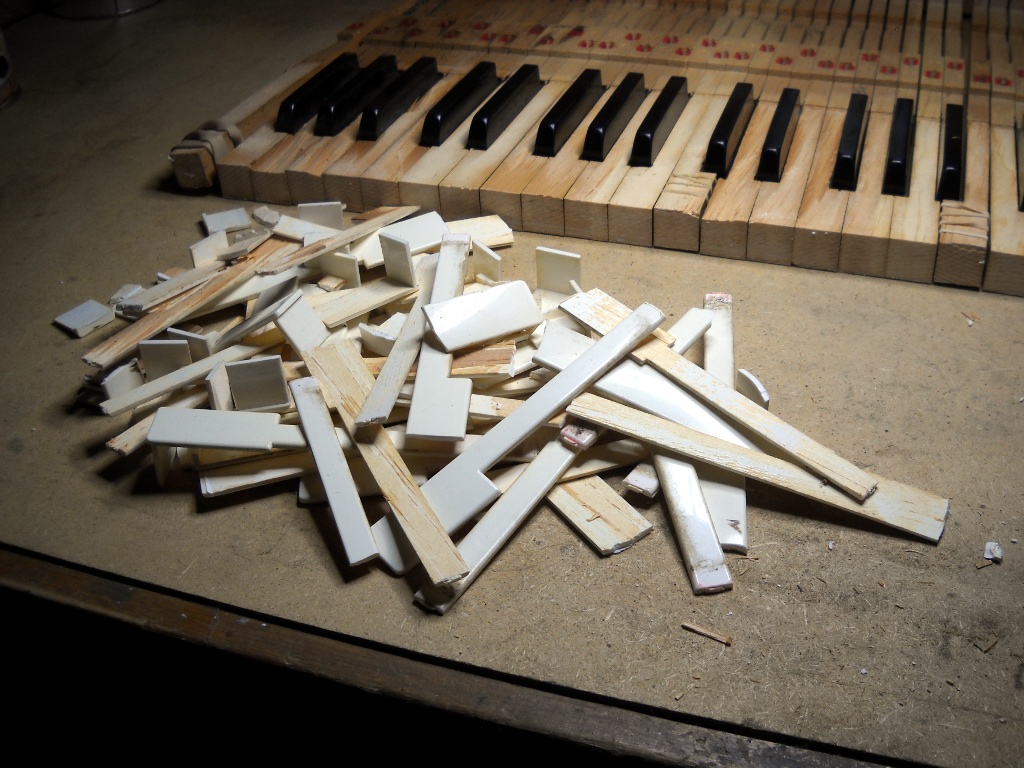
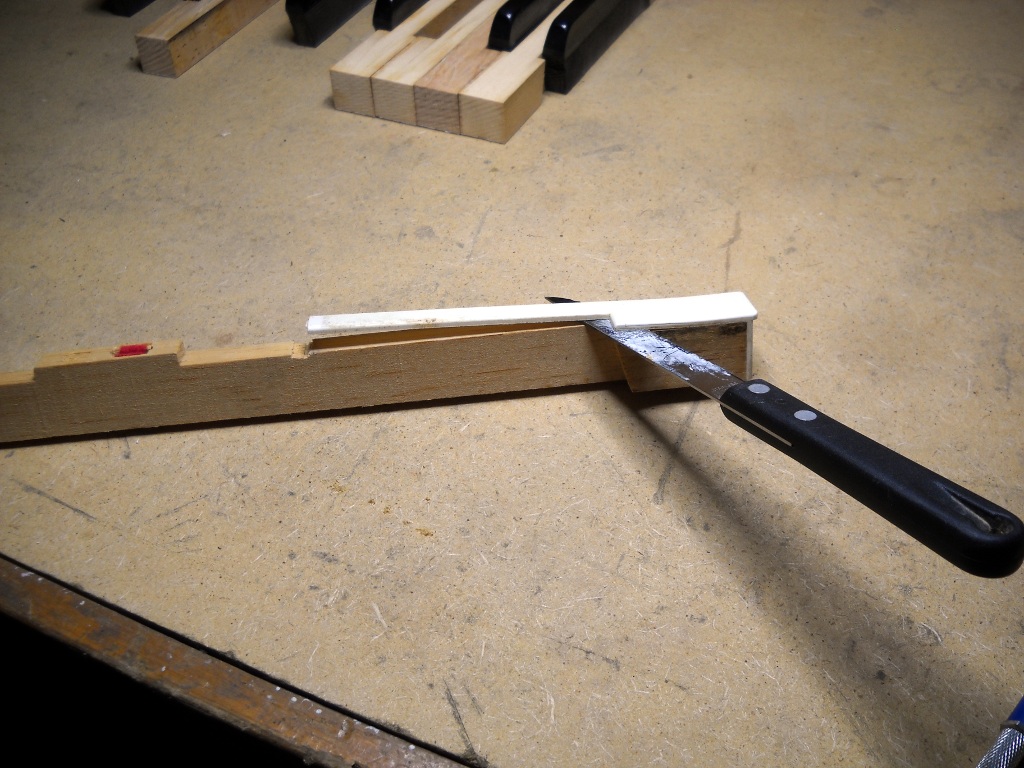
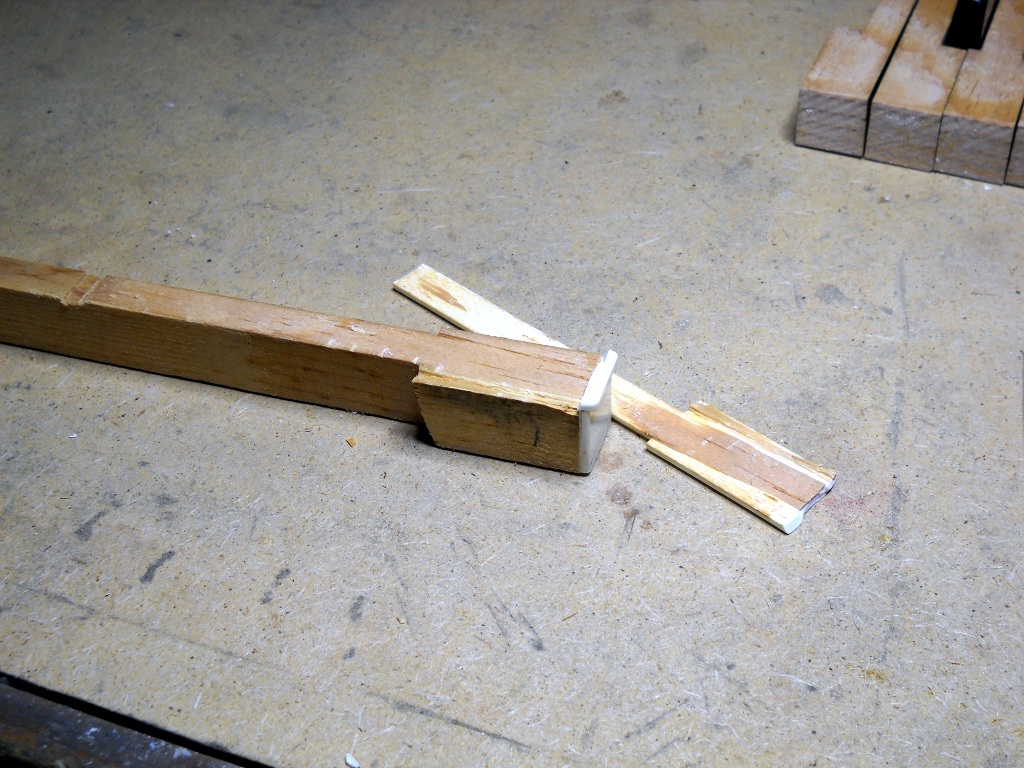
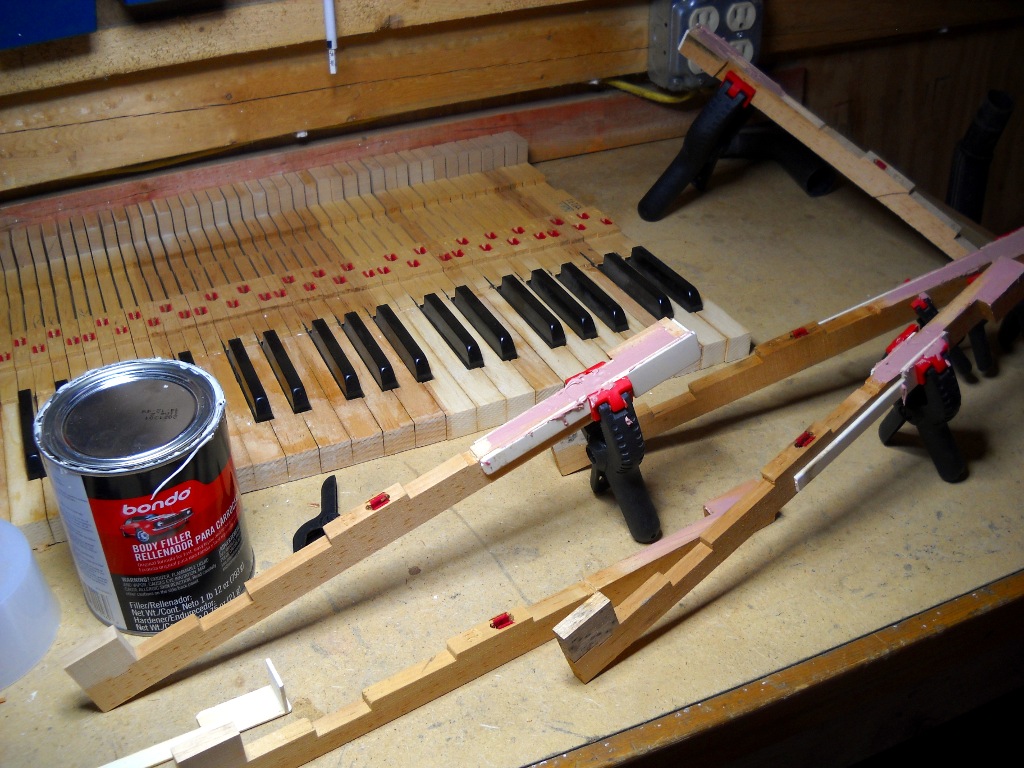
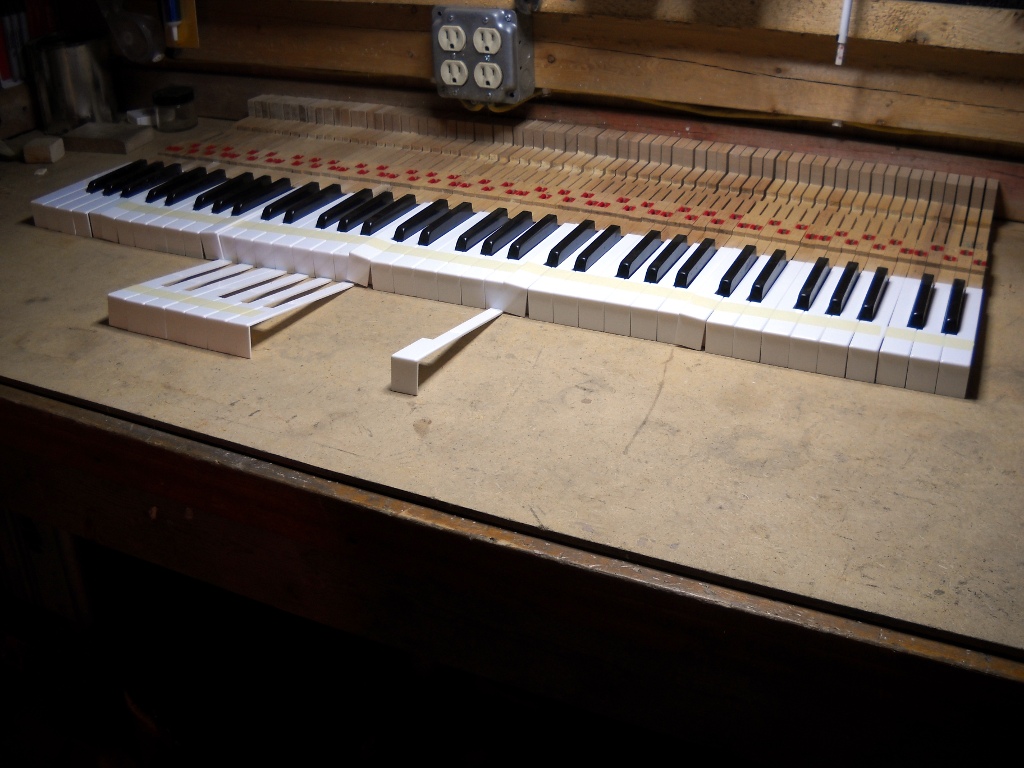
An old kitchen knife made a good tool for removing the original tops.1 Although the plastic mostly came up easily, on several keys it insisted on taking some wood with it leaving voids that I later had to fill with Bondo.2 The replacement keytops, manufactured by Schaff Piano Supply, were not exact matches to the originals. In addition to being intentionally oversized to fit a range of key sizes, the overhang in front was less pronounced than on the factory keys. After being glued down, the tops could be trimmed to fit the keys but the shorter overhang would have to do. They’re sold in sets of 52 which provided a few spares in case the first installation attempts didn’t go my way.
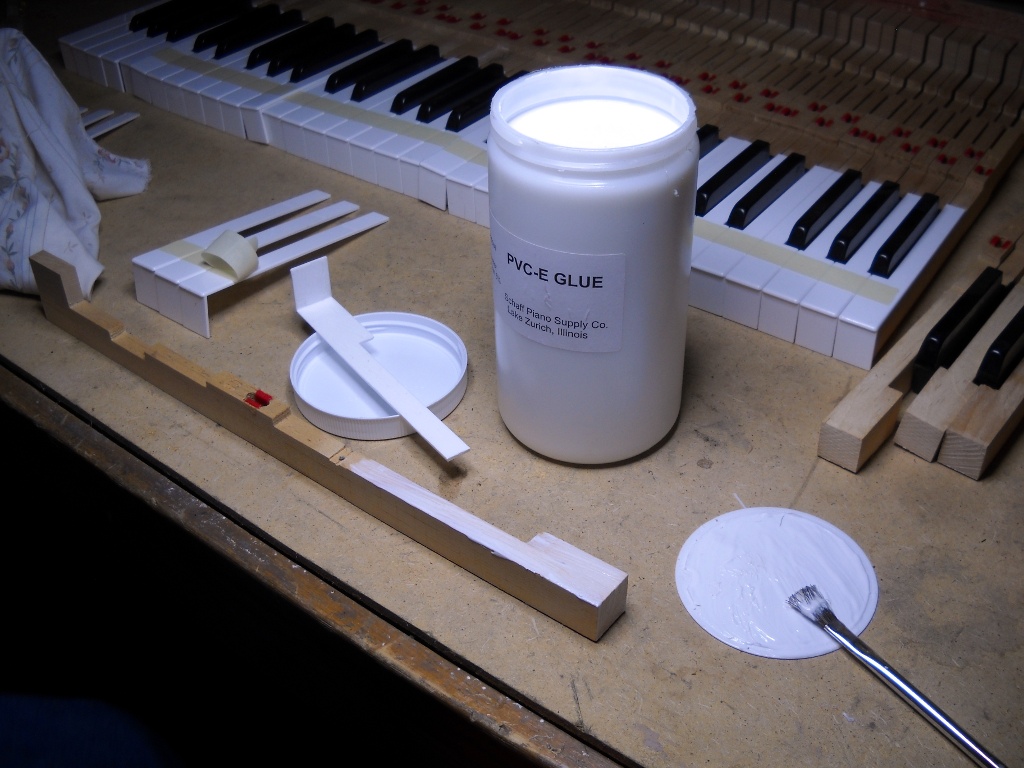
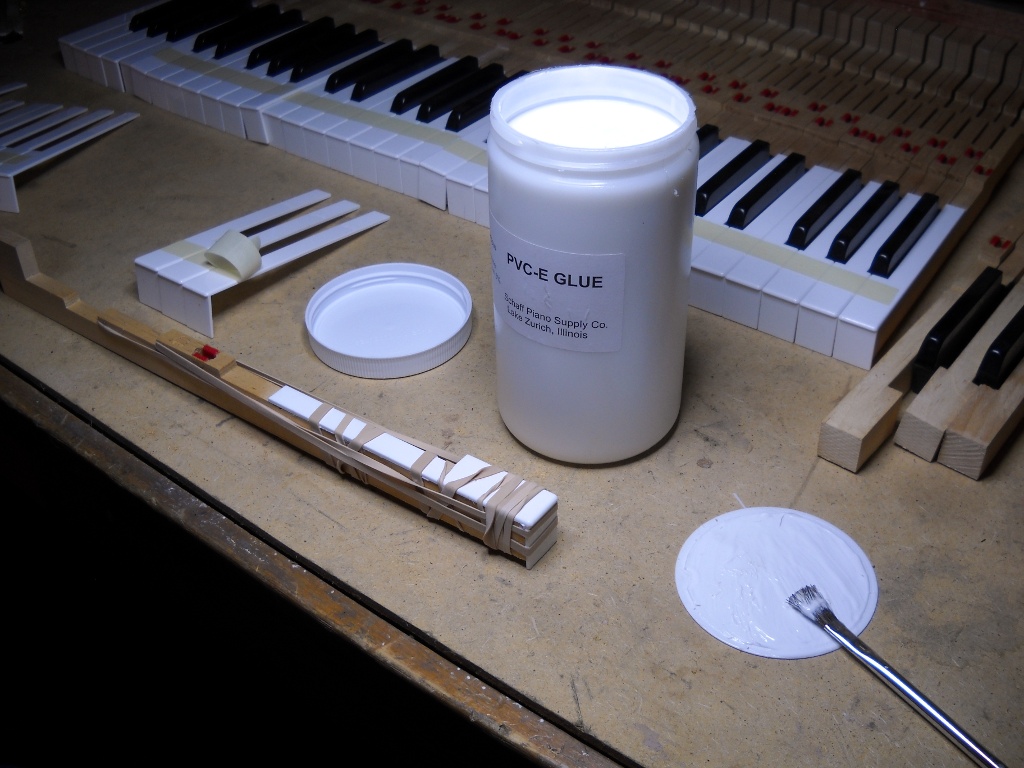
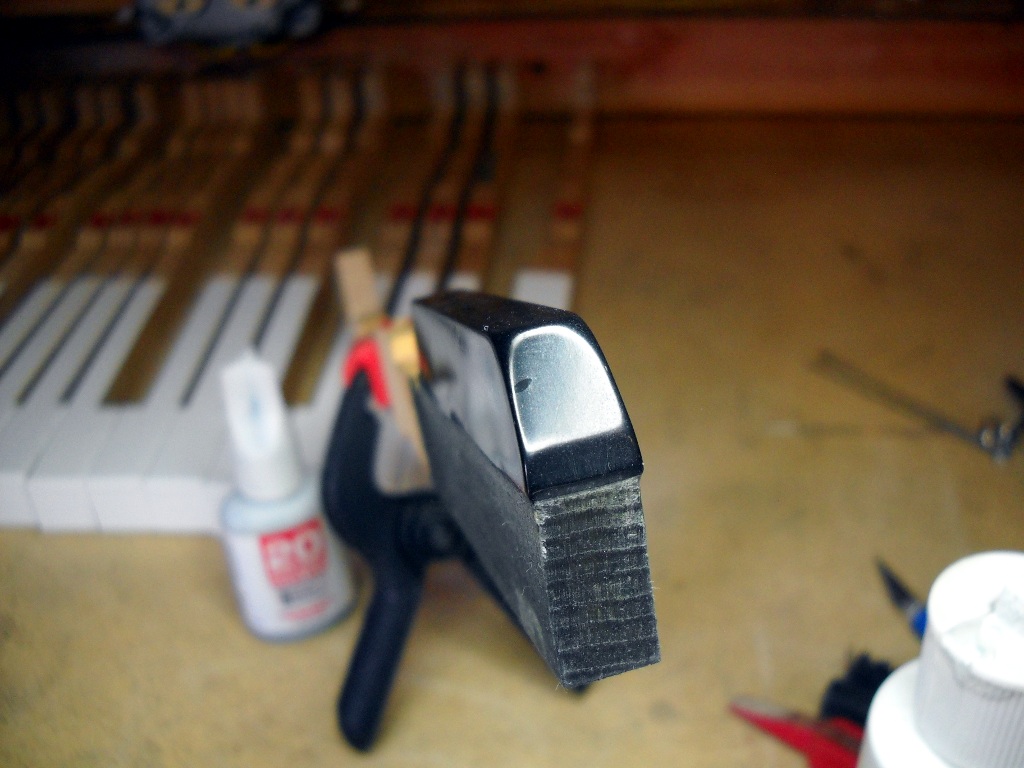
The new keytops were attached using PVCE glue. Not at all like PVC glue used for plumbing applications, PVCE looks and spreads like household white glue. It excels at bonding porous to non-porous surfaces as when attaching plastic to wood. The glue was spread thinly across both the key and the top and the two parts were joined immediately. Excess glue was squeezed out of the edges and wiped away with a damp cloth then the whole assembly was wrapped as tightly as possible with four or five rubber bands. The wet glue allowed the top to be repositioned but held well enough that it stayed put once properly located.
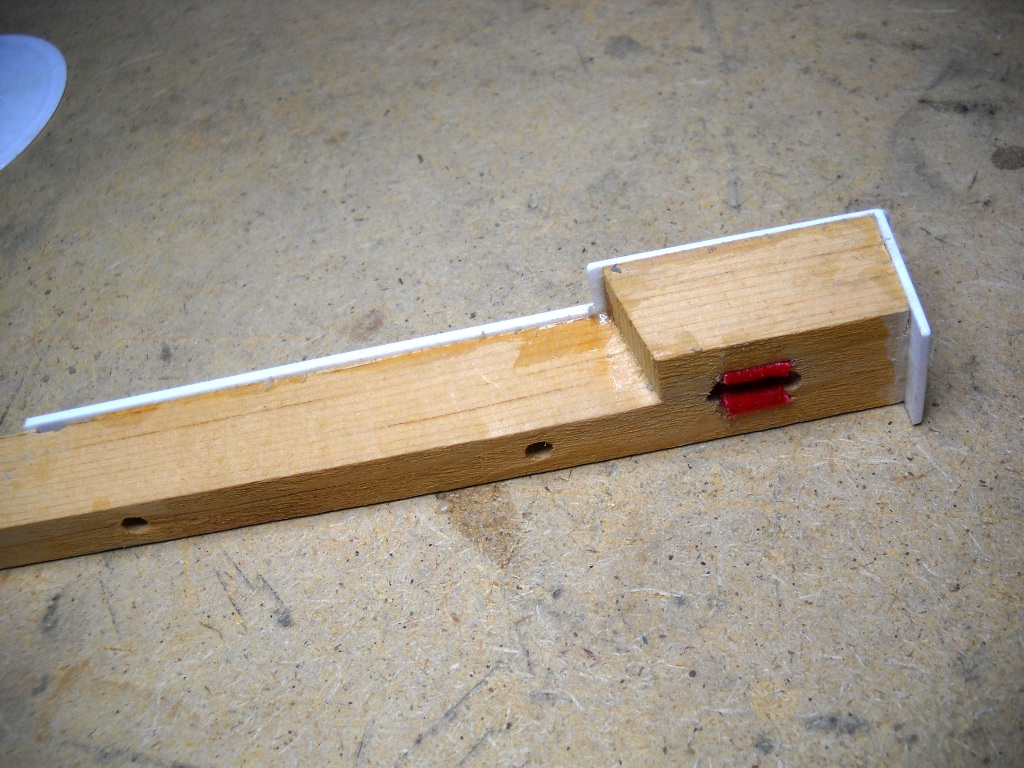
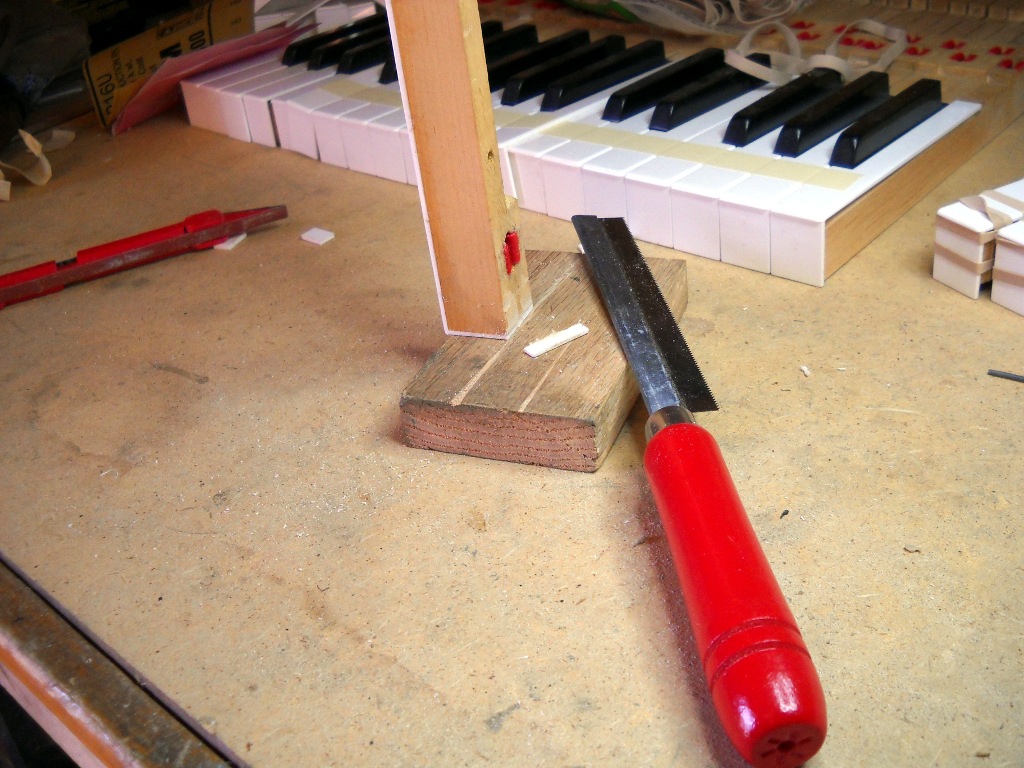
The tops were installed unaltered and later trimmed down to fit the key. First, the excess lengths of the tails and fronts were removed with a small handsaw. The heads fit the width of the keys perfectly but were far too long requiring their shoulders to be filed back quite a bit. Some of the tails fit more closely than others. Most of their edges were scraped with a rasp then finished with a smoother file to bring them flush with the sides of the keys.
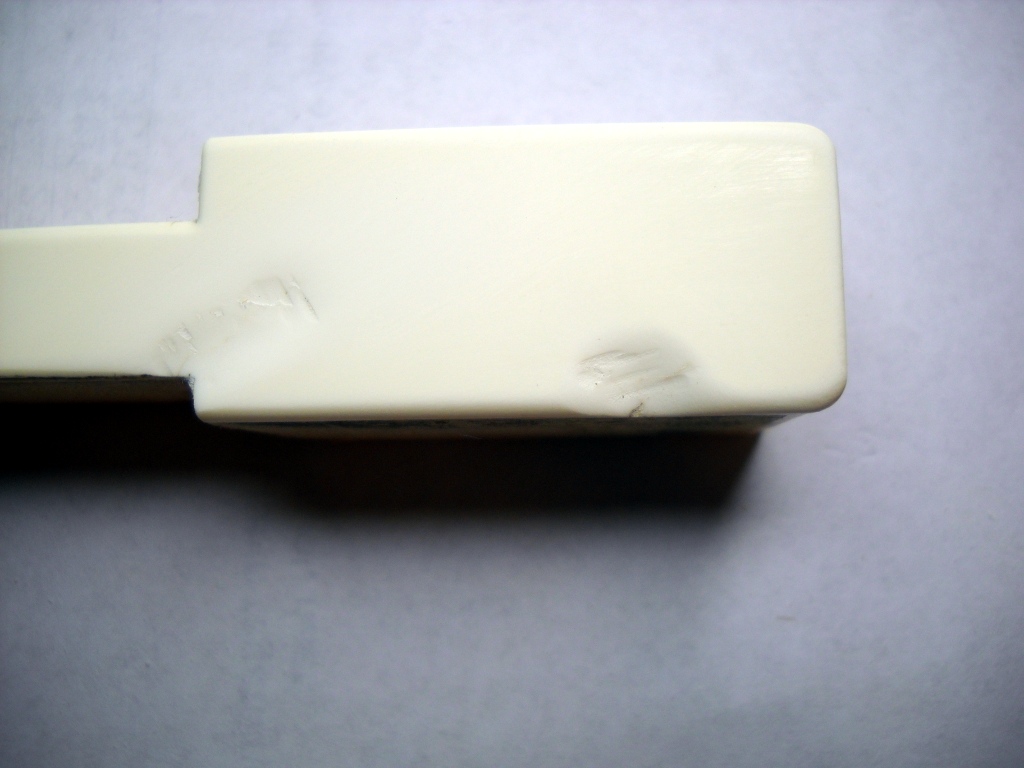
At first, I referenced the underlying wood to determine where to cut and file each key but that resulted in uneven lines both at the tail ends and, more visibly, along the keys’ shoulders. Before proceeding, I remounted all of the keys on the keyframe and used a pencil and a straightedge to make reference lines that would remain consistent from key to key. This approach worked much better and the remaining keys maintained noticeably cleaner lines.
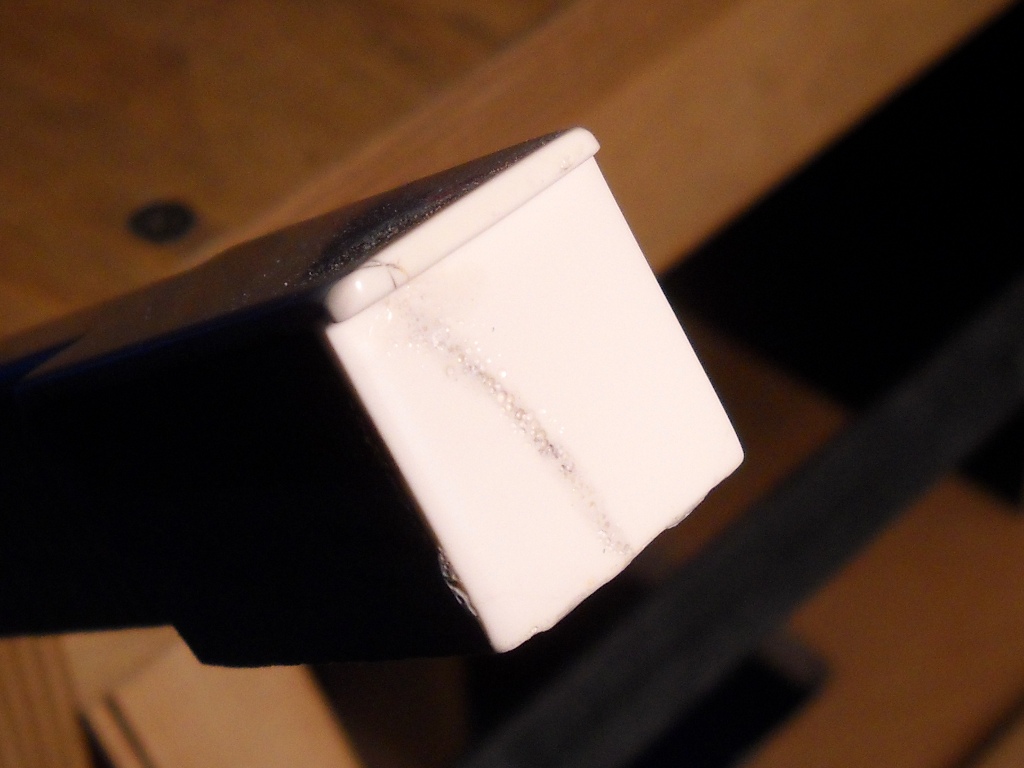
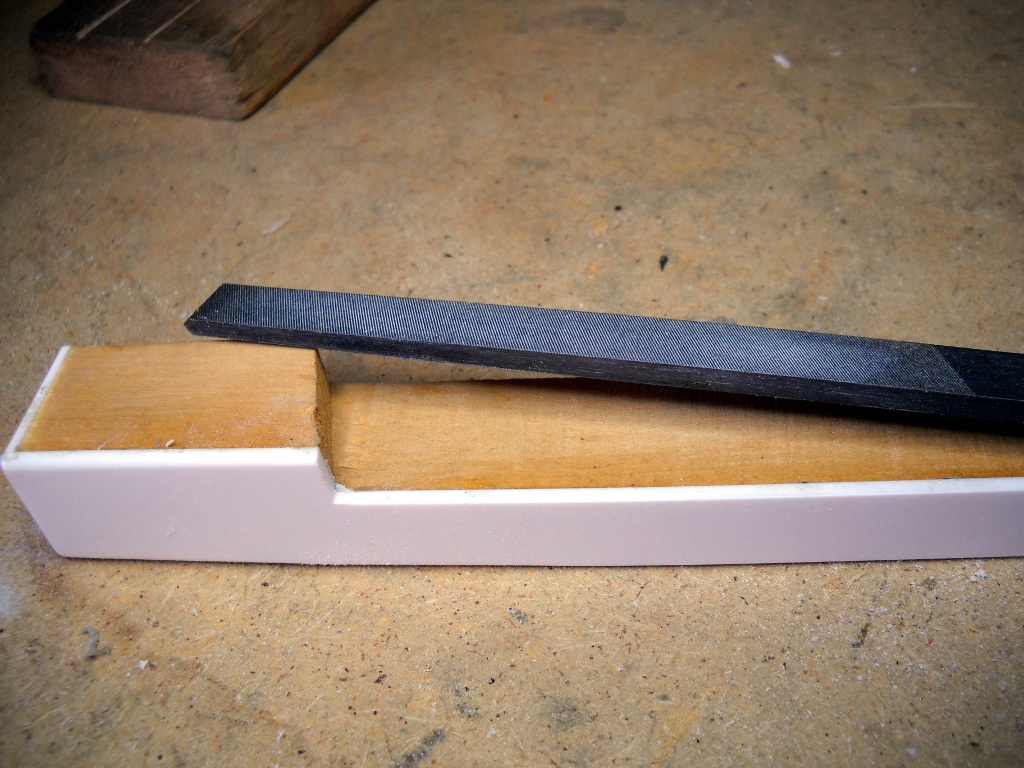
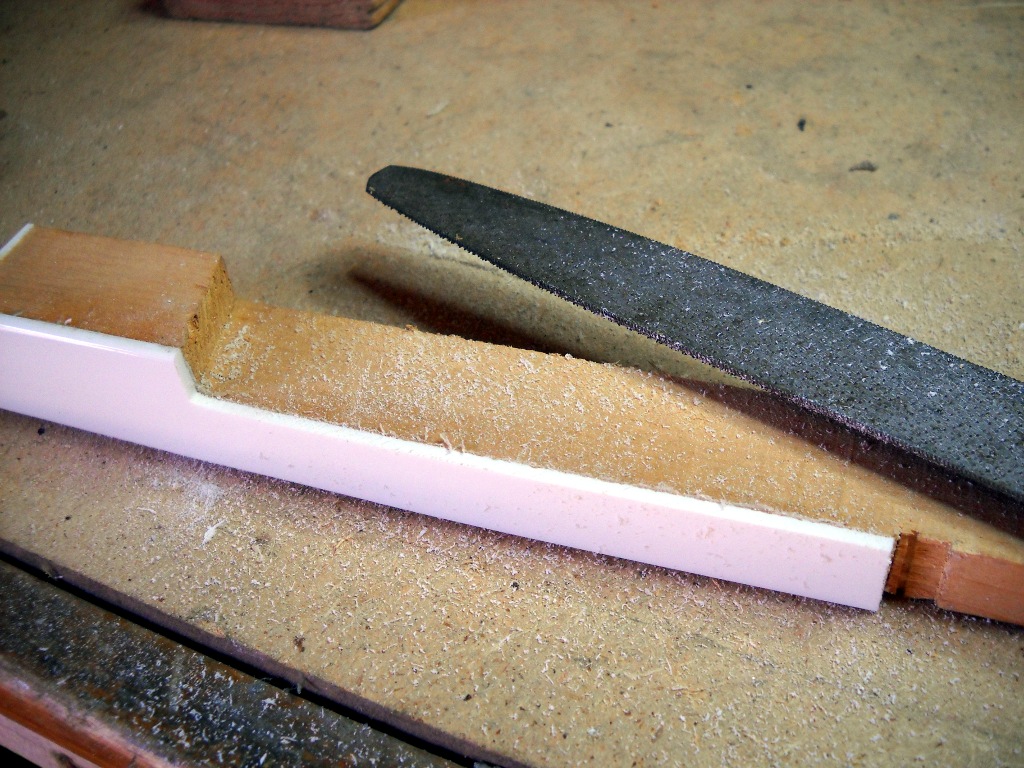
The tops were supplied with edges finished with a smooth chamfer. Unlike on the original keys, the new chamfer kind of dwindled as it ran along the edges of the tail. Additionally, most keys required enough work with the rasp that their factory edges were obliterated. To restore the chamfer, I used files designed to be used on guitar frets. These files feature concave cutting surfaces that matched the radius of the key edges very well. Not designed to cut plastic, the files loaded up quickly and required patience to do their work but the result was a nice even edge that required little or no follow-up dressing.3
The black keys don’t seem to commonly suffer from the same crazing that plagues white keys. The sharps for this piano were no more damaged than those of any previous unit I’d worked on although they did have one or two visible chips to be repaired. As I’d done with reasonable success in the past, the damaged areas were filled with black super glue. After sanding and polishing, the fill was indistinguishable from its surroundings unless it caught the light in just a certain way.
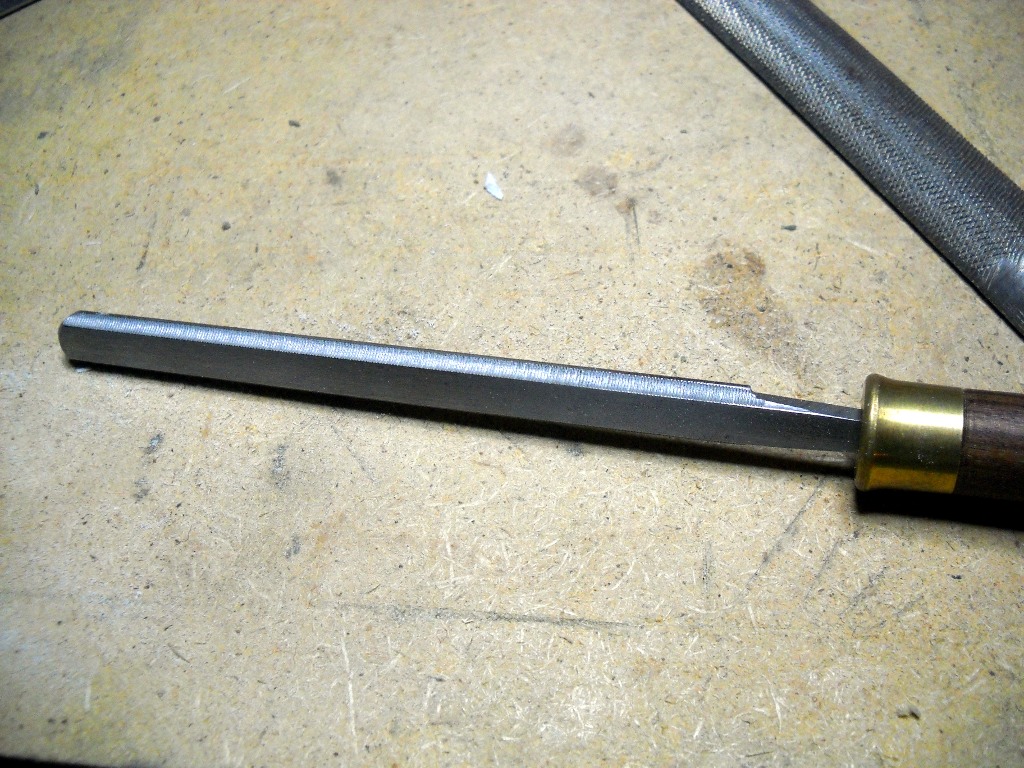
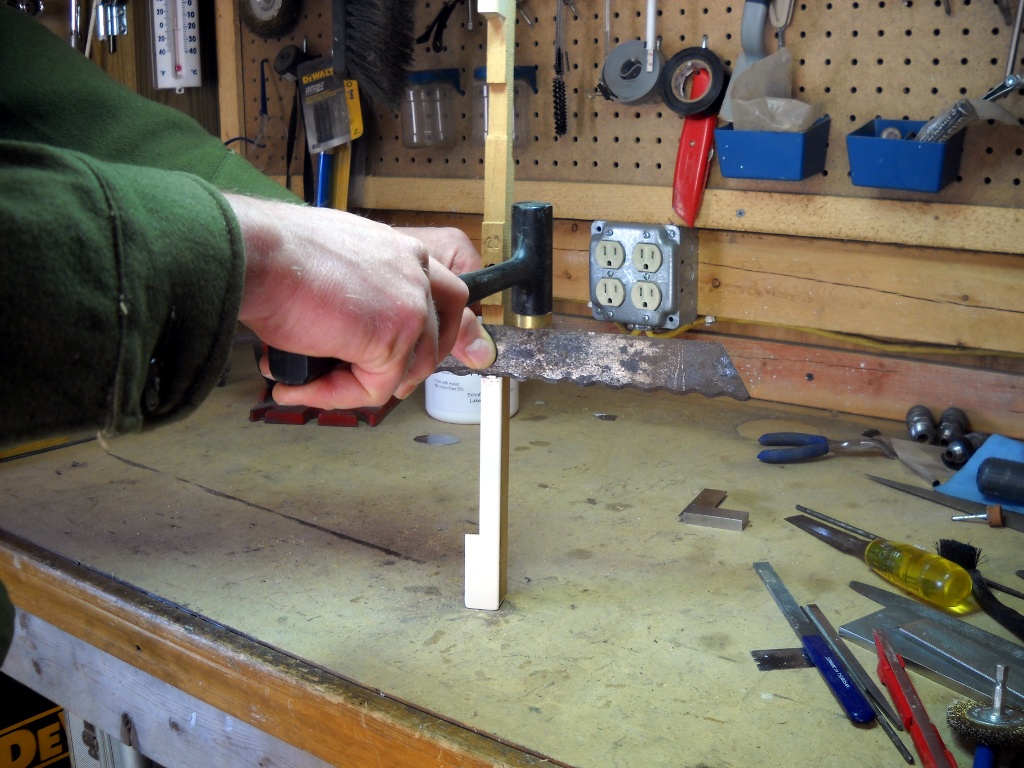
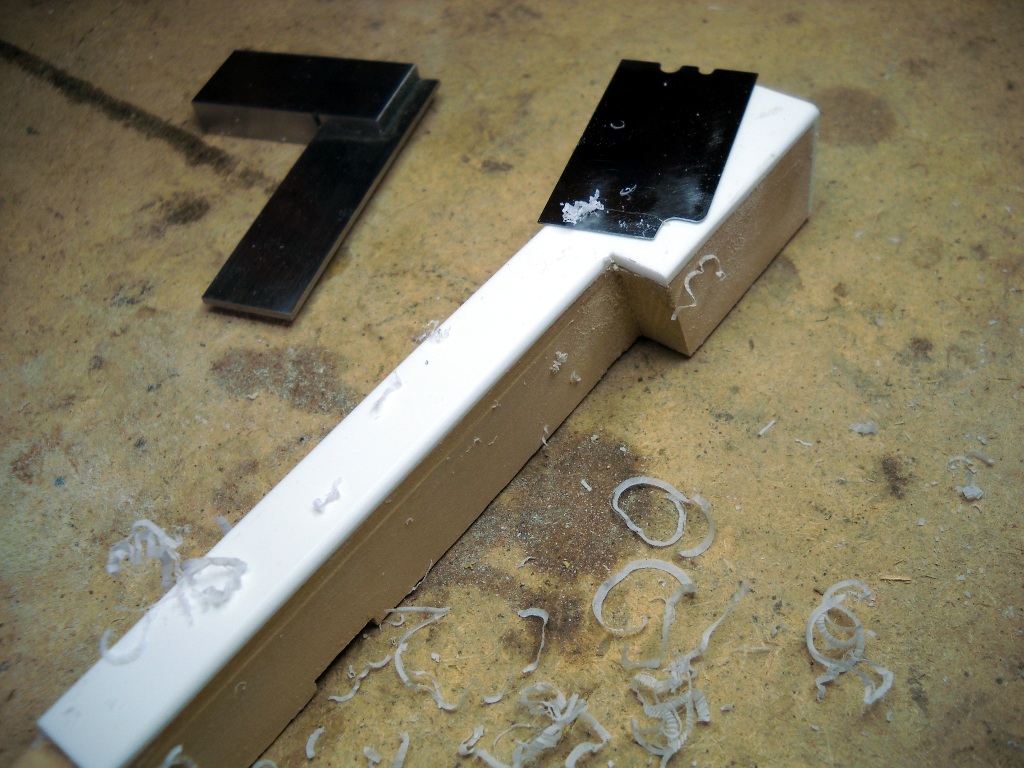
1I now use a much larger tool that appears to have been a bread knife in a former life. Holding the key upright on its face, I tap the knife down between the top and the wood.Return
2For filling gaps in keys, I’ve begun using Durham’s Rock Hard Water Putty. It’s easier to prepare, provides more working time, doesn’t emit any vapors and blends better visually with the existing wood.Return
3Those fret files took forever to turn a hard corner into a smooth round-over. Now I do most of the work with a modified scraper blade. I still finish with the fret file because its length leaves a very even edge.Return