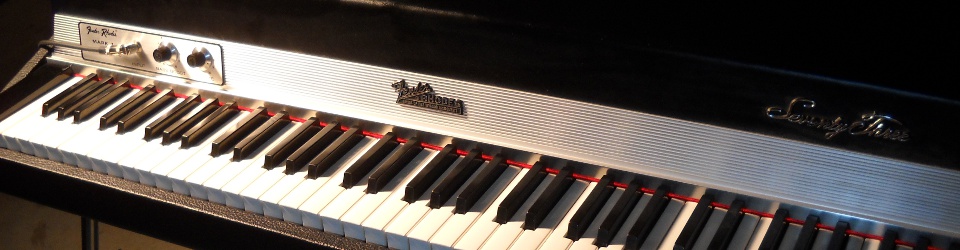
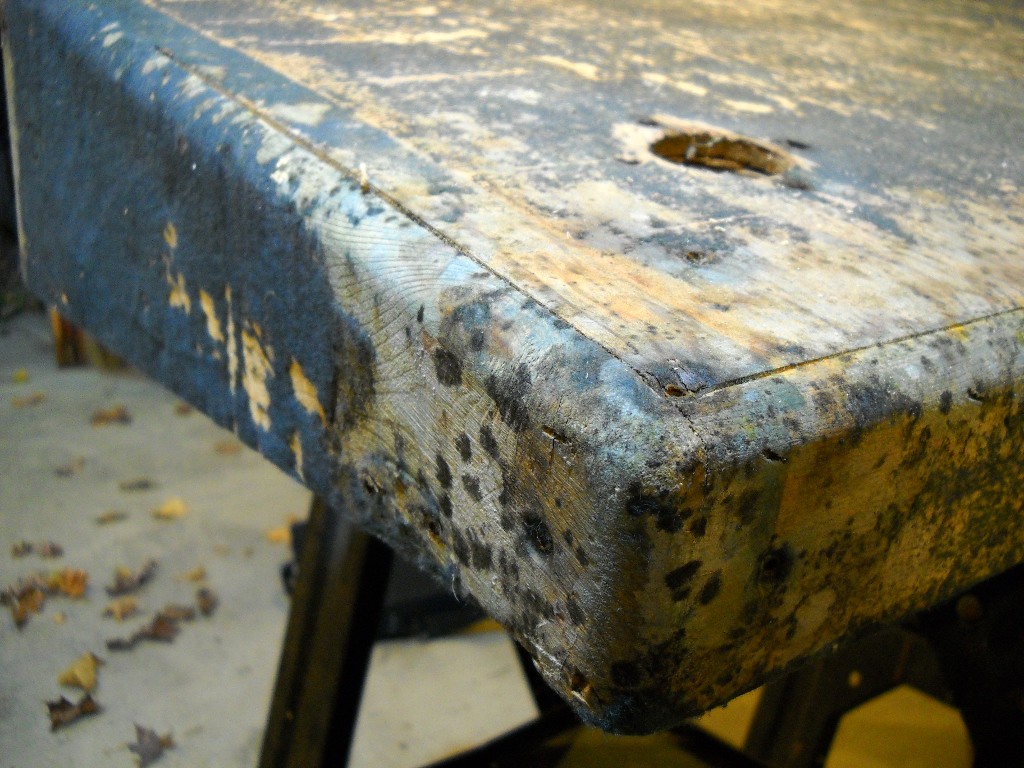
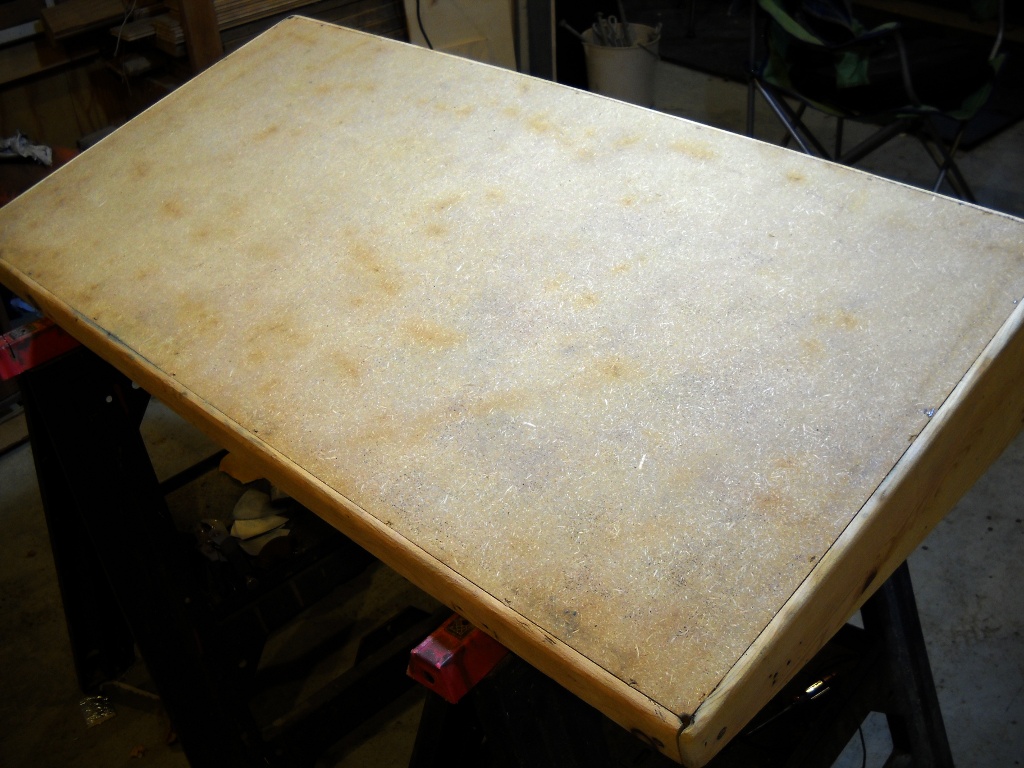
At first glance, the case for this 1973 piano didn’t appear to be in very bad shape. Some of the latches had been replaced and a few extras were added. A couple of the hinge screws had been replaced with nuts and bolts. I expected this to add up to a few extra holes that would need to be drilled and plugged like with the last case. When the old Tolex was removed, the truth of the matter was revealed… and it wasn’t pretty.
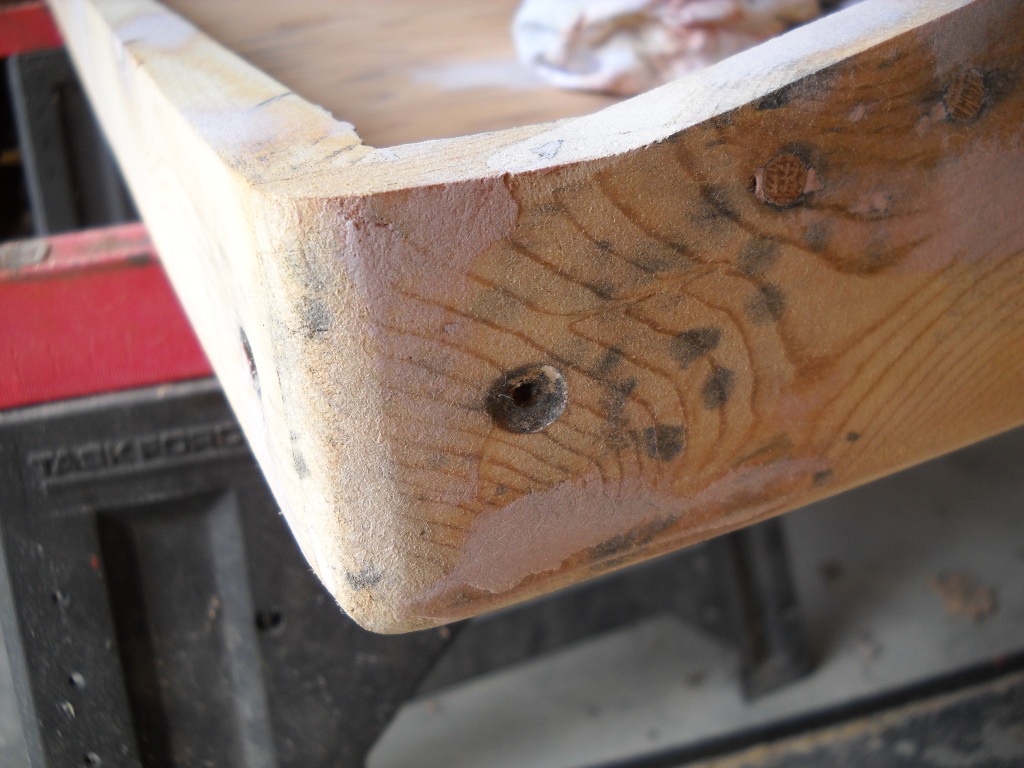
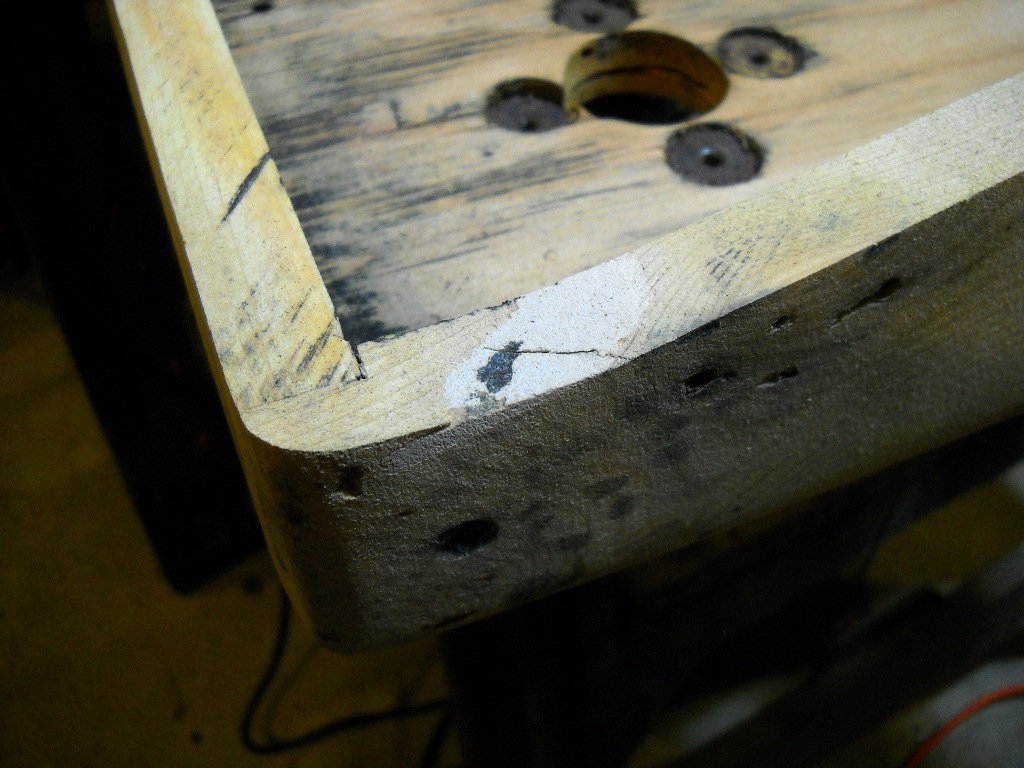
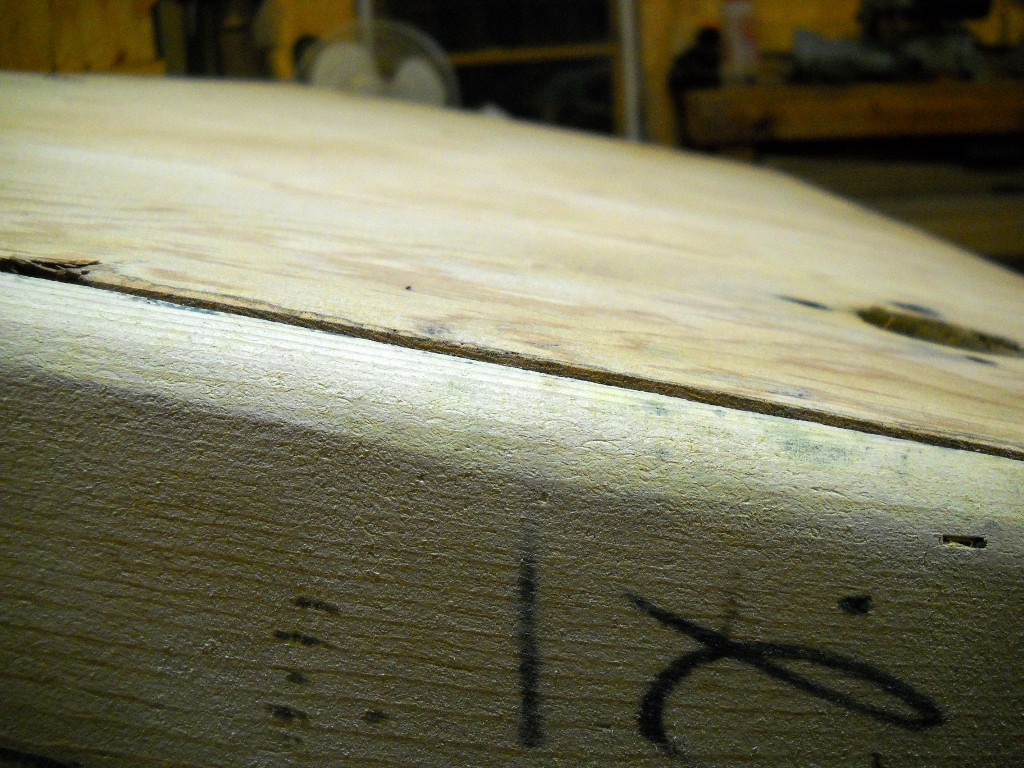
The reason new latches were installed in non-standard locations was because the wood under the original latches was in no shape to support any hardware. On one side, the wood had come completely apart and was only being held in place by the Tolex. The wood under the hinge screws was still in place but was also split and would no longer hold wood screws. A couple of other corners were also missing significant amounts of wood and the front edge of the lower half had a perfectly shaped semicircle missing where a knot had come loose and disappeared.
The case on this older piano was quite different than that of the 1981 I had previously worked on. An obvious difference is in the angled sides. On older models, the angle changes towards the front of the case so that the front edge is horizontal. The rear edge doesn’t get the same treatment and it mirrors the angle of the sides. At some point in a later year, this feature was removed from the case design and the same angle continues around the entire case. I was interested to see the obvious evidence of the saw blade that was used to cut the angled sides. Rather than concern themselves with making a squared cut, the builders just overran the saw then cleaned up the kerf with some filler.
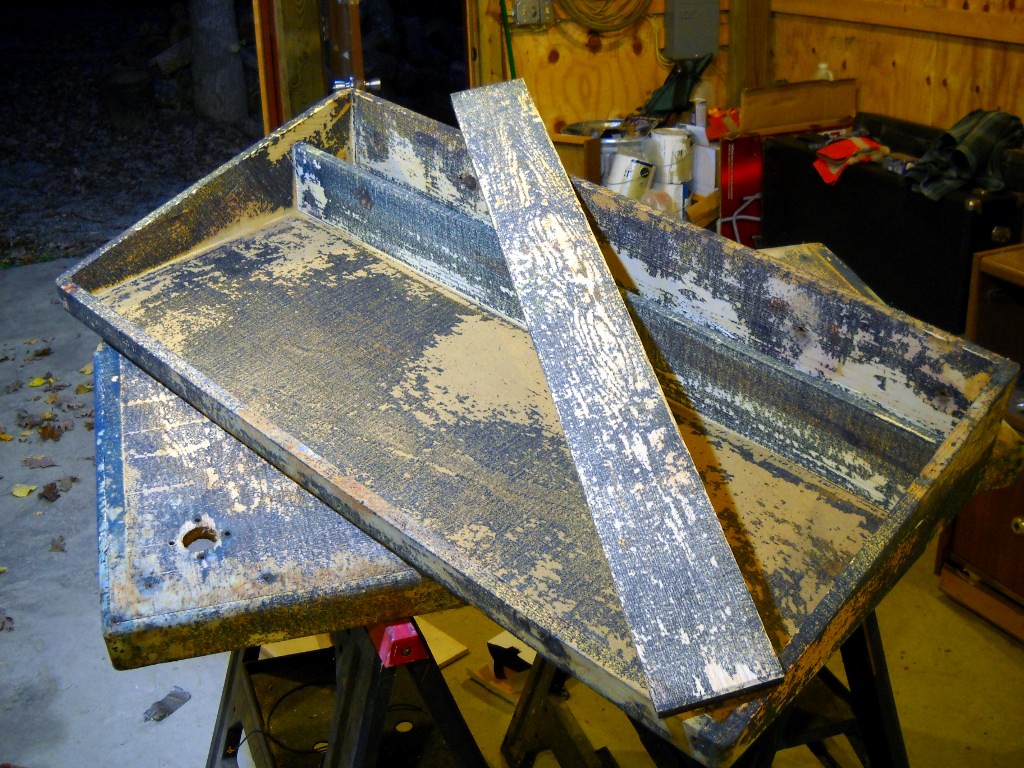
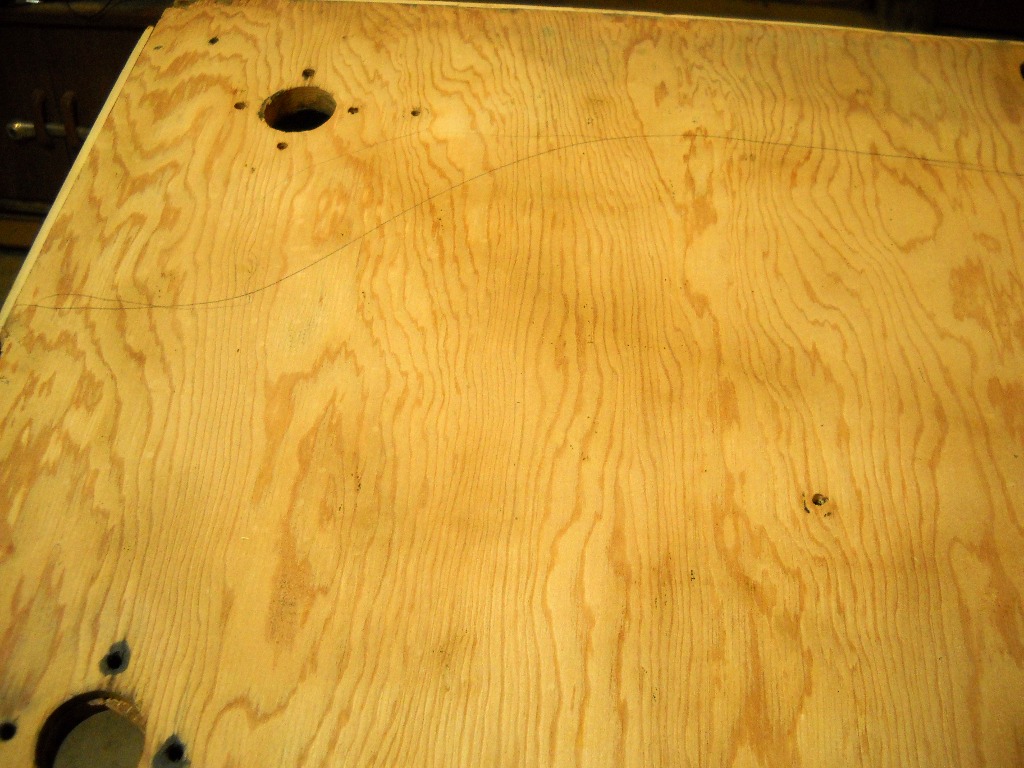
Another difference was immediately apparent when the Tolex was first peeled back. Whereas the case for the 1981 Mk II was made entirely from 3/4″ plywood, the face of the top on this piano was made from something like Masonite. And although it should have been apparent by the splitting at the hinges and latches, I didn’t realize until I sanded down to bare wood that the sides of the case were solid pine. The only plywood in the entire case was the face of the lower half which needs to be sturdy enough to support the the piano perched atop its four legs.
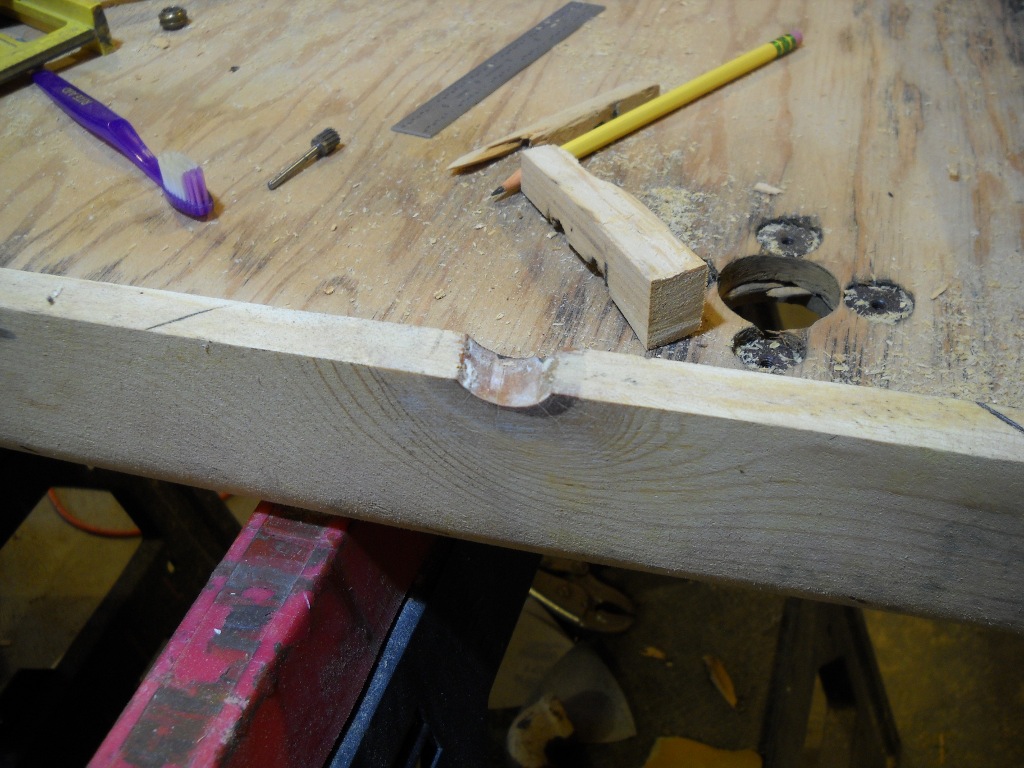
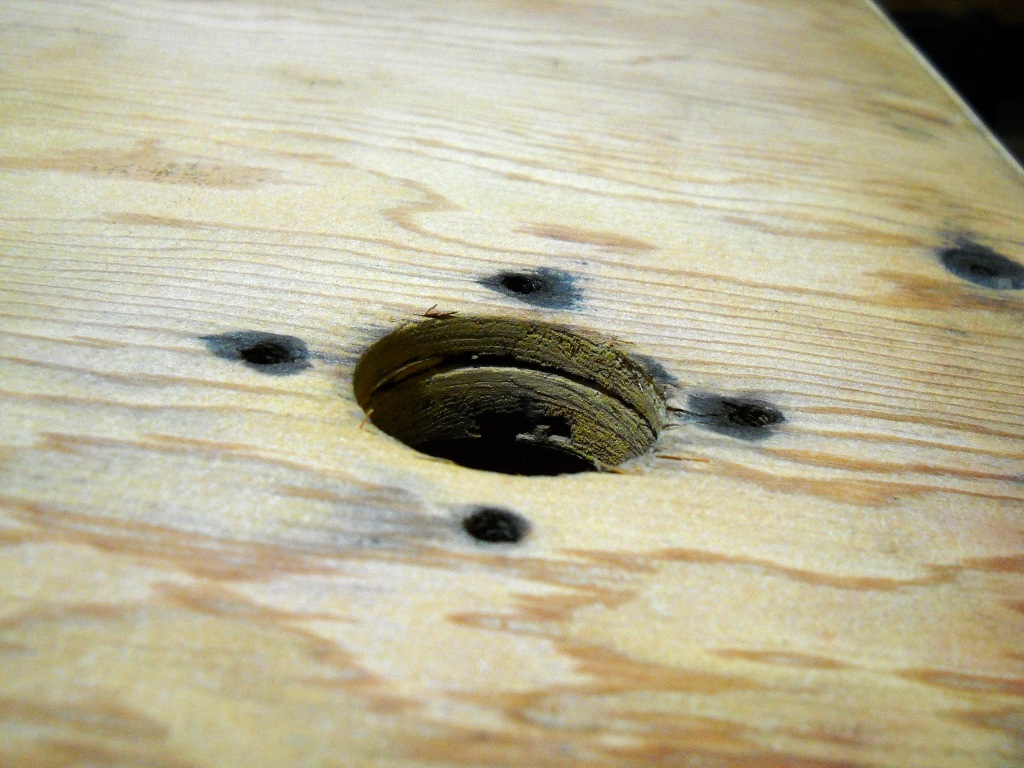
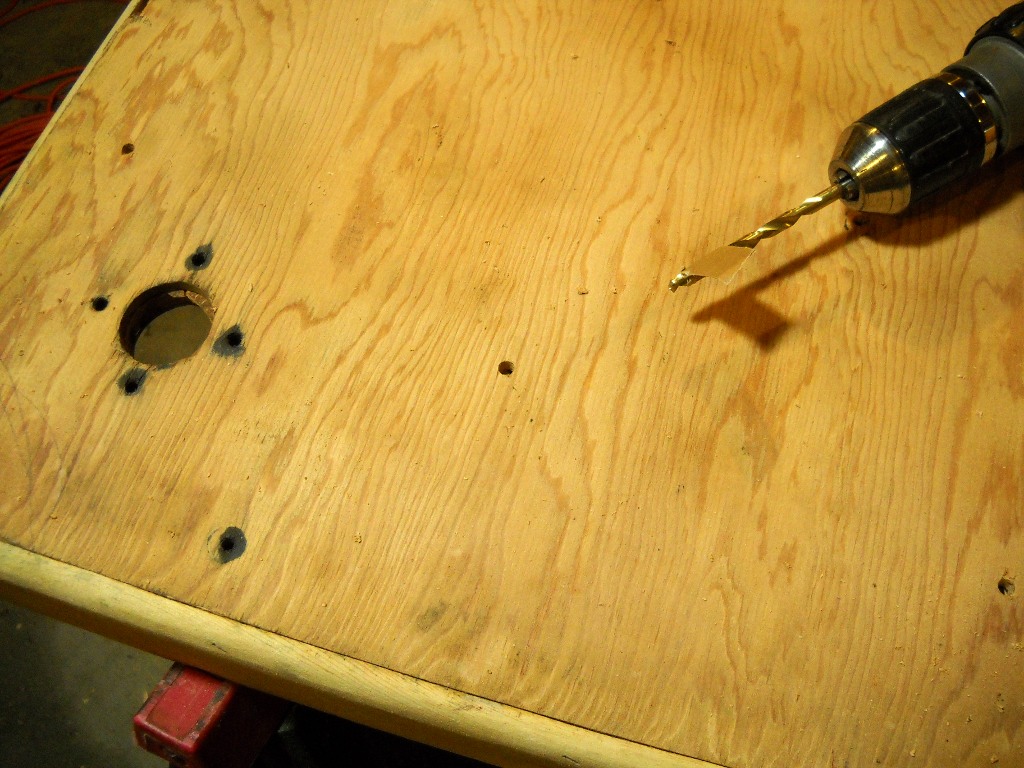
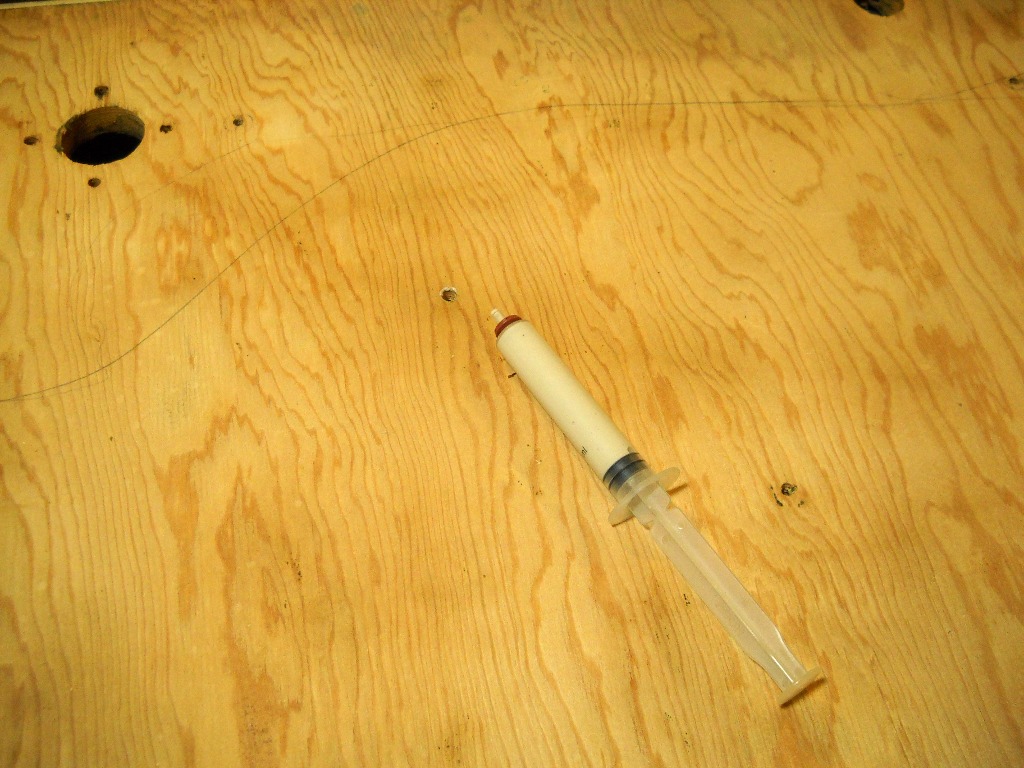
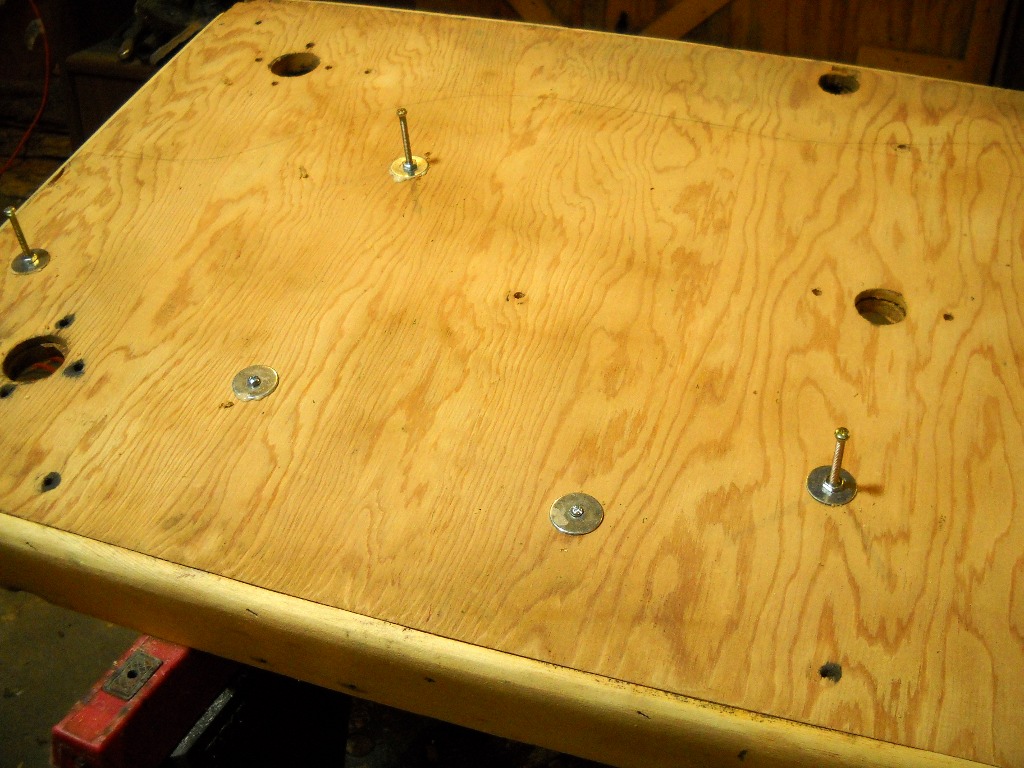
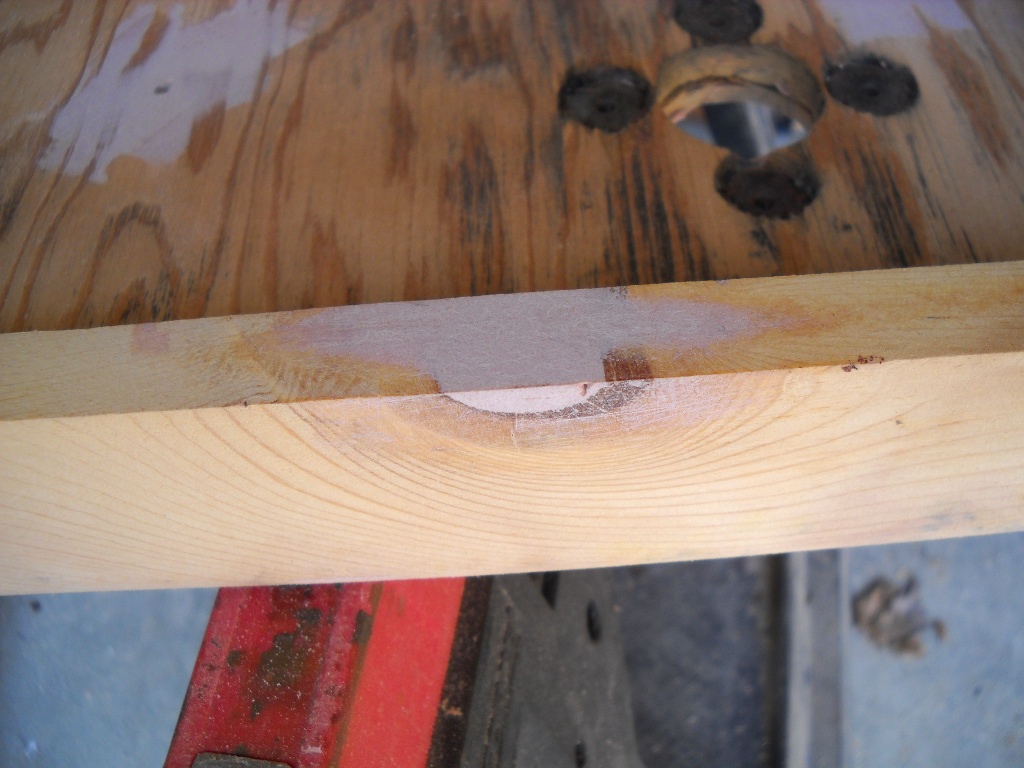
Unfortunately, the plywood was not in great shape. The first clue to its condition was the gap where the the edge met the side board. The plywood seemed to be made up of only three quarter-inch thick plies and two of them had by this time parted ways. I was able to tap the wood, listening for the hollow thud to map out the extent of the delamination. I next drilled holes through the single loose ply, stopping short of the underlying layers to provide access to the cavity in between. I added a little rubber washer to a needle-less syringe so that I could force glue into the holes. After pumping in a generous amount of glue, I drilled the rest of the way through the wood and clamped the plies together with bolts and fender washers.
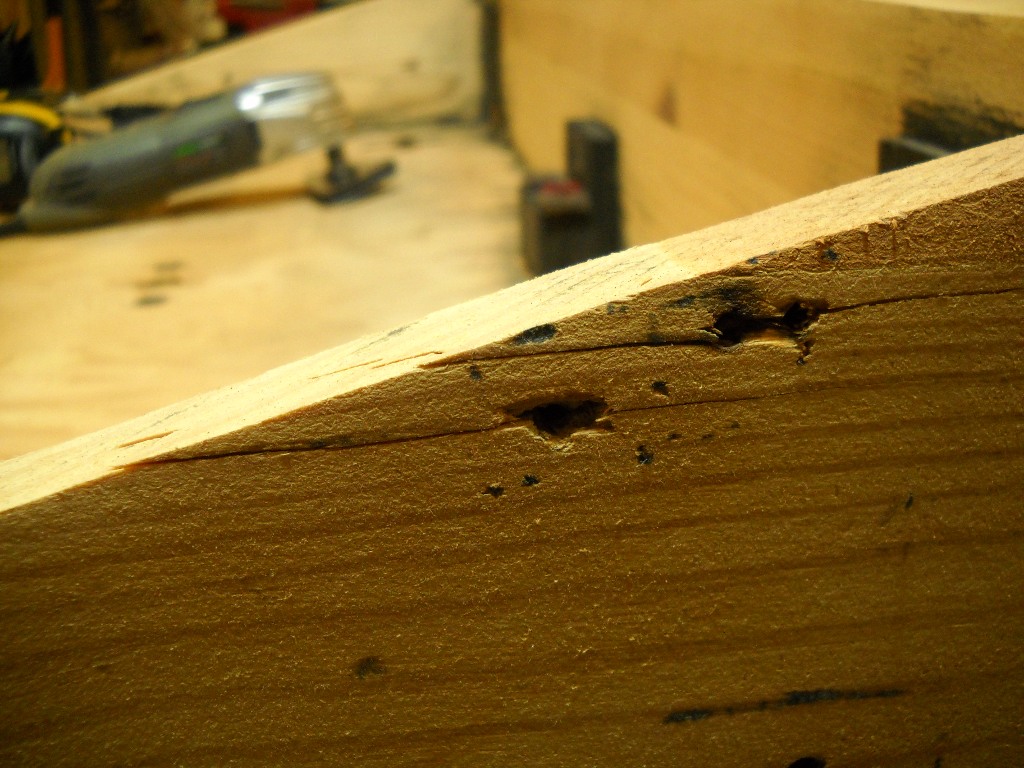
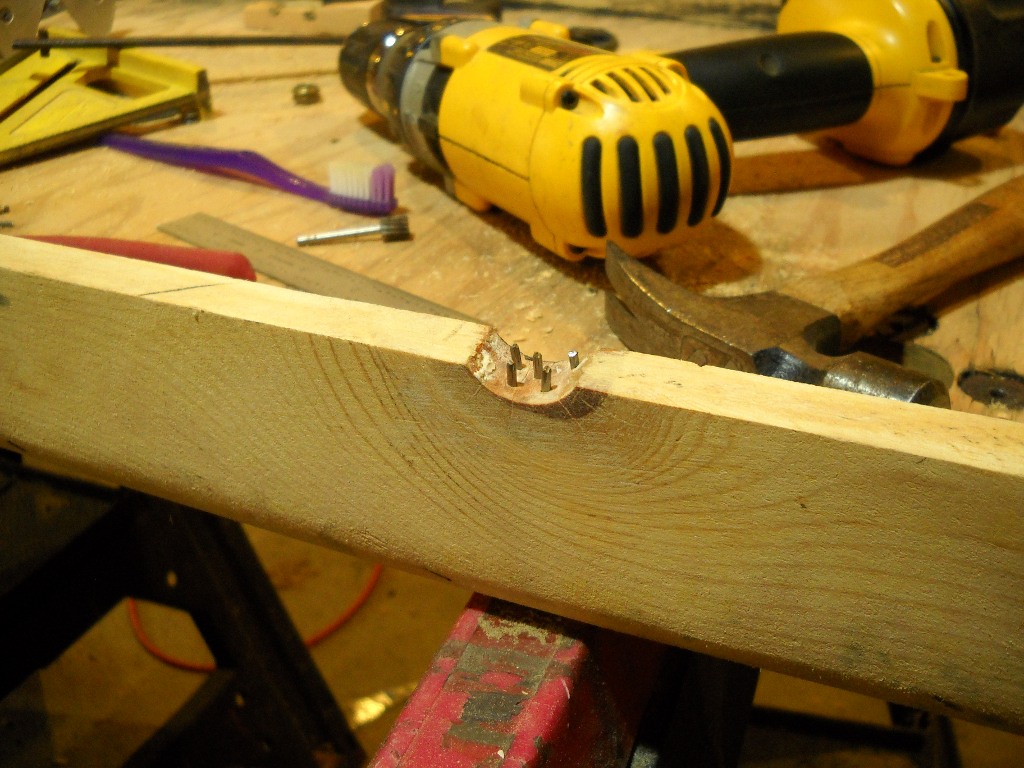
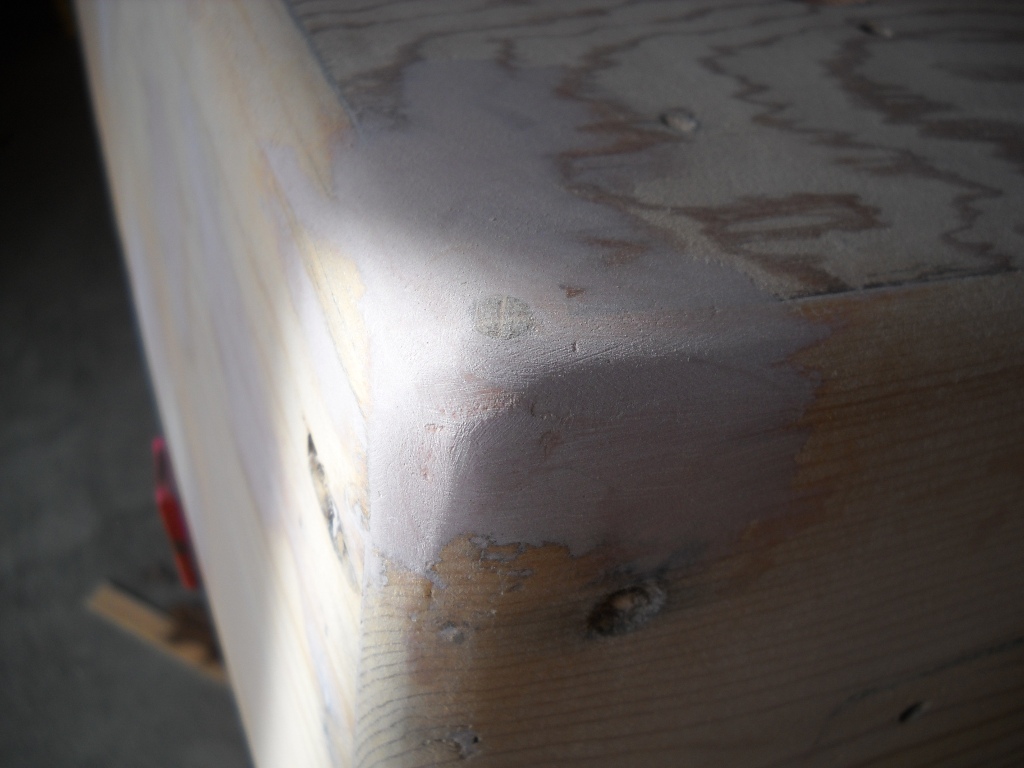
The gap in the front edge where the knot used to be was to be filled with Bondo but given the shape of the void and the smooth face of the underlying wood, I was concerned about the filler’s ability to stay put. To give the Bondo something to hold onto, I first drilled little pilot holes in the wood then installed finish nails that had been cut down below the surface of the case. I think the finished product will last for a while.
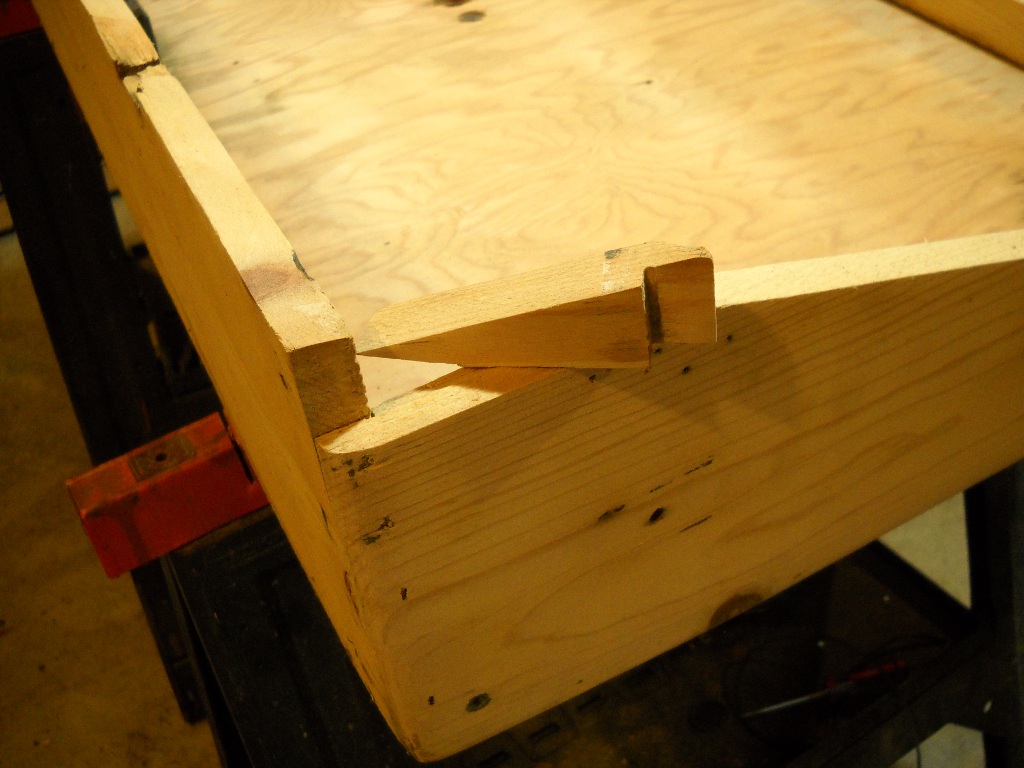
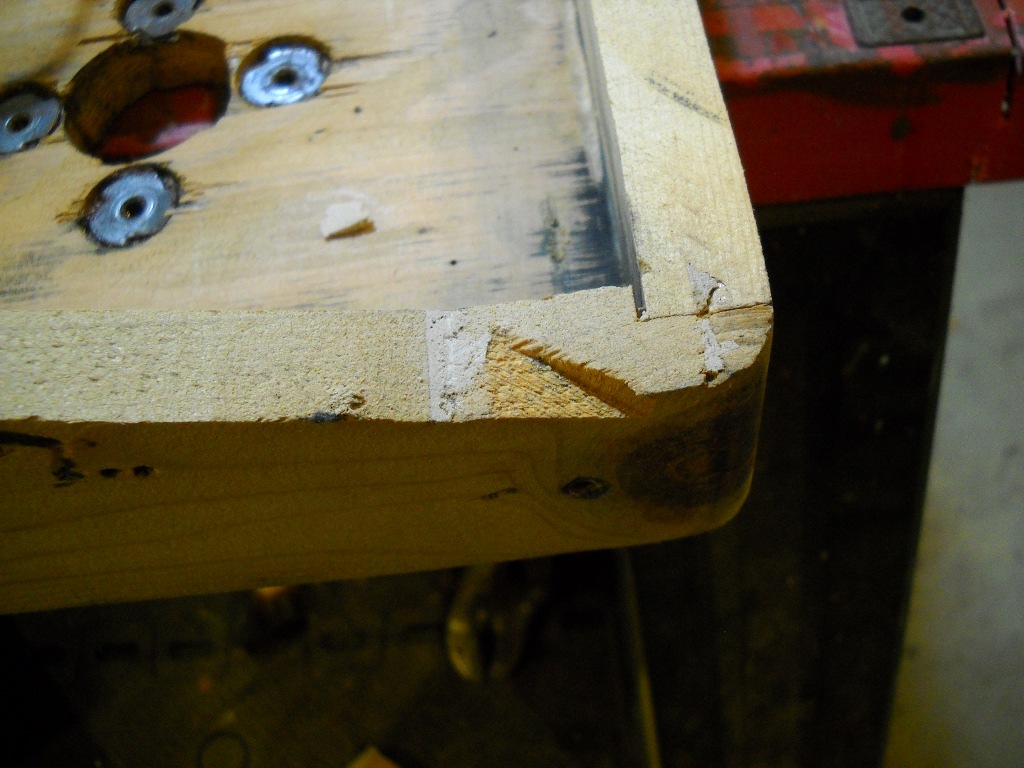
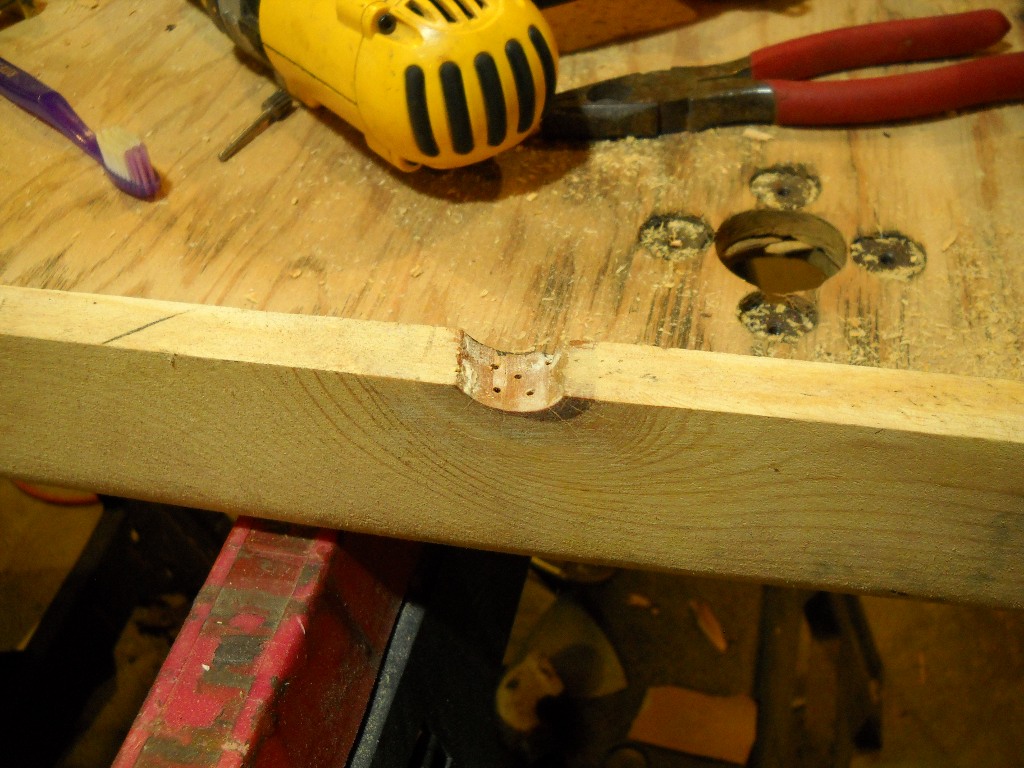
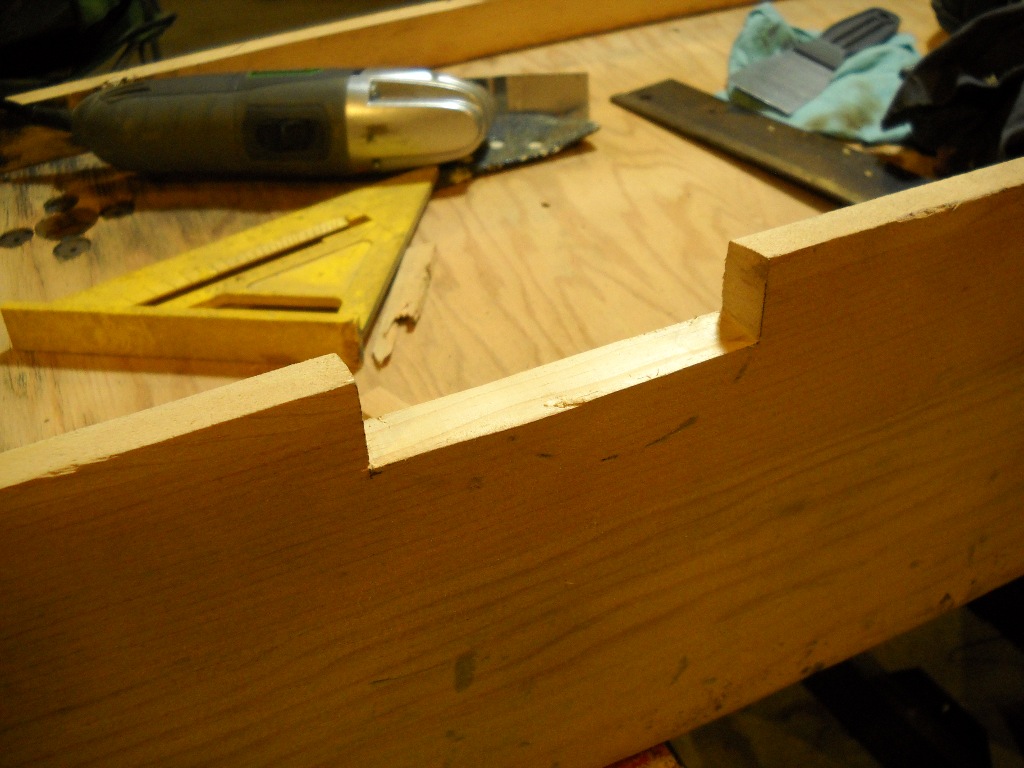
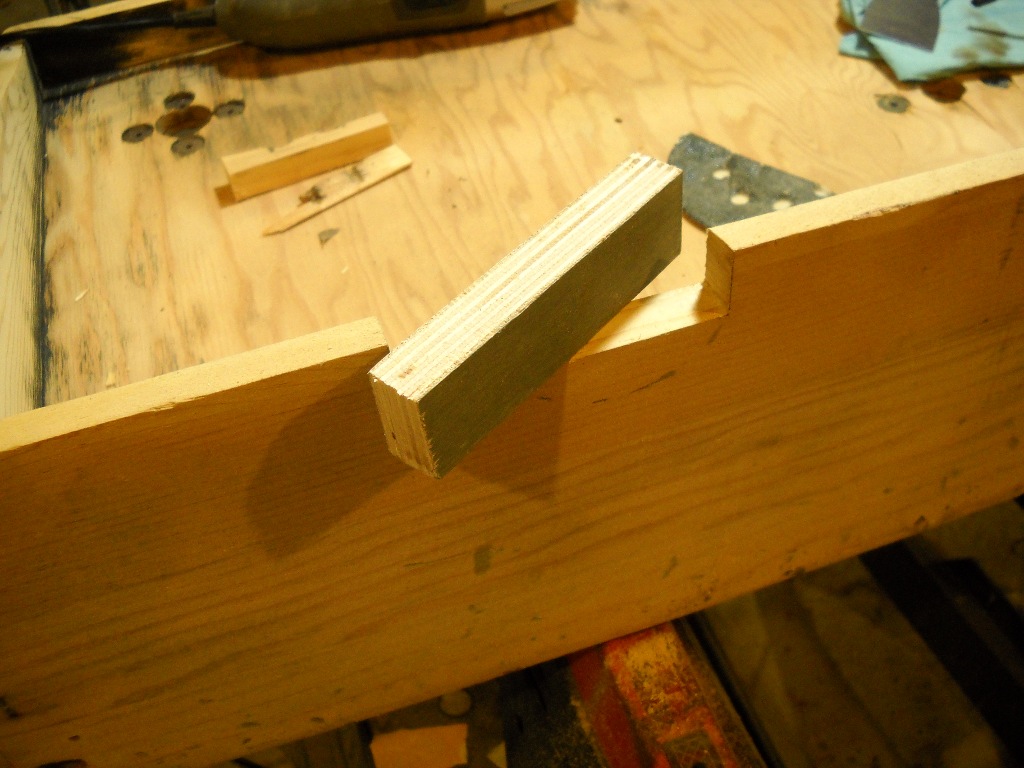
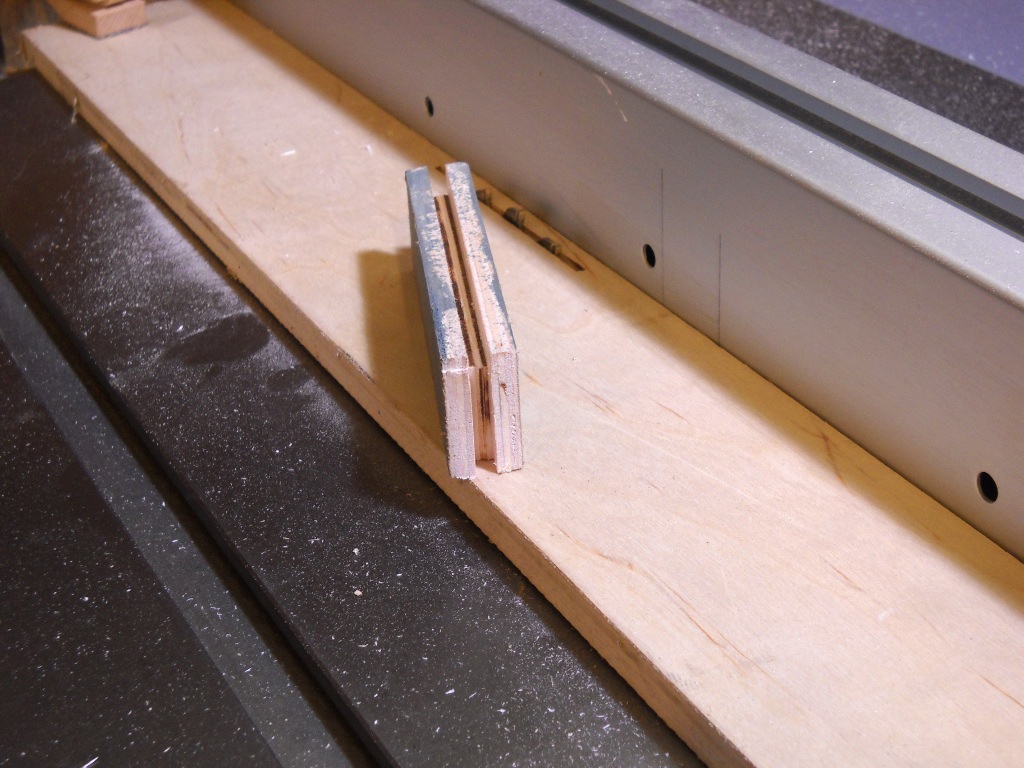
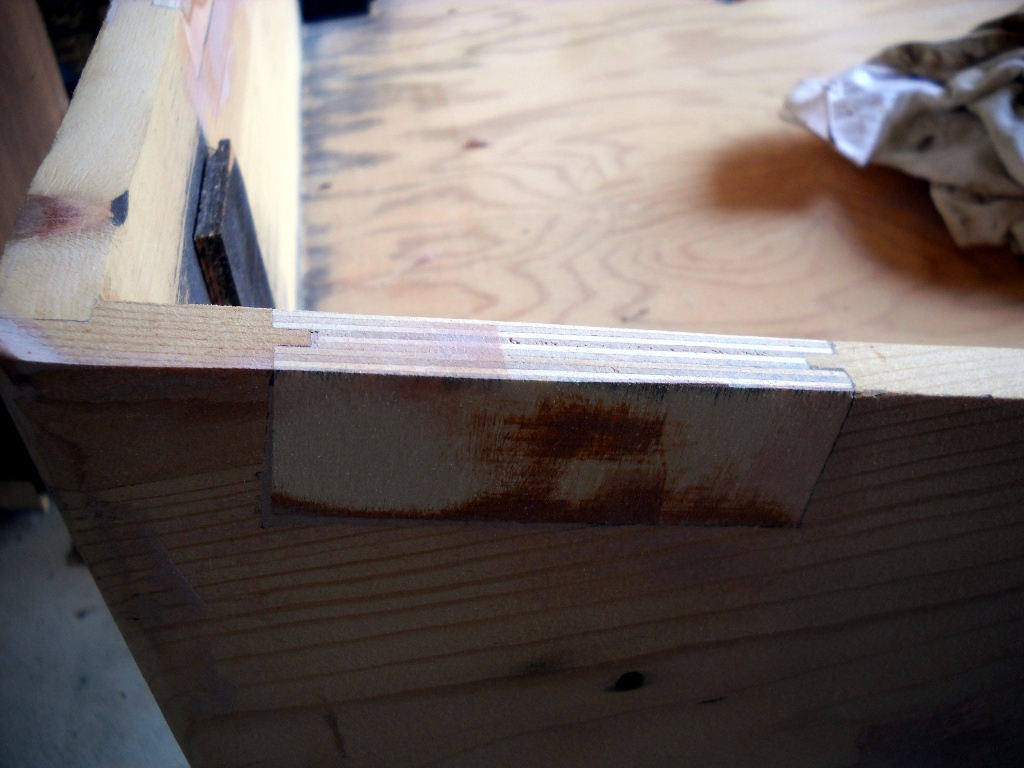
How to deal with the split wood under the hardware mounting points was a bit of a problem. Even if I could just glue the wood back together, I feel the design was flawed from the start since a great deal of stress is placed on the wood at a point where it’s quite weak. Replacing the sides with new plywood would have been a good option but I really prefer to keep as much of the original piano intact as possible. I decided to replace just the problem areas with patches made from plywood. The plywood would provide good anchors for the hardware screws but the rest would remain vintage wood.
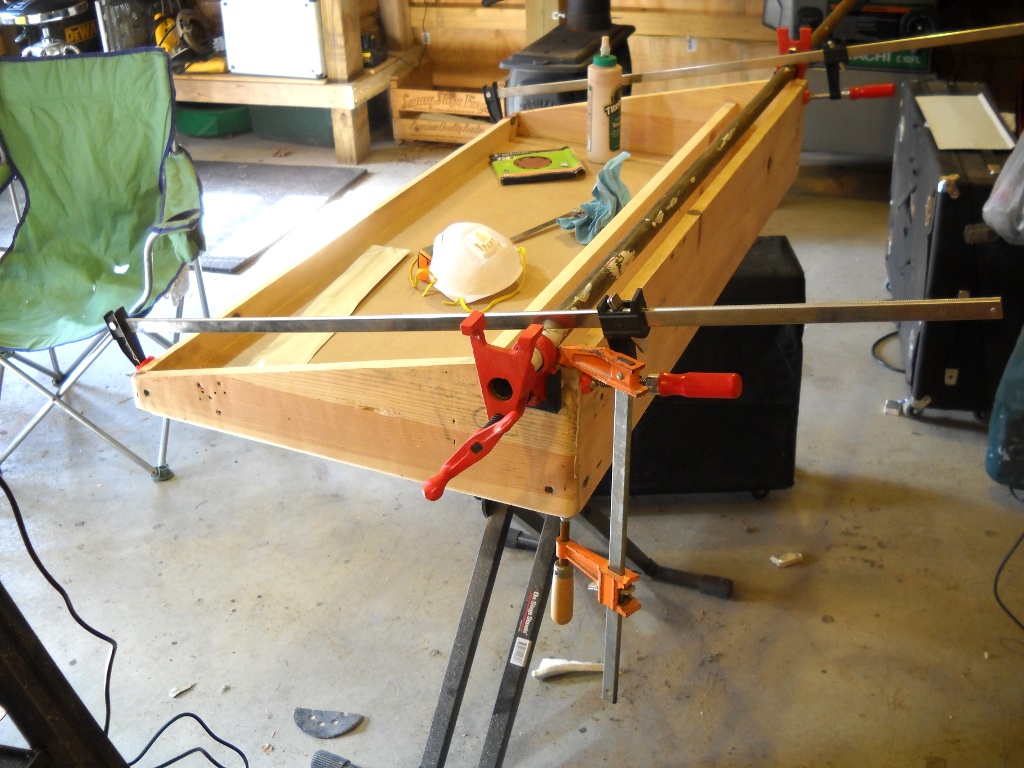
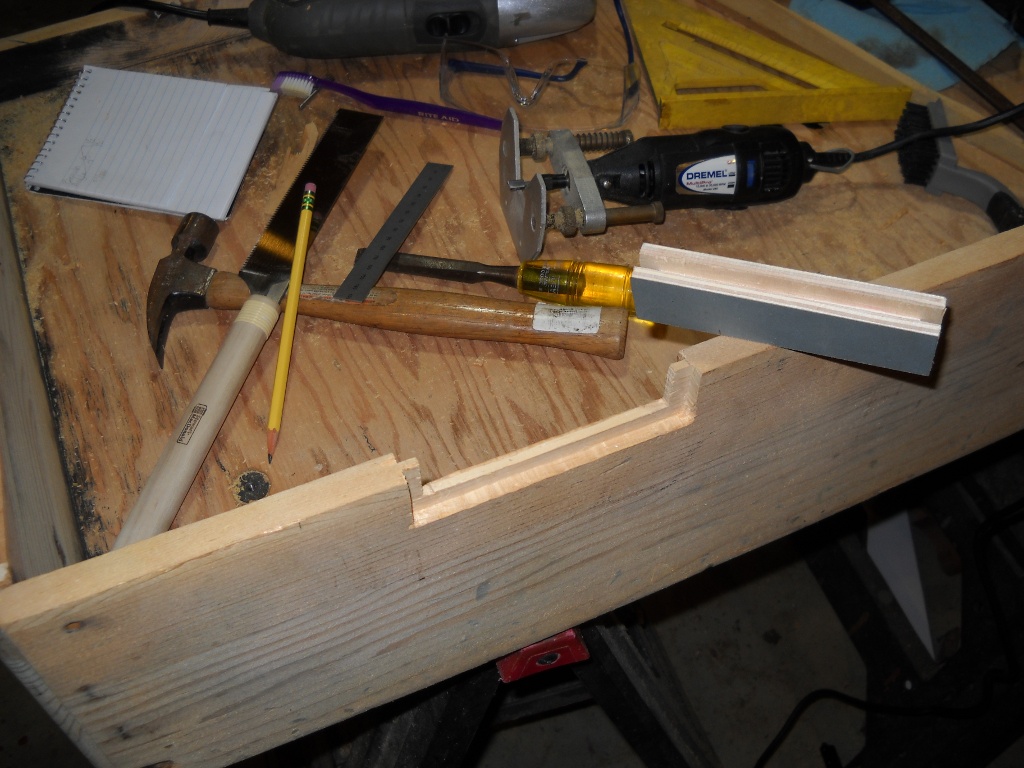
First, a notch large enough to eliminate all of the split wood was cut out of the edge of the case. Then, a plywood patch about an 1/8″ larger in both dimensions was made. A groove was cut in three edges of the patch using the table saw and a tongue was created in the case by routing in an 1/8″ on both sides. After a little adjusting for fit, the whole thing was slathered in wood glue and clamped overnight. A little Bondo cleaned up my sloppy cabinetry and made for a seamless finish.
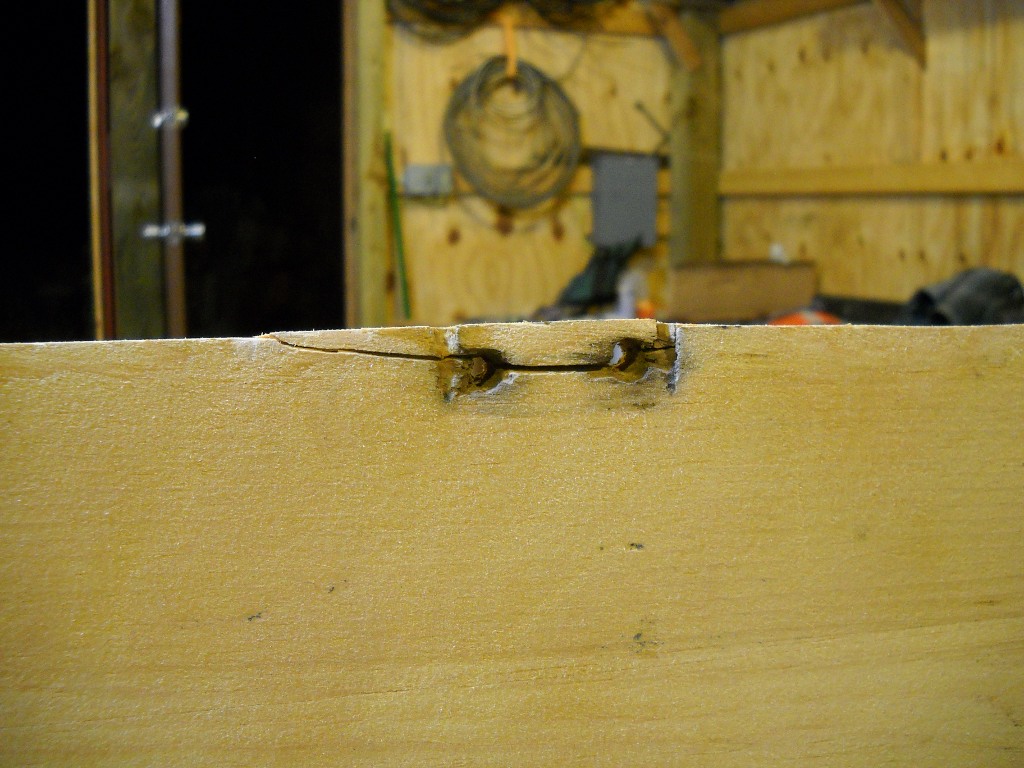
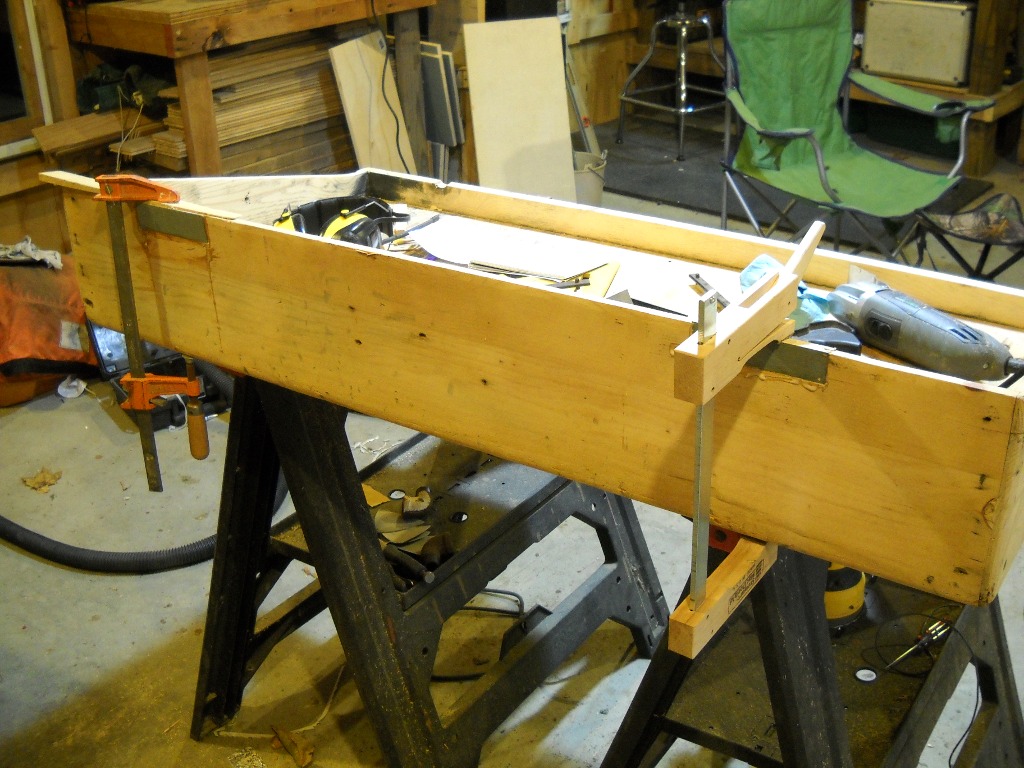
Just about every corner was coming loose but between more glue and some long clamps, they were all locked back together. Bondo put the finishing touches on the corners and this case is now ready for its Tolex.