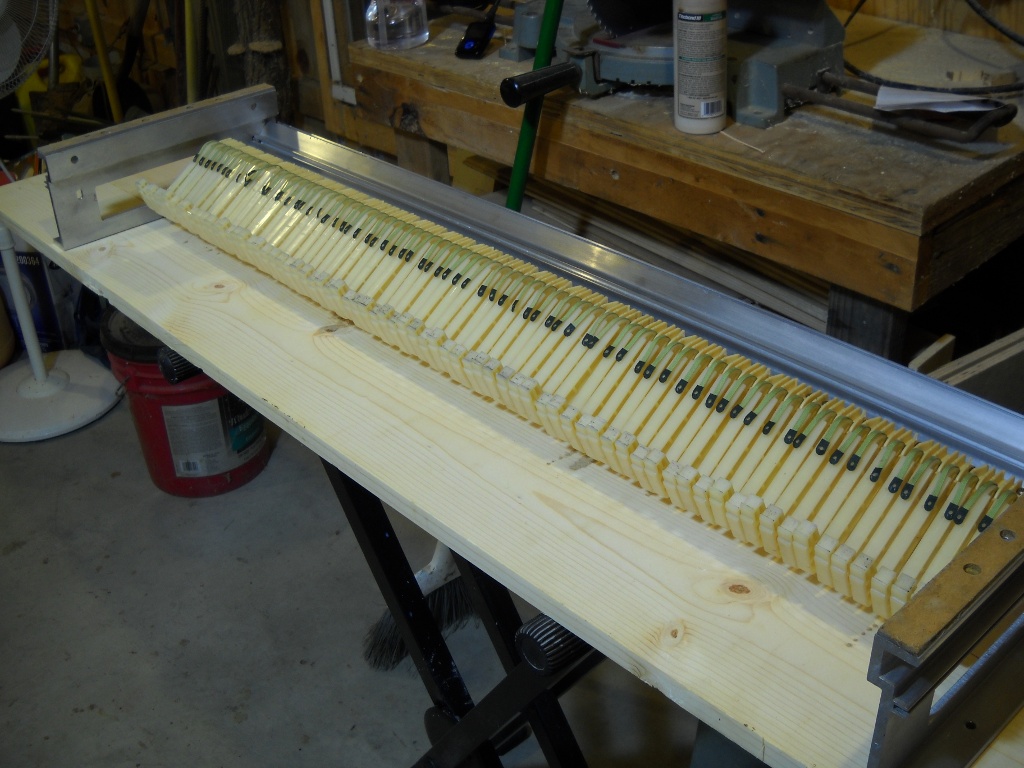
I don’t think this piano was ever played much. The hammers showed only a little wear and all of the felt seemed to be in decent condition. I suppose it could have been serviced prior to being stored in whatever damp basement was its home for years but I think a disinterested owner is more likely. I’m going to stick with the existing felt everywhere except the bottom of the name rail but I replaced the hammer tips to give the piano the greatest chance of sounding and looking brand new when finished.
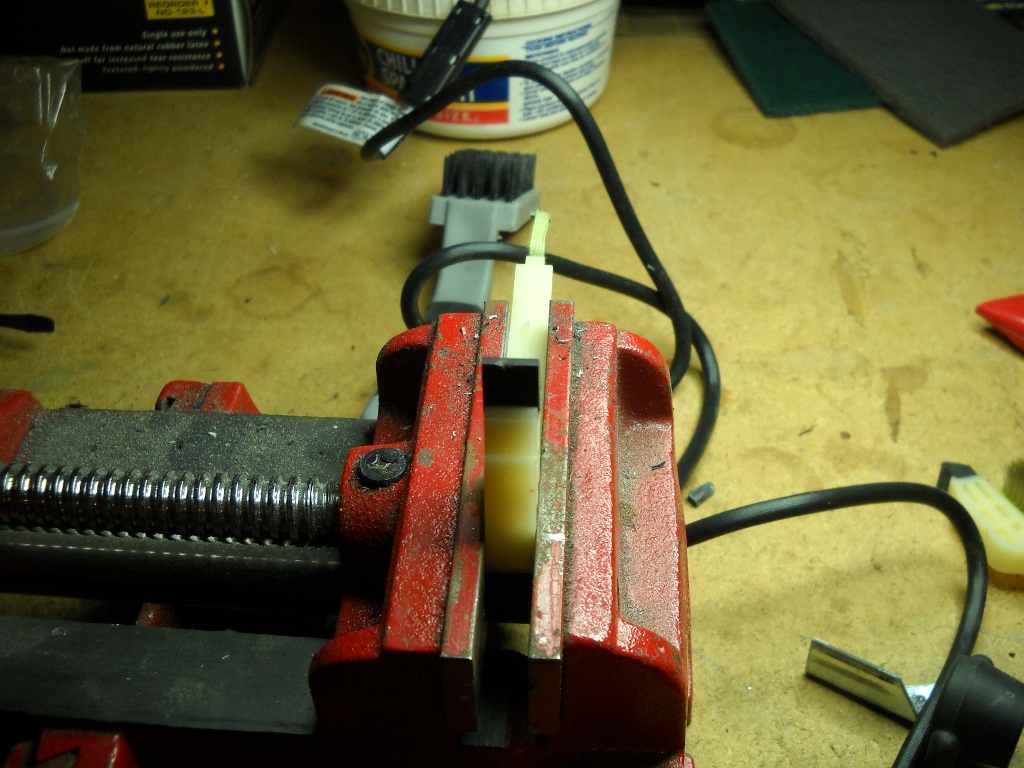
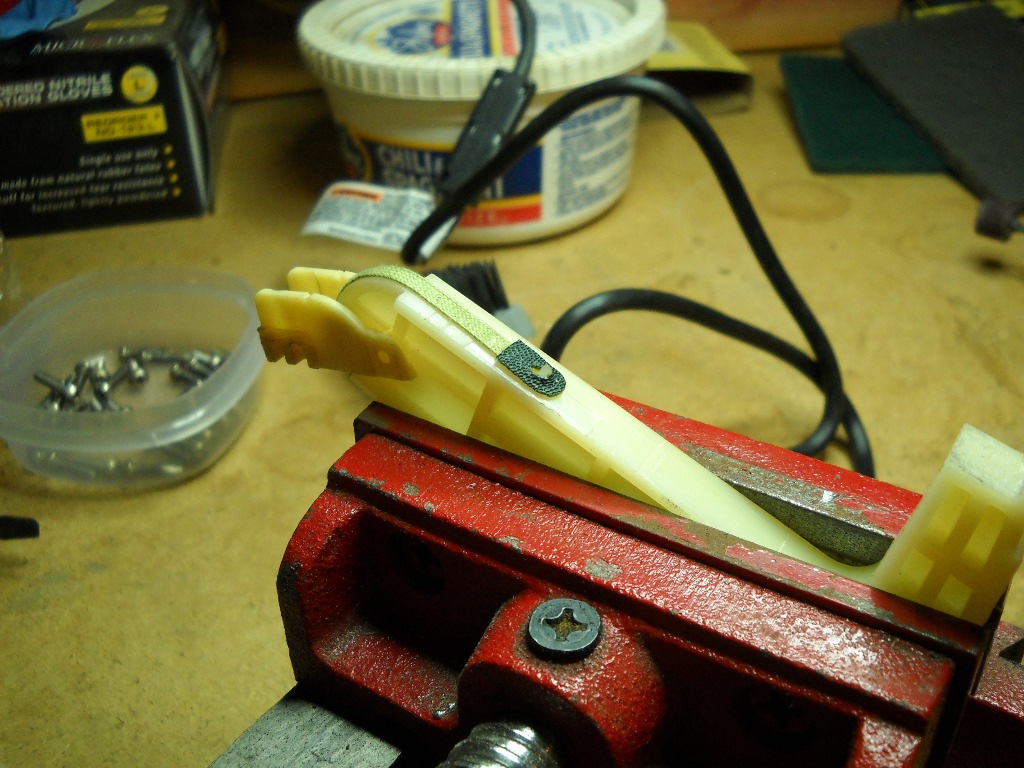
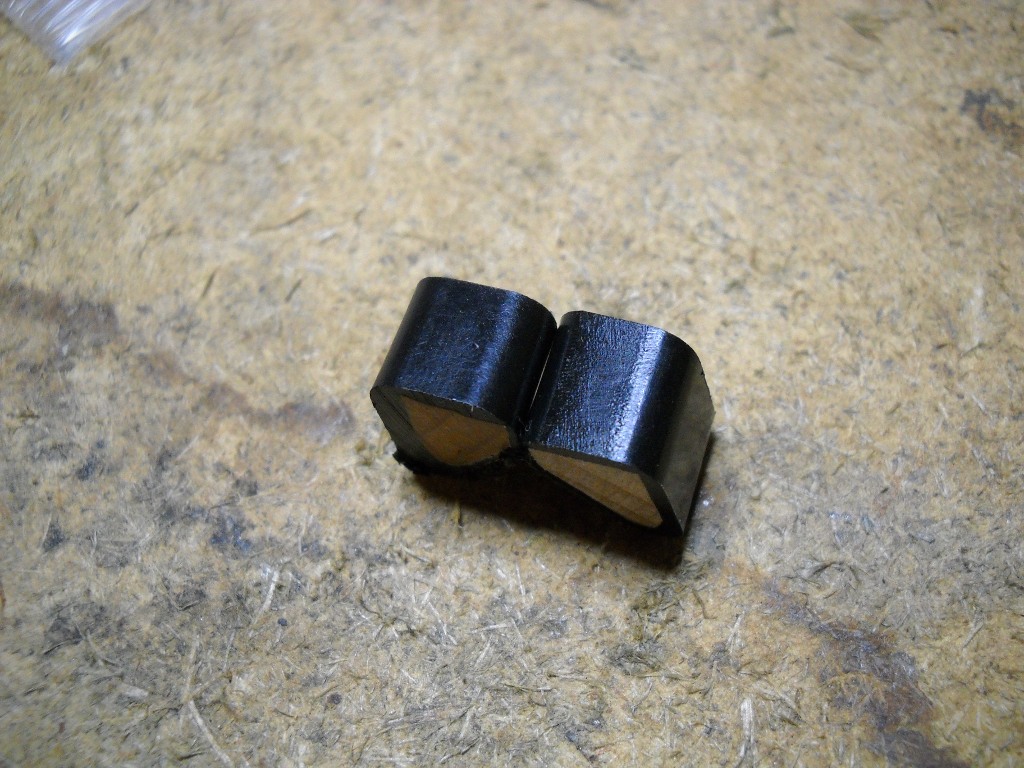
With the action completely disassembled from the piano, it was the most convenient time to work on the hammers. The first step was to remove the old tips. This was done by peeling the tips sideways until they broke free of the hammer end. The neoprene hammer tips on a Rhodes are grouped into five sets, each set is formulated to a different hardness. The softest material is used on the bass notes with the tips getting progressively harder as you move up the scale. The last and hardest set of tips have a wooden core to make them particularly hard. While the softer tips tended to leave remnants of rubber as they were pried off, by the time I reached the highest notes, the hard rubber was snapping off quite cleanly.
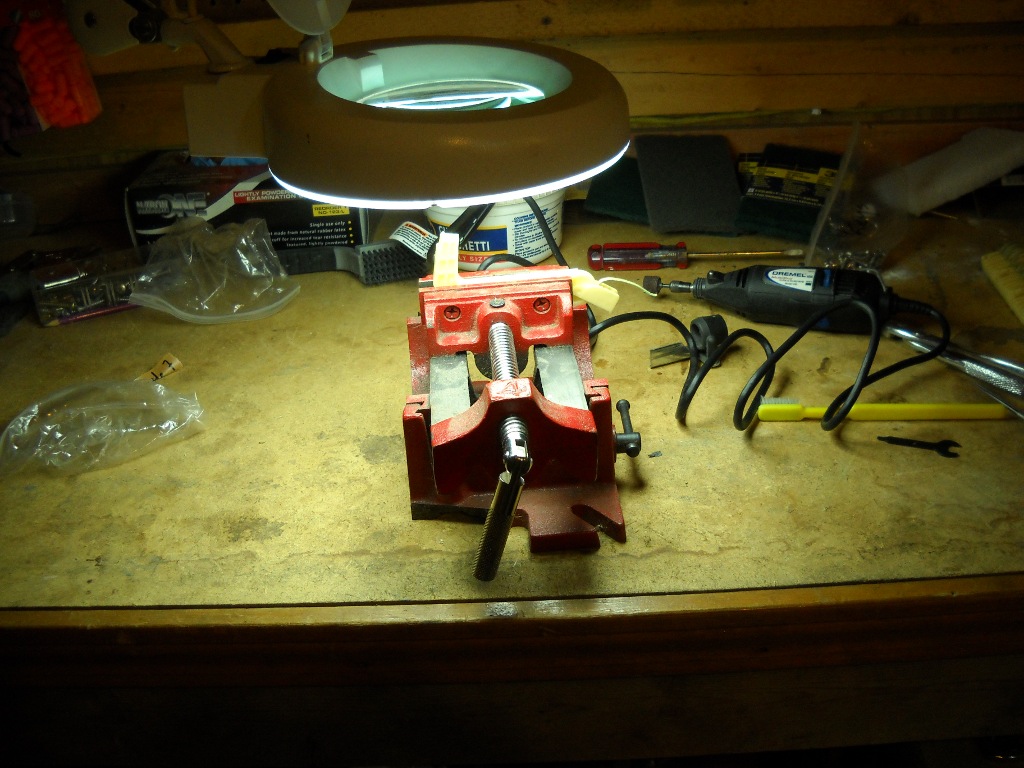
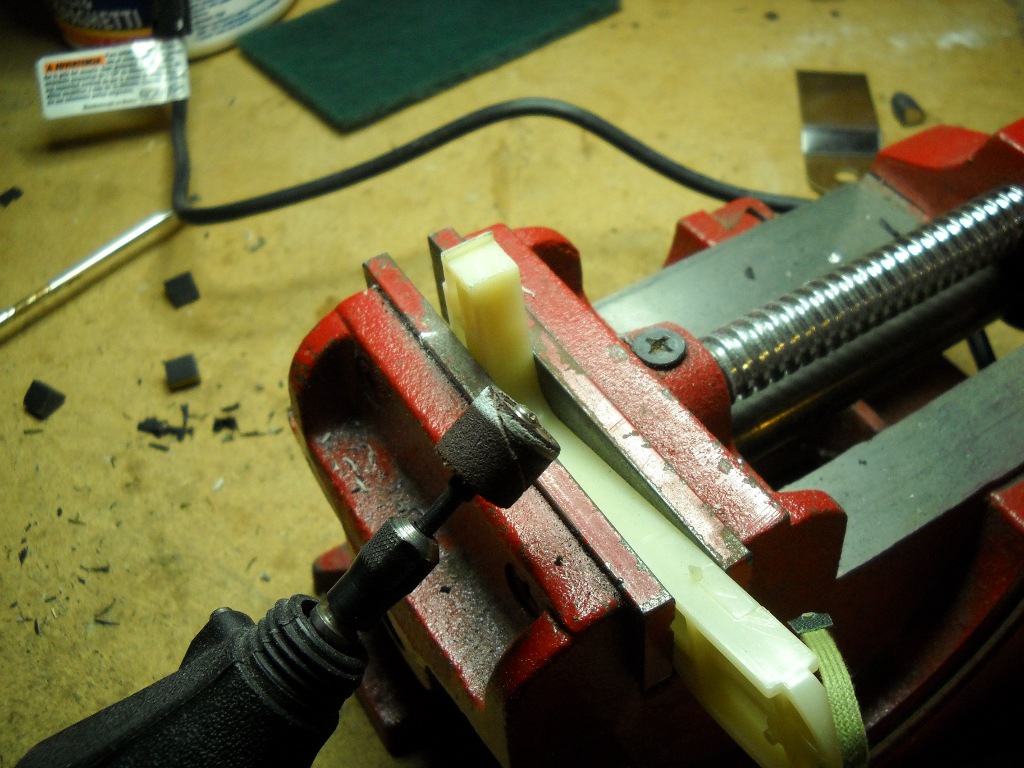
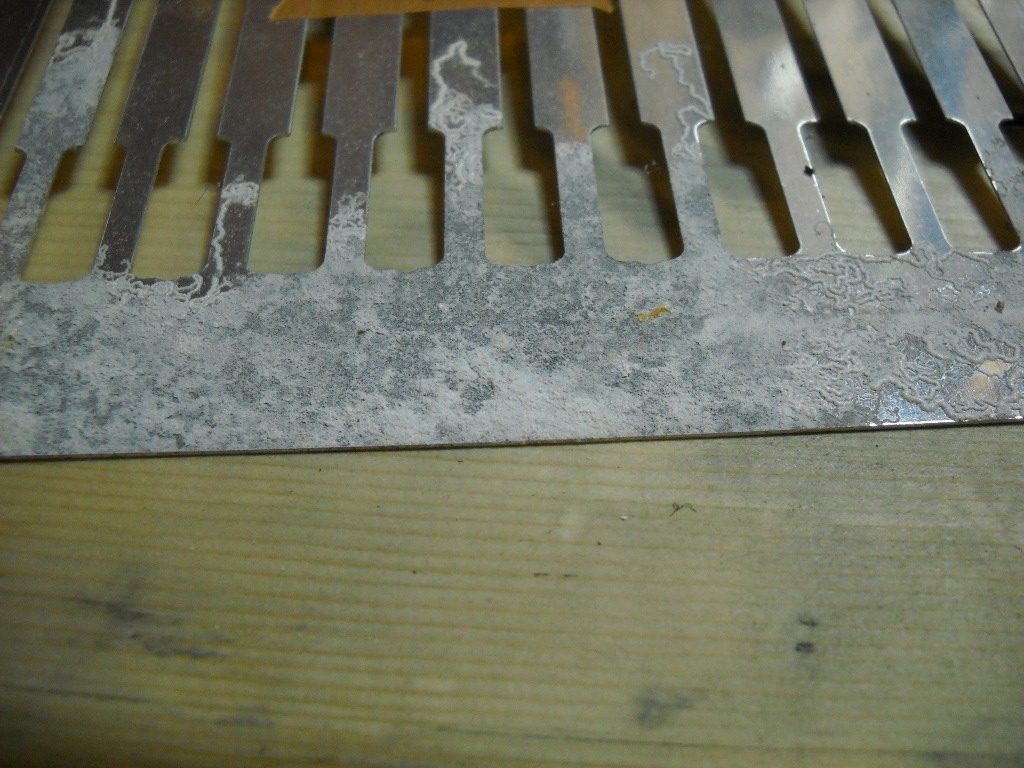
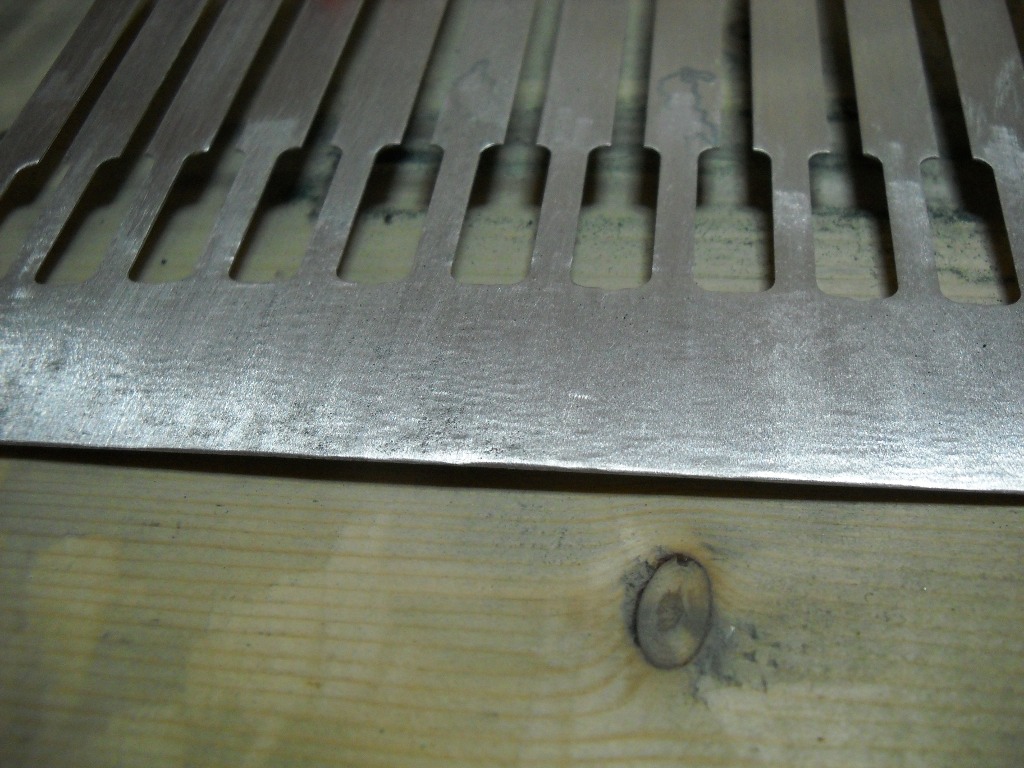
Even though the treble tips were breaking off cleanly, they still left an uneven surface of residual glue behind so every hammer was carefully cleaned using a small sanding drum on a Dremel tool. I first wore the coarse sanding drum down on some cast iron to take some of the bite out of it but it still required a steady hand to keep from cutting and burning the plastic hammer surface. As each hammer was cleaned, I snapped it back into the hammer comb already mounted to the action rail.
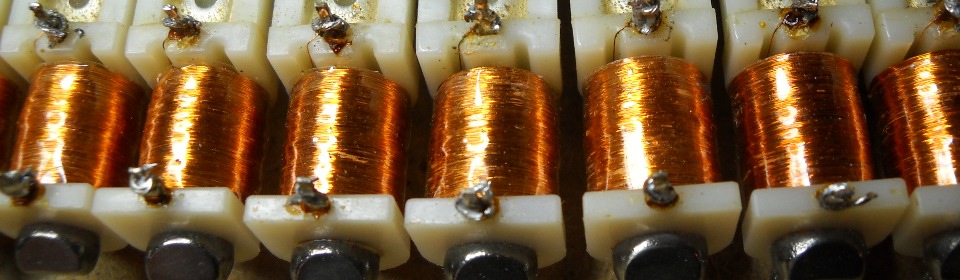
Since I was waiting on delivery of the new tips, I proceeded with the dampers first. The damper strips had some of the most tenacious corrosion I had yet found. I ended up resorting to the same Dremel sanding drum to remove most of the staining. The thin metal damper arms act as their own springs and as such are subject to metal fatigue over time and I’m worried that my aggressive cleaning tactics may have prematurely aged them. They’re relatively easy to replace so I’ll wait until the piano’s playable before deciding if they’ve still got enough spring in their step.
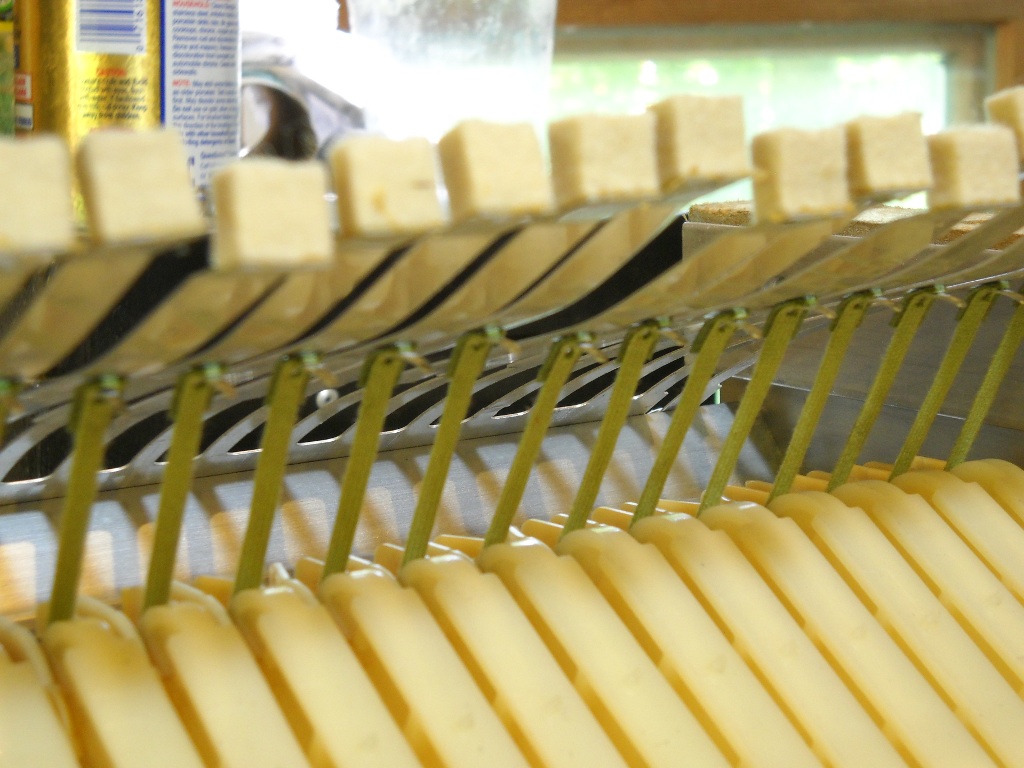
The dampers are connected individually to the hammers by way of a bridle strap so that as a hammer rises to strike the tine, its damper is simultaneously pulled out of the way. Old bridle straps can stretch out making it difficult to maintain the proper relationships between hammer, damper and tine. At first I wasn’t sure how to determine the condition of my bridle straps until I learned that the hammer comes equipped with a built-in length gauge. A small protrusion that I had previously thought was a remnant of the mold used to form the hammer turned out to be a hook placed there to aid the installation of the bridle straps. The distance from the hook to the strap’s anchor point marks the appropriate length for a correctly trimmed bridle. Since all of my existing bridle straps fit perfectly to that hook, I determined that they did not need to be replaced.
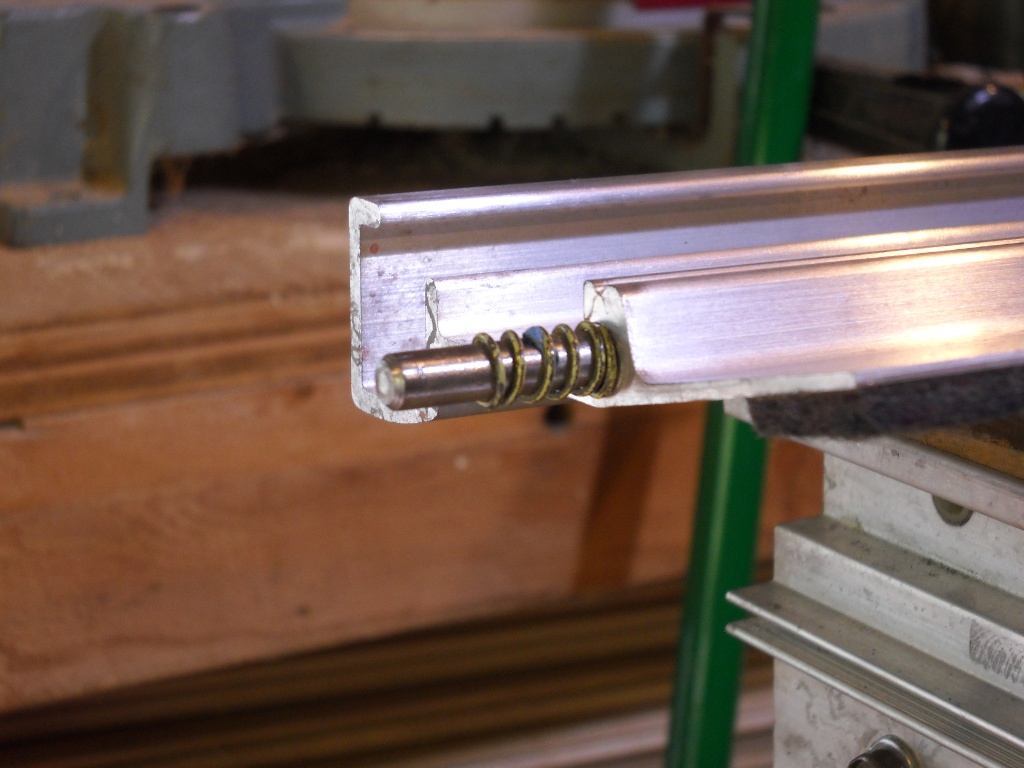
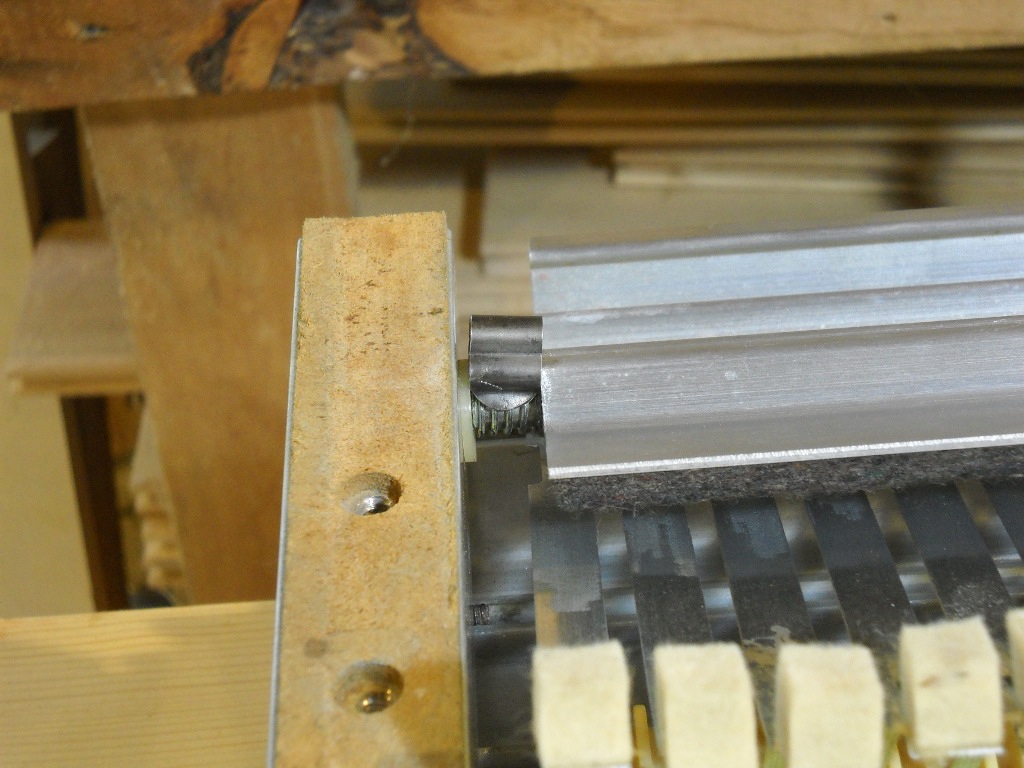
With the dampers all installed, I could finally reinstall the damper rail. Through the years, damper rail hinges have been designed in different ways. On this model, one of the rail’s hinge pins protrudes further out the side than the other. The excess length is occupied by a spare tone bar spring so that the opposite pin can be inserted while the spring is being compressed. The whole arrangement is locked into place by what appears to be an extra wide tone bar clip.
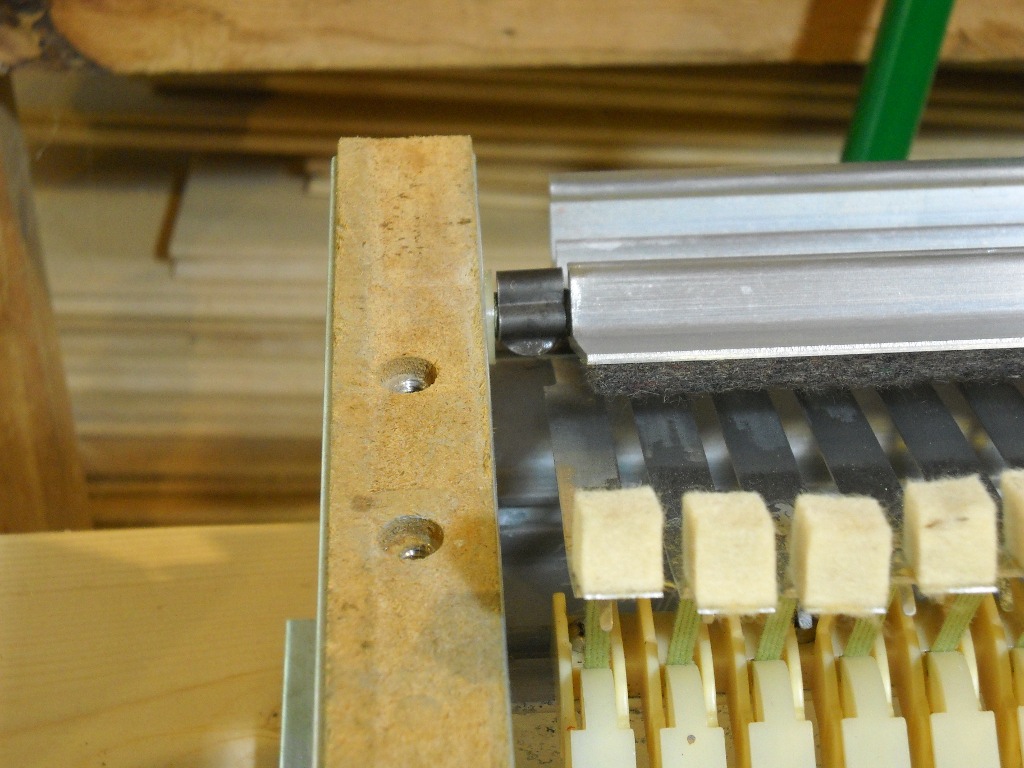
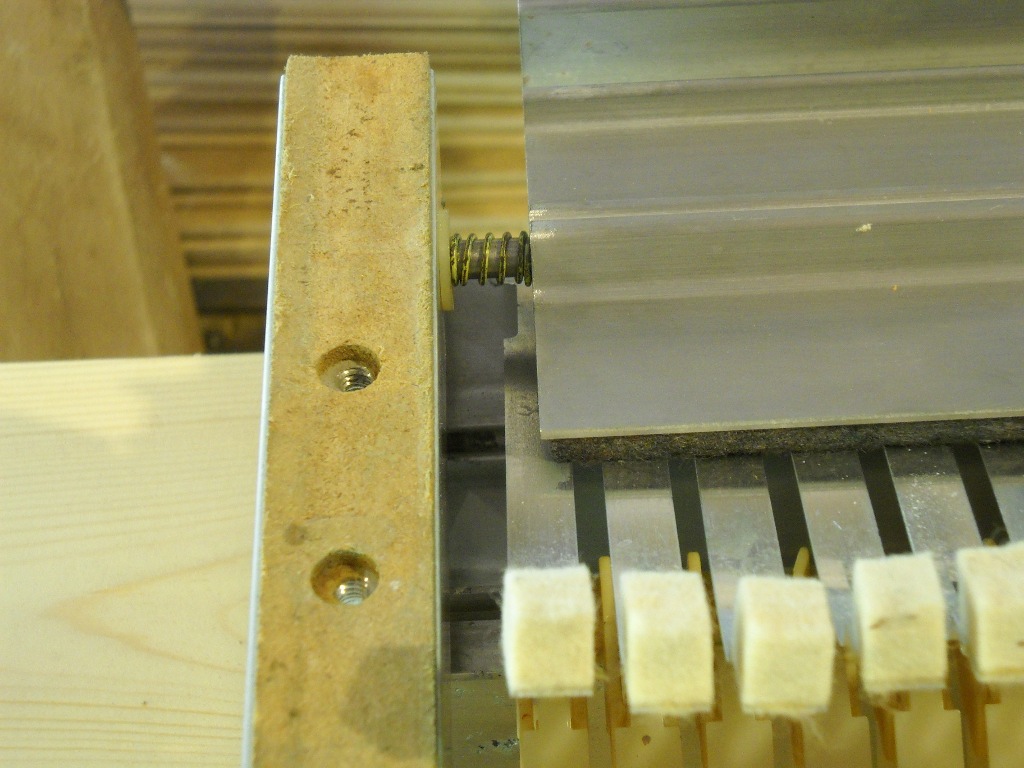
When I first installed the damper rail, I was concerned that it was only making partial contact with the lowest note’s damper spring. Since there was plenty of rail at the treble end, I decided to try to shift it a bit by the addition of a washer. The small shift was enough that it prevented the locking clip from being inserted so, rather than make any more modifications, I put it back the way it was.
By this time, the new hammer tips had arrived. These are installed by just gluing them in place with a small amount of medium viscosity super glue. When I replaced the tips on my Fifty Four, a couple of the high ones fell off after a little bit of playing. The hard rubber on the wood-core tips is very smooth and slippery so this time I first scuffed them with a small file before gluing them down.
With the action rail ready to go, I was able to reinstall everything and the project started to once again look like a real piano.
It’s looking good!
Back in the day, I used to do a ton of Rhodes piano repair and set-up. Contact Cement was the preferred glue to mount the hammer tips. It’s pretty forgiving in that it can take a lot of abuse and still keep the tip from falling off. I can’t imagine that super glue will hold up for long, given all the flexing that’s going on (especially with the softer rubber tips on the lower keys). Contact Cement was also good in that you didn’t have to clean the old glue off completely. New Contact Cement bonds with old Contact Cement quite well.
Also, back when lots of folks were gigging with Rhodes pianos, they were being hauled around in vehicles where they would often get very hot, or very cold. That put additional stresses on the glue used to glue the hammers. Again, Contact Cement seemed to deal with that challenge better than other glues.
Lee, I agree that super glue is probably less than ideal for hammer tips. I’ve had to reset a few treble tips that have fallen off. I think that scoring or “toothing” the tip before gluing helps but I will likely try contact cement for the next project.