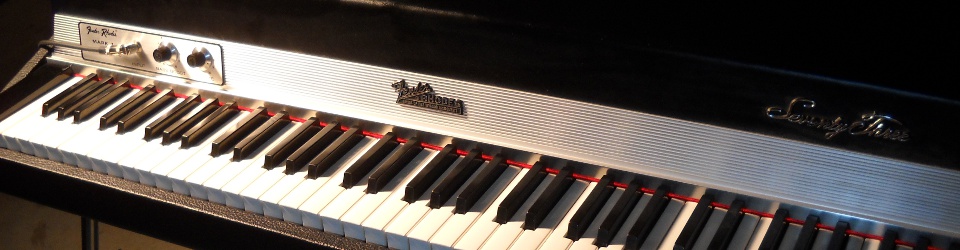
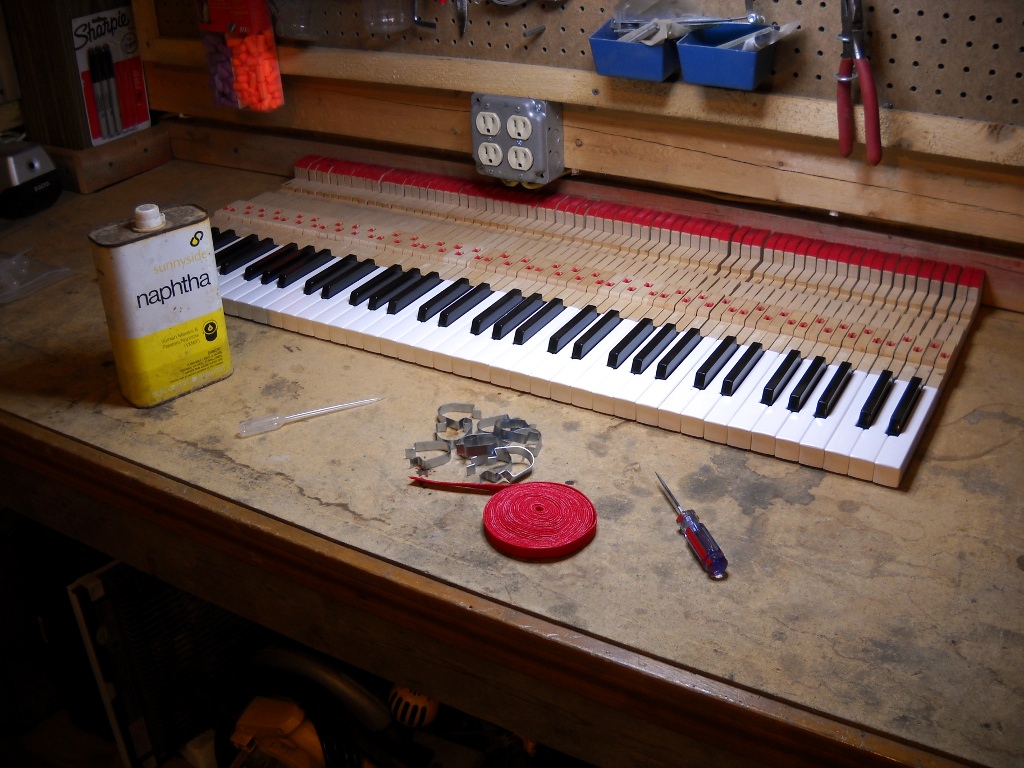
The plastic keys on my last piano required nothing more than to be cleaned before being reinstalled. When I began working on this, my first piano with wooden keys, I was eager to explore the workings of its more standard action assembly. I may have been too eager as I probably ended up investing more time in the keys than in all other components combined.
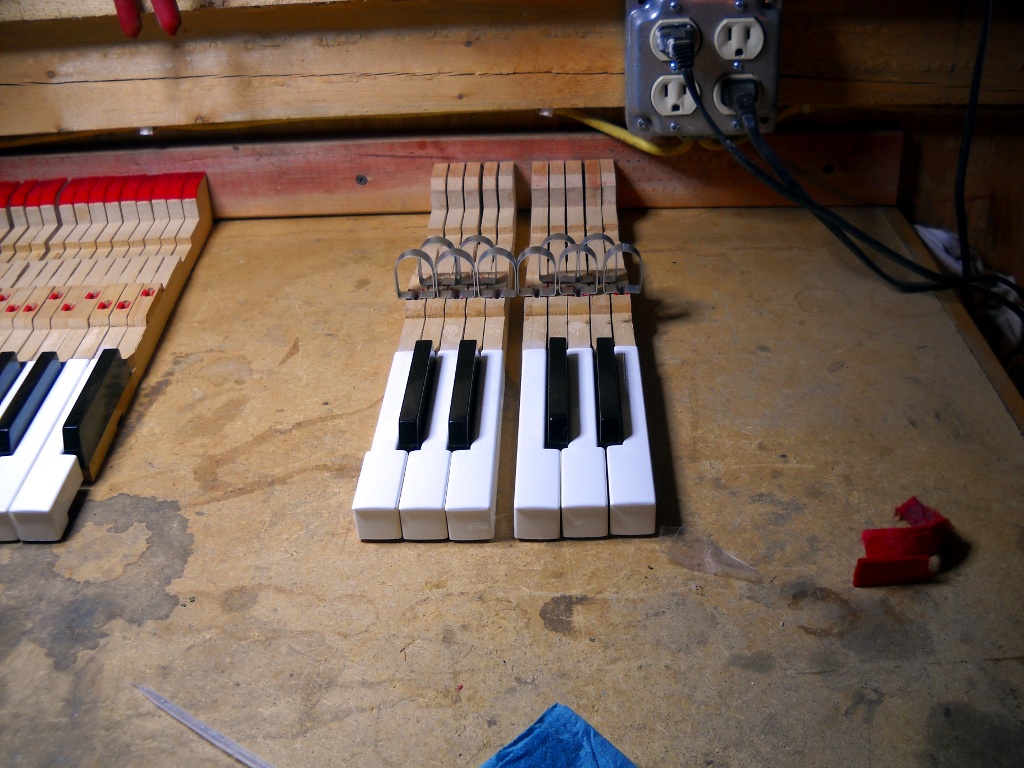
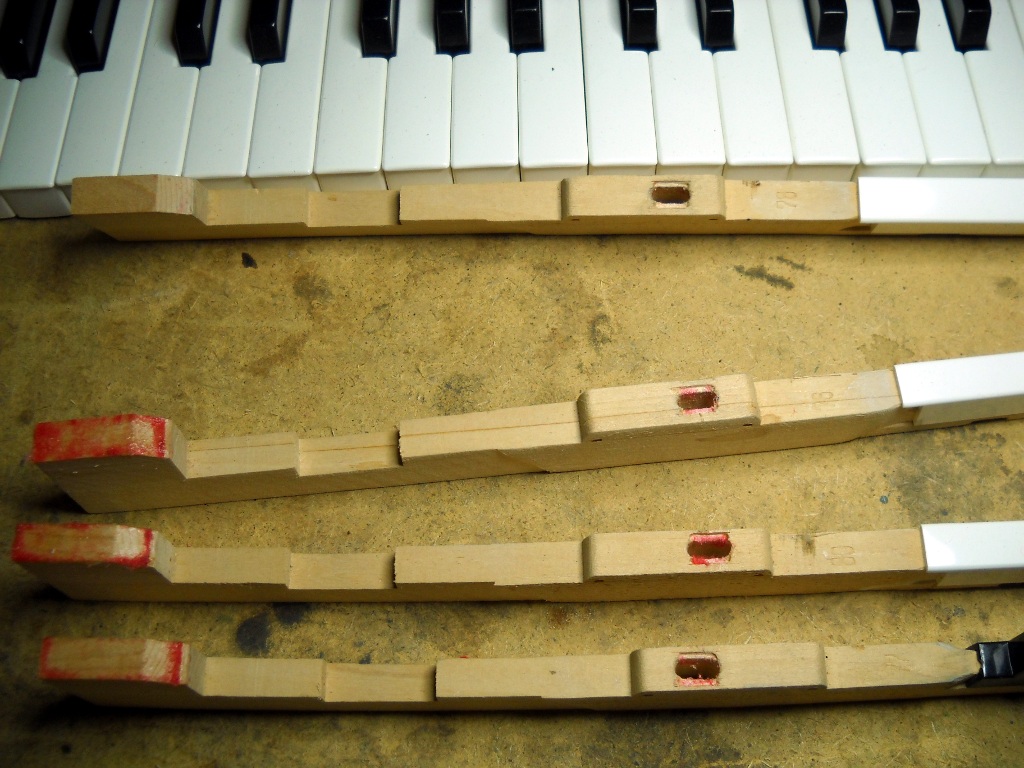
The keys employ felt at several contact points to make their interaction with other parts smoother and quieter. Each key mounts in the piano by two narrow metal guide pins which are pressed into what appears to be oak or ash rails on the key frame. The openings in the keys through which the pins pass is padded with felt bushings. These bushings will eventually wear out allowing the key to move too much from side to side and giving the piano a very sloppy feel. Since the front bushings bear the brunt of abuse from zealous players, their guide pins are specially shaped – more oval than round. When the pins are rotated, their thickness changes relative to the keys’ bushings. In this way, a bushing replacement job can be forestalled until the material’s condition is critical and can no longer be compensated for by turning pins.
The balance guide pins at the keys’ fulcrum are round and offer no mechanism for adjustment. The keys’ balance bushings can be adjusted slightly by manipulating the wood they’re glued to but once the felt has worn down very far, it must be replaced to restore the piano’s original feel. In retrospect, and particularly after having since seen key bushings that were truly worn beyond their usefulness, the bushings on this piano did not need to be replaced. I was so interested in digging into some “real” piano repair work that I convinced myself that the job was necessary. I could have just turned the front pins a little and been done with it but it was a learning experience nonetheless.
Before new bushings could be installed, the old ones had to come out. Steam is typically used to soften the glue under piano bushing felt. I had also read naphtha would work on the Rhodes felts. For me it seemed no amount of solvent or time was enough to convince the glue to let go so I resorted to acetone. A big problem with acetone is that it quickly reacts with the plastic of the key caps. An errant drop will instantly damage the surface of the caps… but boy did it make short work of the glue.
Although it worked easily on the balance bushings, the acetone seemed to have no effect on the front ones. Coincidentally, another member of The Electric Piano Forum happened to have just posted the same experience during his first key bushing job. He reported that steam was an effective means of removal. I don’t have any equipment for working with steam but my friend Matt showed me a simple solution often used to steam out small dents on solid-body guitars. With a soldering iron and a wet rag, I was able to press steam directly into the felt. After about thirty seconds of this treatment, the felt fell off the wood taking all of its glue with it. Since the steam was so much safer, did not give off volatile fumes and clearly outperformed the acetone, I used it for all of the remaining bushings.
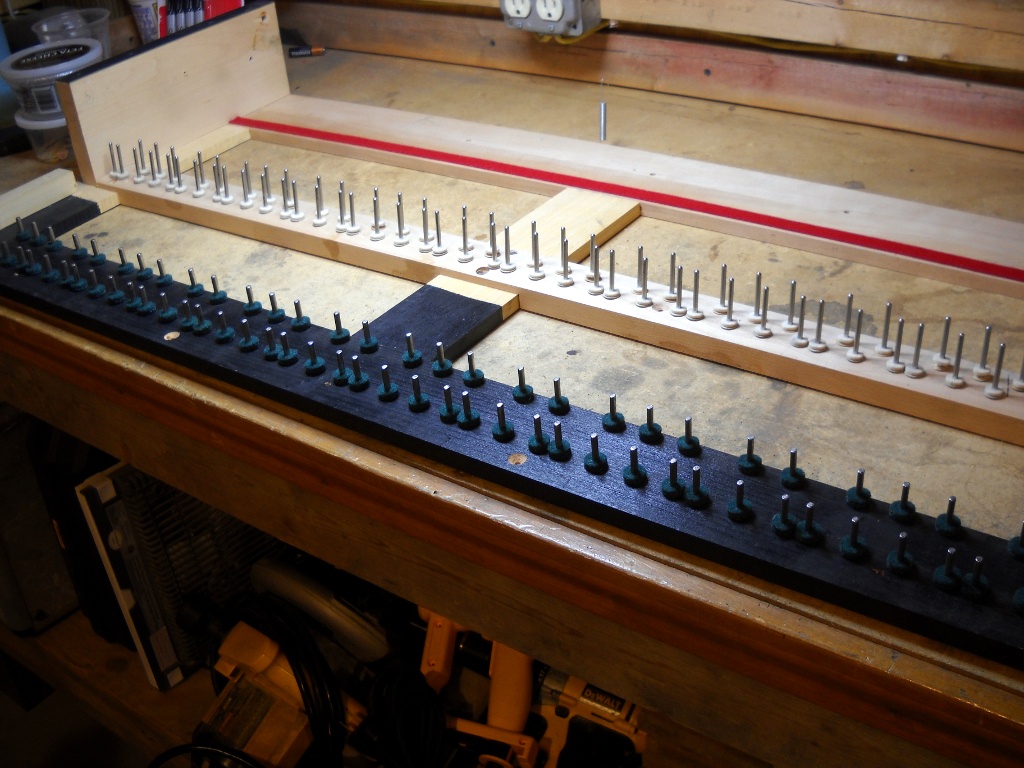
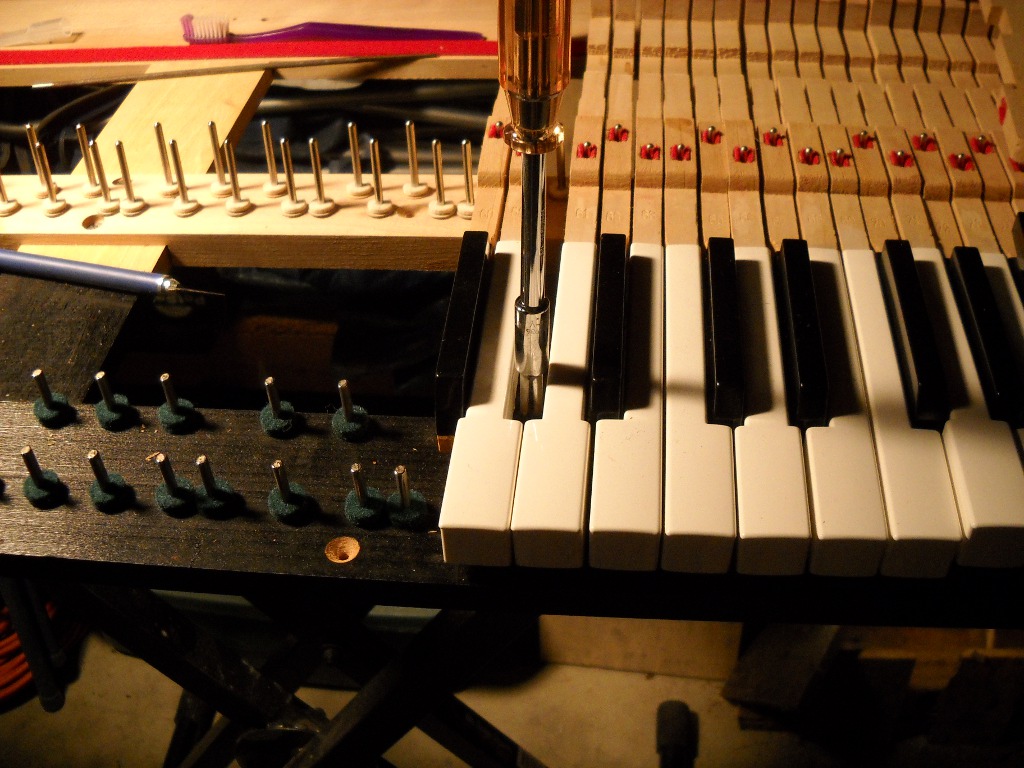
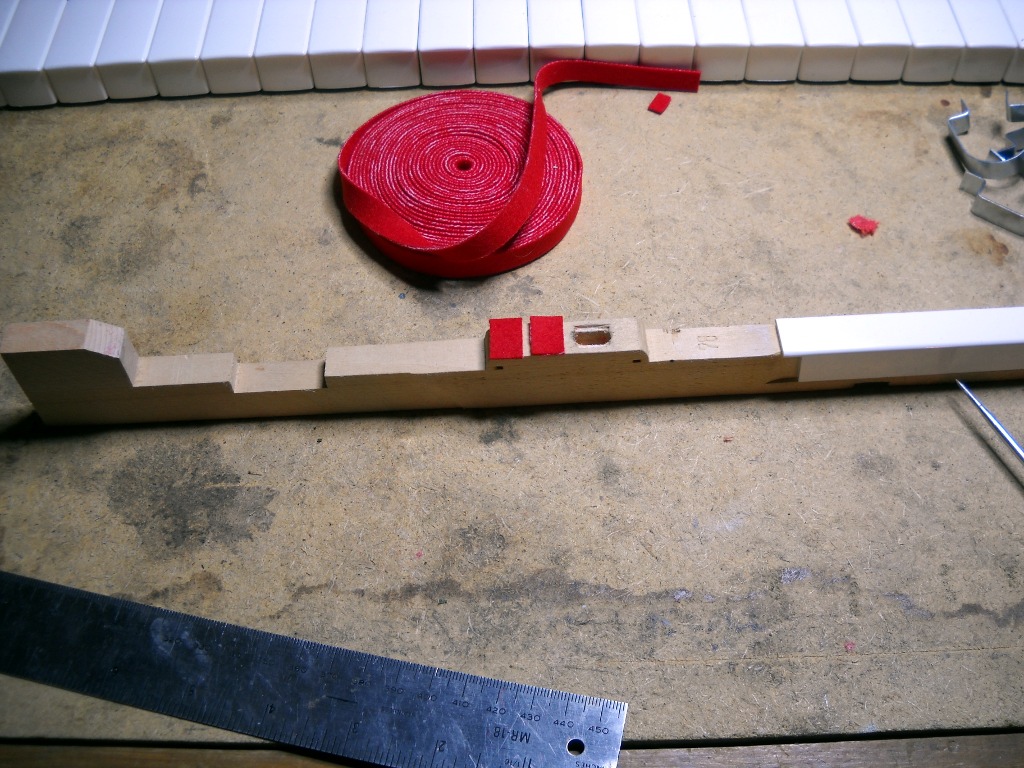
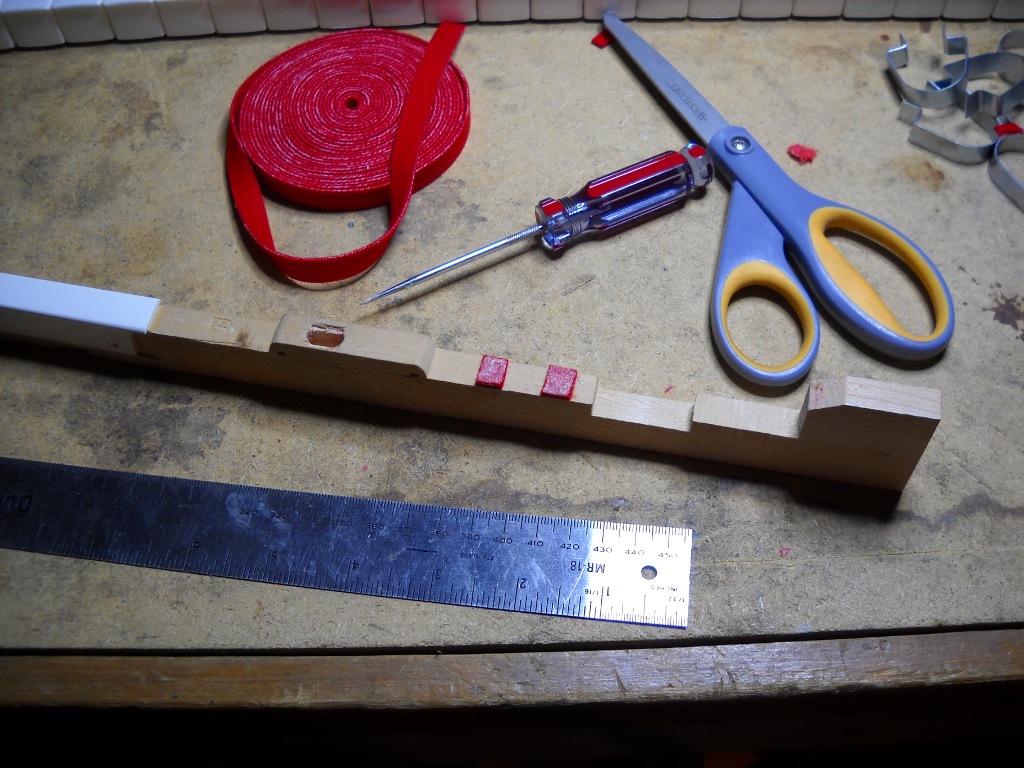
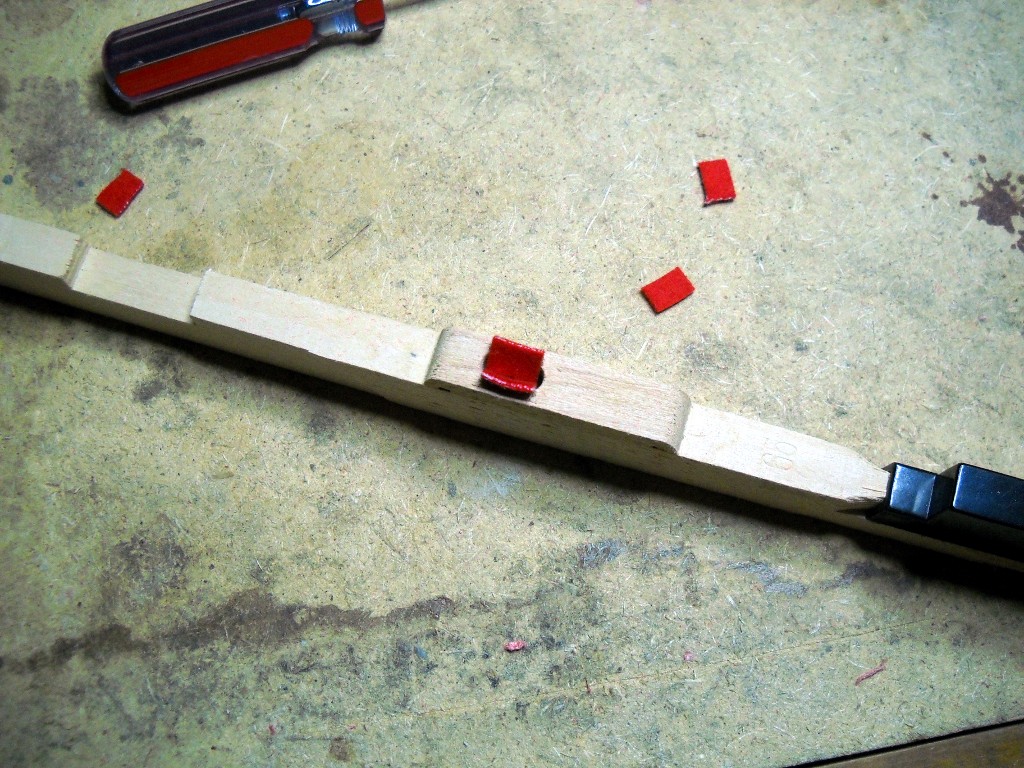
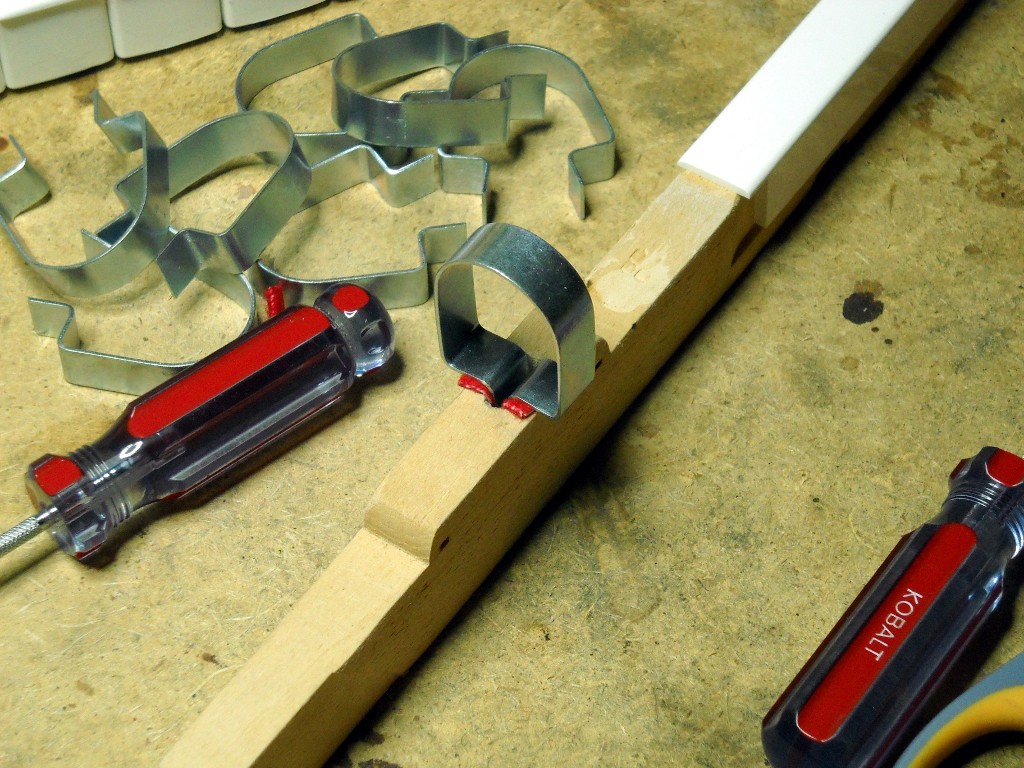
Installing new bushings is very reminiscent of the game Operation. Inserting the proper amount of felt and securing it in place for the glue to dry requires special tools and a degree of finesse. The felt is supplied in a continuous roll. The common approach is to apply glue to the ends of two separate lengths of felt, insert and secure them at the proper depth, then trim off the excess either immediately or after the glue dries. The felt can be held in place by a variety of blocks, cauls or clips such as the set I purchased from Vintage Vibe. Before I learned this method, I had already become comfortable with my own technique and since it seemed to yield satisfactory results, I saw no reason to change.
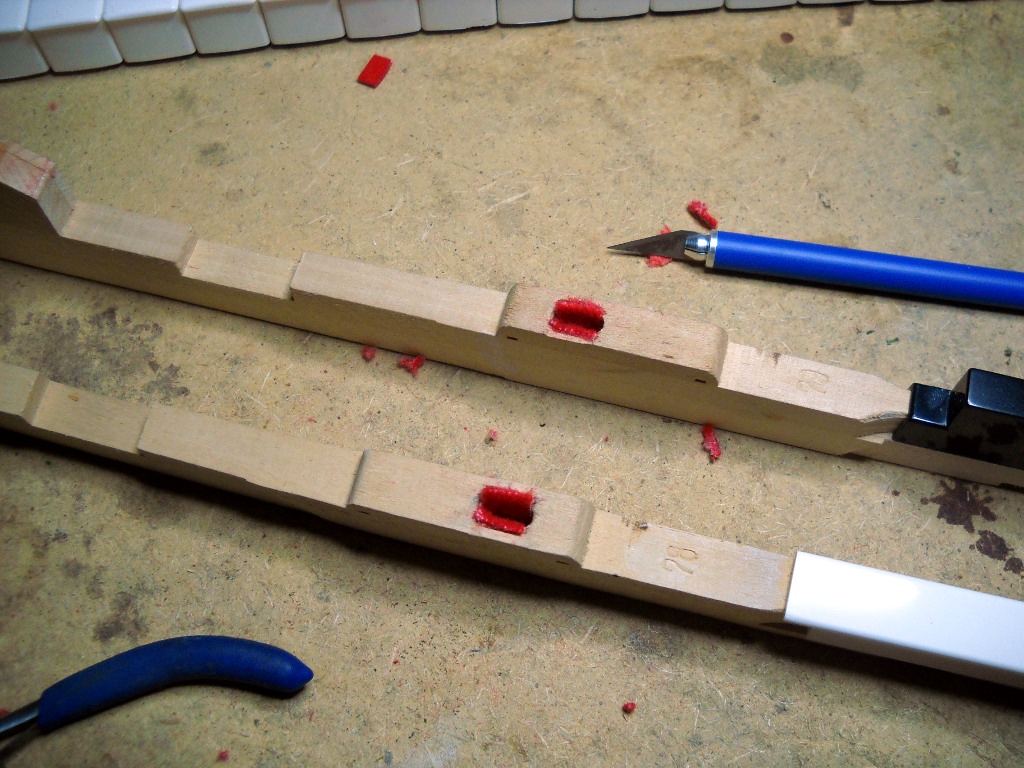
Rather than trim the pieces after they were set, I precut the felt. After covering one side of the pieces with glue, I maneuvered them into position perched at the edge of the hole in the key. When the metal clip was inserted in between them, they rode down into the hole and positioned themselves perfectly. Although at first I cut my felt a little large and had to trim them down, I soon began cutting them short enough that they required no further work after their glue dried.
When the keys were finally reinstalled, most of them gripped their guide pins far too tightly. I think that between the steam causing the wood to swell and having used a one-size-fits-all gluing clip, I was left with more easing to be done than would otherwise have been necessary. To open the gap between the bushings I used a small pair of pliers to slightly compress the wood under the felt. A putty knife worked well as an outside clamping caul for this operation.
It takes a very steady hand…